

Hello again,
I am sharing my fourth CKC Jan. kit layout, this one is a double page spread. It’s been a while since I’ve done a double page layout, with this one I wanted a vast page to mimic the outdoors. The photos I am using are from last year when I met up with my Dad and we got to spend some time together. This doesn’t happen very often, as he lives 400km away and he is often travelling/prospecting which can easily stretch the distance to 4000km or more! On this day we decided to do a little exploring together and went to check out one of the South West regions caves. Because we went underground I started the layout off by creating an earthy coloured background.


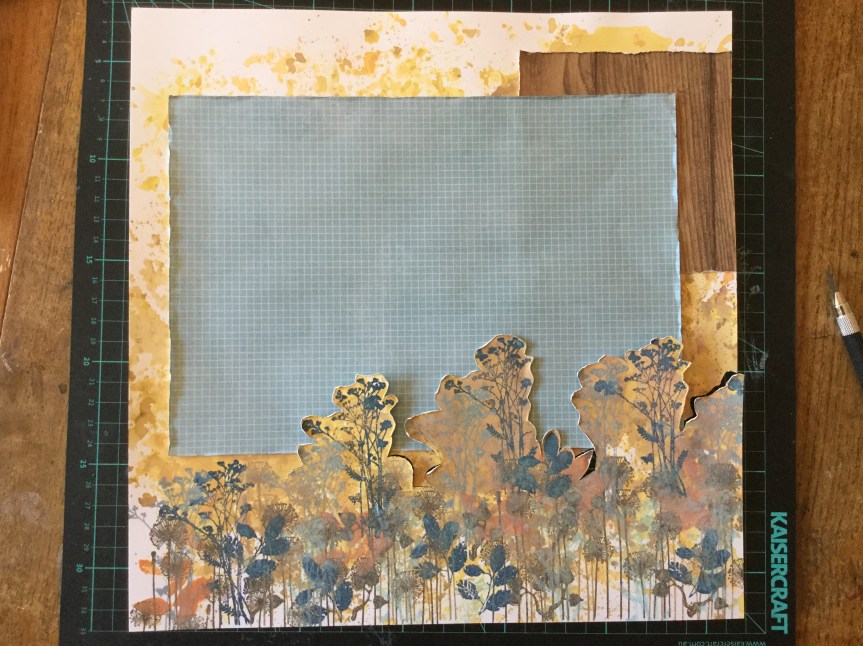
On top of my earthy background, I built up layers of stamped foliage using some colours which I pulled from the Felicity Jane kit. Some smokey blues and teals. You can see that my cardstock had become quite warped from the mixed media/water application. I just press it, between two pieces of white paper, with an iron to reduce the warping. It usually results in a smooth surface, though sometimes you may need to dampen the back of the cardstock with a spritzer.


Then, I mounted the main photo with several layers of paper. I tried to use up the last of that Christmas paper.


I added some papers to the background. This is where things got interesting, after  looking at my photos I wanted to emphasise the sense of going down into the earth. I decided to cut around the stamped foliage with a scalpel and slip some of the photos behind the cuts. Dah, Dah… walking down into the cave.


I roughed up the edges of the cuts to add a bit of texture. Then, I got busy adding embellishments and sticking down my photos. I cut some foliage and text dies using my Big Shot Sizzix and added some enamel dots.


I felt some areas were lacking something and looked a little unfinished, so I stamped on some more leaves to fill the gaps. Then, I added the location and date using some foam alphas. I am pretty happy with the end result, though it is quite busy and somewhat over embellished in my usual style.


Leanne: I’m stunned! The final 2 page spread just has me looking at it over and over again to find all the details (and there are so many!!!!) Kudos to you!
LikeLike
This is really amazing – I love how you created your own foliage piece and then cut around it to let it hold your photos.
LikeLike
I love seeing how your page developed over the processes! What an amazing result. All the foliage is wonderful and everything you wanted to achieve is there! Great job.
LikeLike