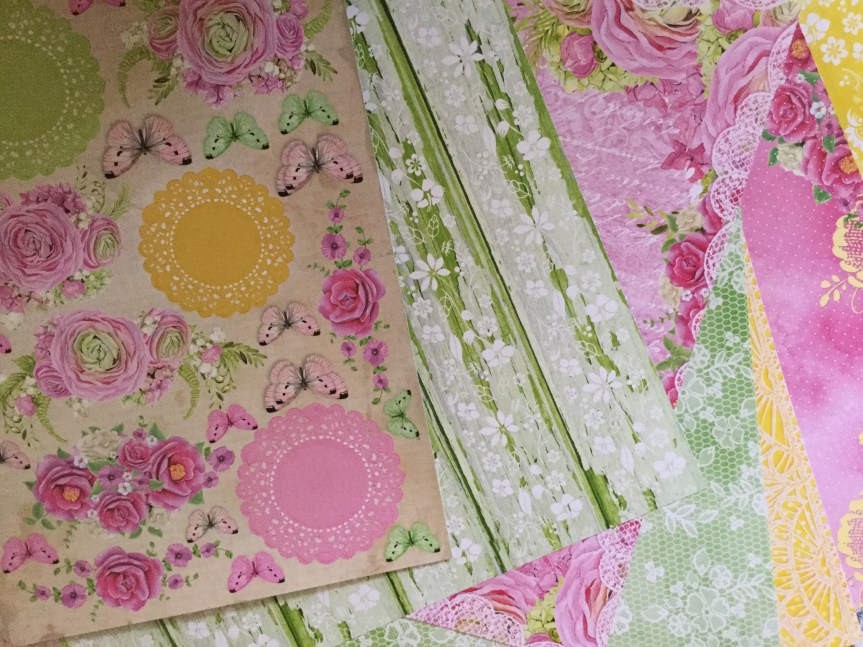
Good morning,
A quick show and tell today. Two layouts for two February challenges fromThe D-lish  Scraps team. You can check out their new March inspiration and challenges on their blog and Facebook site.
The first I attempted asked you to add a heart to your layout. An easy enough task, I started with creating a background using a Kaisercraft stencil and some Tim Holtz ink.
I was using some old, cheeky photos of my daughter. I pulled out some patterned paper scraps in colours which matched my photos.
I trimmed down the papers, roughed up the edges and layered them onto the background. I wasn’t happy with how far the stencilling went and added some more on.

A little bit of splatter was needed, out came the watercolour paints.
I was trying to use up some old embellishments and added a couple of vertical stripes to the layout, one sticker and one chipboard. The photos were mounted on cream cardstock.
Time to go old school with some foil embellishments. Anyone remember these?
Using up more old embellishments and some die cut letters for a title.
A few bits of ribbon and washi tape to finish it off. The finished layout is very happy and cheerful.

The second challenge I attempted was to use a frame on your layout, something I haven’t done in a while. I have many old, frame embellishments to use up!

It was a very quick layout, lots of layering but no mixed media! Once again, trying to use up some old supplies, rub ons. Does anyone buy these anymore?
I also included some newish embellishments, lovely blue and white paper flowers.
A simple, easy layout which turned out quite sweet.

Happy scrapping everyone 🙂


 in your layout and my order of


 4 x 6 rectangles which I used for frames and pieces to mat the photo. The two 4 x 6 left were used to cut embellishments with my Sizzix Bigshot. I used a mix of dies, many were from the Uniquely Creative and the KaiserCraft range. I decided that I needed a few more greens and some white to balance the layout, so found some scrap papers and cardstock to cut a few more diecuts. You can see that I incorporated some traditional design styles and some contemporary designs. I used the geometric die because of the pattern on my daughters top. The top was handknitted by my mother, which I had completely forgotten about until I started working on the layout. She knitted many clothes for my children, a pastime which she has had to give up due to arthritis.


 I am loving the papers, all that greenery, yummy teals and beautiful, bright hibiscus flowers. The problem is I don’t have any tropical photos, no tropical island holidays for us yet! Though, it did give me the opportunity to remind hubby about how he mentioned he’d like to go to Fiji, the perfect reason to holiday…to use up scrapbook paper.


