

Hi all 🙂
A couple of weeks ago, one of my favourite YouTube bloggers, Janet from RTS Scrapbooking, shared a video on how to make your own Pink Fresh Studio Indigo Hills collection. Janet is all about using up your supplies rather than going out and buying more. Most of us have been drooling over the Pink Fresh Studio Indigo Hills collection but if you have set yourself a challenge to not spend and use up your stash, then Janet has the answer to substituting papers, building a similar colour and feel collection.
After watching her video, I got excited and decided to give it a go. I made my own kit based upon similar colours/theme and even got messy making some watercolour papers.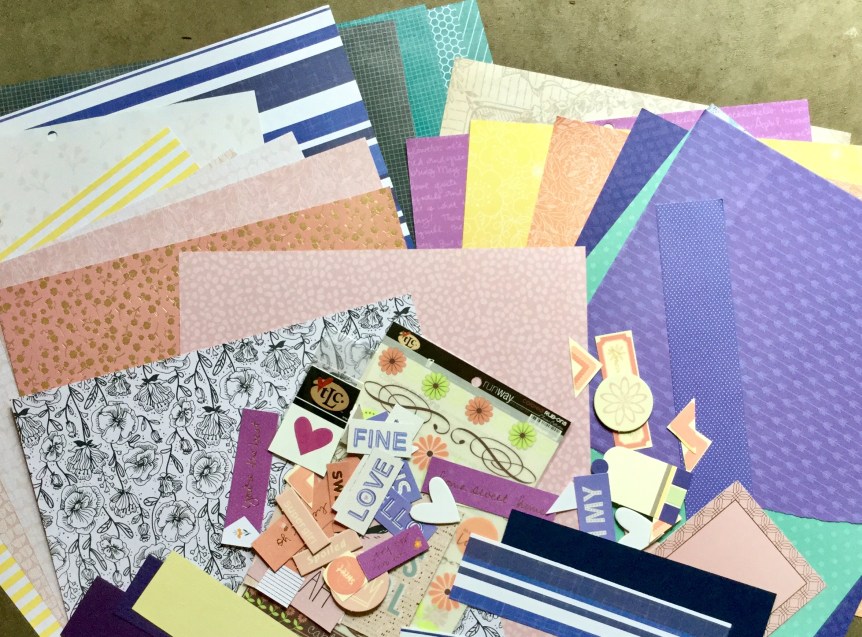

As you can see, I didn’t have any florals in the right colour range. Unlike Janet, I don’t use a lot of florals in my scrapping. I did have a black & white floral page which I decided to paint with watercolour to bring it into the correct colour range. This turned out really well and will definitely add more floral zing to my collection.


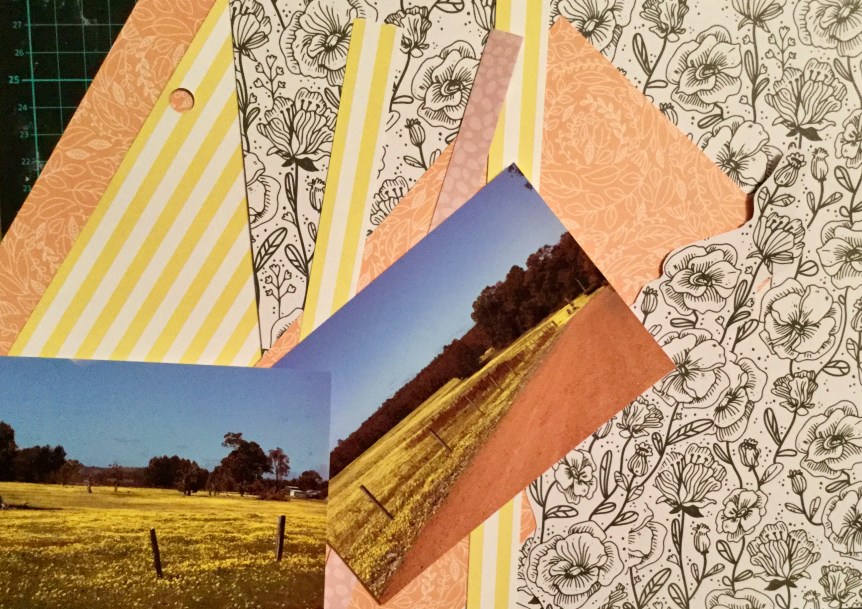
I decided that I would also incorporate some stamps and inks to create more floral papers and embellishments. With my kit organised, I started my first layout using photos taken of my street.  It is Spring here and all the flowers are blooming, being rural this also means the paddocks are being swamped with colour. Yellow fields of daisies are popping up everywhere.
I started off by creating my background paper, I wanted to create a similar paper to one of the lovely Pink Fresh papers which have indigo florals on the corners. The patterned paper I chose to use has a soft, shell pink floral print and two butterflies in the top corner. I flipped the page, as I wanted the butterflies in the bottom, right corner. I went through my stamps and found a rose to use as my stamped flower stem image. I used Tim Holtz’s ‘Faded Jeans’distress ink, as it has a lovely dusty blue/indigo tone. After a good rummage through my stamp drawers, I found a very old, leaf spray stamp which I made about 15yrs ago from kids fun foam. It printed really well and achieved the look I was after.


Next, I went on to make some daisy head embellishments to attach to my plant stems. I decided to use a more realistic daisy stamp and fussy cut them out.


Then, choosing papers from my fake kit, I decided to pick up the colours in the photos and selected an apricot floral, a yellow stripe, a shell pink and the black and white floral. I ended up not using the shell pink or the black and white.
I put down some layers under the photos and then got busy adding more stamped images, some watercolour splatter in indigo and metallic shell pink. Then, I topped it off with layers of fussy cut, stamped daisies and some die cut leaf stalks in navy and apricot. The title finished off the layout. I love how this came together using both old and new products. I can’t wait to get started on the next layout using my homemade kit. Thank you, Janet, from RTS Scrapbooking for your inspiration.


WOW!
LikeLike
Very lovely photo and layout! Forgeries/hand-made elements are fabulous!! Your inspired creativity for repurposing items already in your inventory is very encouraging and delightful to see!!
LikeLiked by 1 person