Good morning all,
Just popping in to share a few layouts after my Mother’s Day and birthday splurge. It’s hard not to buy a product when the sales are on and splurge I did. There are so many lovely scrapbook and stamp collections being released at the moment, for those of you not in Australia you may have had them in your hot little hands for a while, but us Aussies have to count many sleeps until they arrive in the stores here.
So, let’s look at what I bought and how I have been using some of it. Following my self imposed challenge to use the new product that comes through the door and mix it up with old products, I have been busy.
#Smile layout
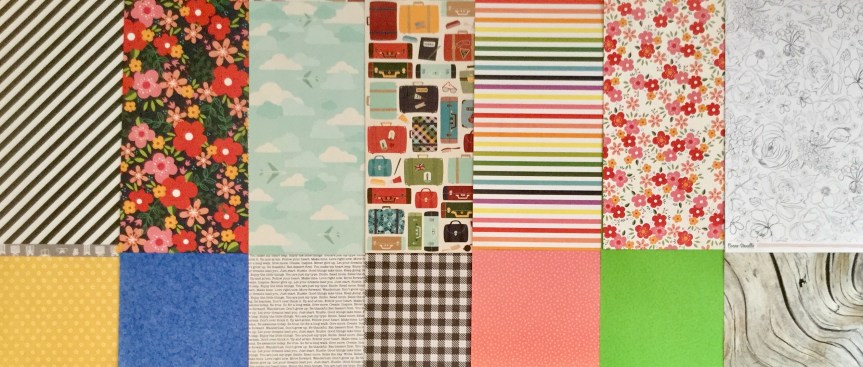
The background paper is part of the Mintay Berrylicious collection, I purchased the 12 x 12 paper collection because of the beautiful woodgrains in the collection. There is also some paper in the collection with frames which I just had to have, plus some gorgeous florals. I didn’t really have any interest in the cutesy berry and cat motifs in the collection.
The other papers used for the layering came from two 6×6 pads which I have had for quite a while, the Jen Hadfield, Warm and Cosy collection and a TLC paper Stackz wedding collection (this is years old). The embellishments and titles are a mix up of product, sorry I can’t supply brands/collections.

What Choc?
For this layout, I used four of the Mintay Berrylicious papers, a red and white polka dot, the lovely white/grey woodgrain, a pink floral and that frame paper which is perfect for 3×4 photos. I had some fun splashing around watercolour paint and smooshing it on using the plastic bag technique.

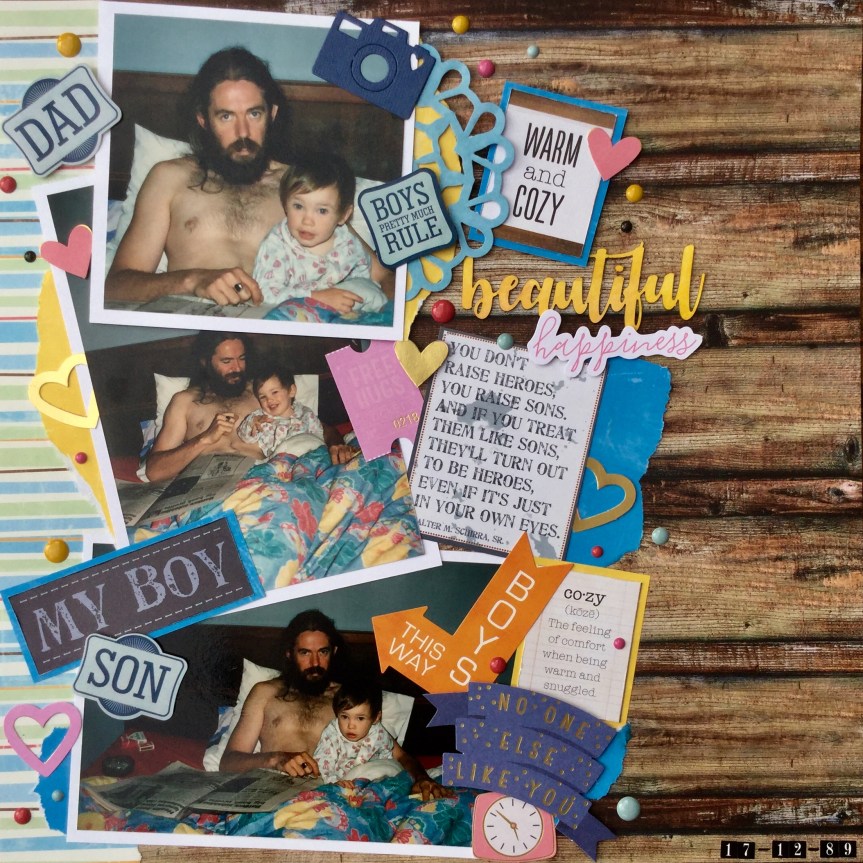
Beautiful Happiness
This layout background is from the Mintay Wilderness collection, can you see a theme going here? Yep, I am in a woodgrain obsession, I love it in every grain and colour. The B side of this paper is a cut apart style print of wolves, pine trees, and backpacks. I bought a few of this page, so I can fussy cut those images and use them with my son’s hiking/backpacking layouts. There is a whole lot of embellishments happening here, using up my stash. The layering papers are from another very old, 6×6 TLC Stackz.
Bedtime Chuckles
This background paper is from the gorgeous themed Echo Park, Lost in Neverland collection. I loved most of this collection but only bought 6 different papers and the sticker sheet. I did buy 3 sheets of this night sky paper called Straight on ’til morning, as I thought it was really useful for those lovely sleeping babes layouts. I have splattered on some extra stars here, using white watercolour paint. The star and feather paper quote are also from the collection. This old photo of my son and I makes my heart sing, he is about to turn 31, but I still remember his cheeky chuckle.

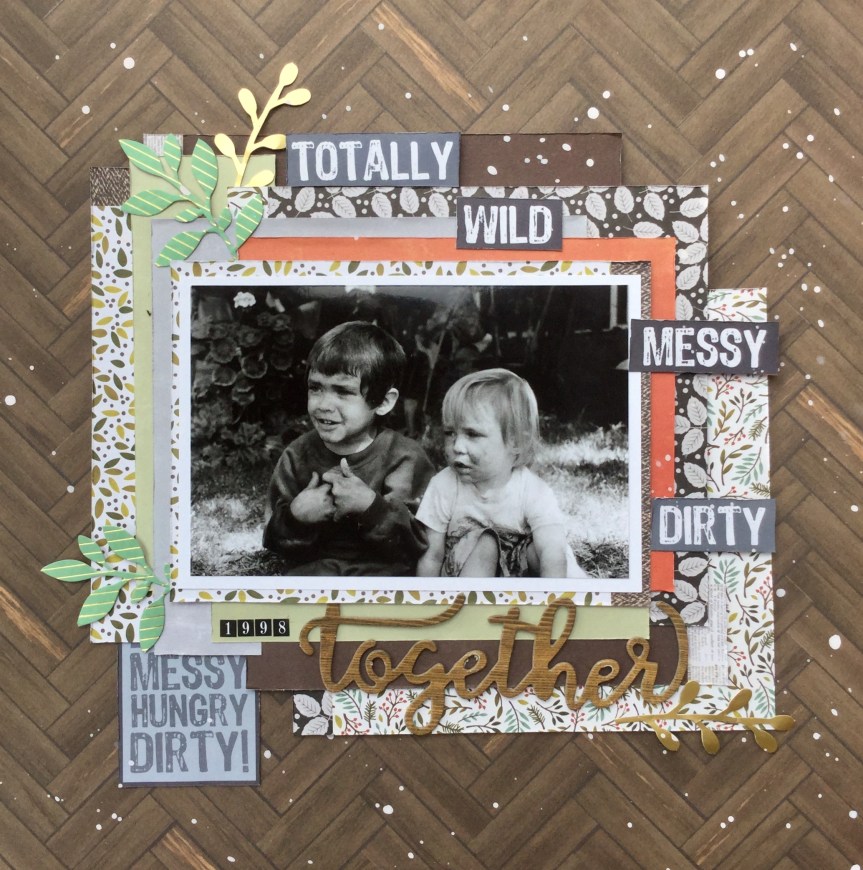
Together
Look, more woodgrain! Plus, check out that photo, my son is so muddy and dirty he doesn’t look like he belongs to me, haha. So, very cute, they had spent several hours making mud pies and they also stamped their handprints in mud on the outside fibro wall of the house. Those handprints never washed off and had to be painted over when we moved out of the rental.
The background paper is from the Carta Bella, Welcome Home collection. the layered papers are again a mix of the TLC Stackz and Jen Hadfield, Warm and Cosy 6×6 pad.
Tick, Tock!
The next one has very little new product but uses up a mix of older products. I did use the JillibeanSoup Rainbow Roux Expoxy Stickers, cute hearts, which I had bought. These photos make me smile, last year when our grandson needed to stay with us for a few days my son had to babysit him one night when we had to attend an event. We came home to this, my son asleep on the floor, squashed between the lounge and coffee table, and our grandson asleep on the lounge. My son said “He wouldn’t go to sleep. I just wanted him to sleep so I could watch a movie.” No movie happened for either of them!

The last one,
Thanks Dad, uses a new stencil I purchased, it is a Kaiser Craft 6×6 stencil called Distressed Dots. I like how grungy it is, it will be very versatile and I will use it a lot. I love investing money on products when I know I will get my money’s worth.

Well, that is it for today. On another note, how fun is it scrapping old photos? Gosh, I have been enjoying looking back and reflecting on how things have changed, and not just the people but our culture itself, how we live and what the expectations are. For many of us, my age, you fell in love, you found somewhere to live and you had the bare basics. When I look at some of these photos above I notice the terrible furniture and the make do with what you can find or have. We had very little, zilch, we threw away our jobs and took a chance on moving to a better place for our son. We borrowed, begged and sourced what we could from the local Op shops, etc. We had no designer expectations, nor did most of society, we worked hard and slowly saved money to purchase new furniture, white goods and appliances. Today I marvel at the expectations of young couples and the expectations and pressure placed on them by society, the availability of stuff and the incredible change in what matters the most…the necessities have changed. We got by on love, working hard and setting goals, friends and family didn’t judge you, they supported you with the expectation that is was supposed to be tough when you are starting out as a family. We were so happy, we didn’t even notice the furniture!
Which brings me to another thought, do you cut out those parts of history in your photos? I must say that I was tempted to crop down some of these photos to focus on the people. Many of the photos are cluttered with objects, have poor lighting or show offending items, like cigarettes, but if we remove those bits are we removing history? I stopped myself from cropping them, my grown children do like to see where and how they lived in the early years. They are sometimes amazed at how little we had when compared to now. So, these layouts may not be social media perfect but they do record life.
Happy scrapping 🙂
If you would like to share your thought leave a comment by clicking on the post title and scrolling to the bottom of the page. Post your comment in the reply envelope, I would love to hear your thoughts.


 being able to create layouts about my sons, daughters, grandson and Christmas. The lovely outdoor pine forest, mountains and starry nights would work well for our traditional, annual, Christmas tree hunt. The other papers, a mix of contemporary and cultural patterns in black, white and shades of greens, and the wood grain can be used for recording many special events or moments.


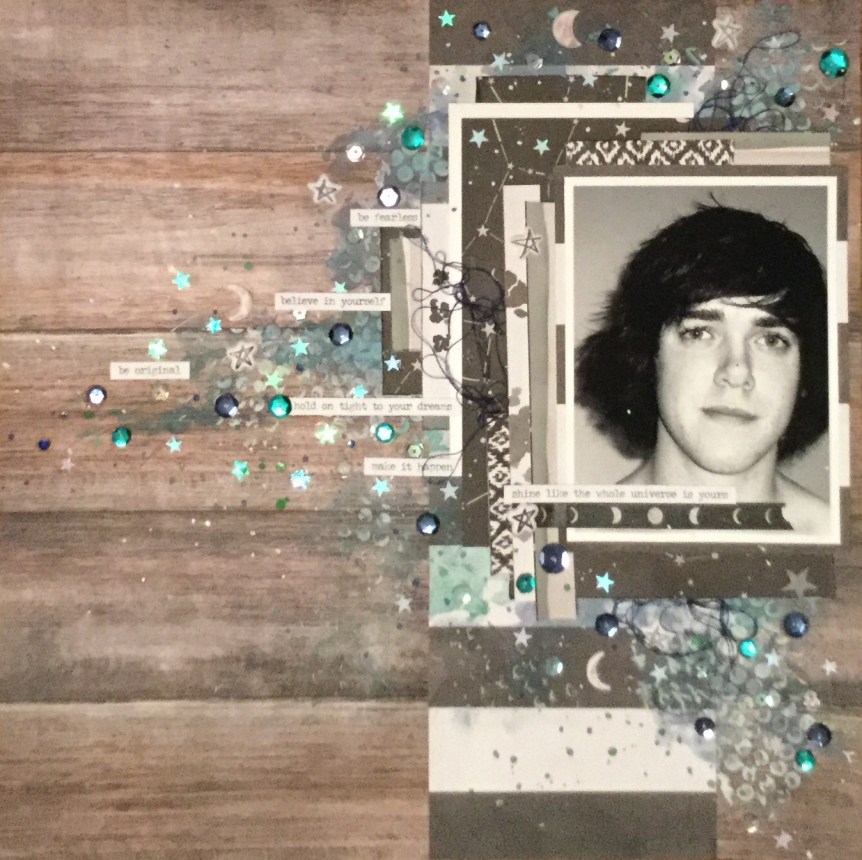
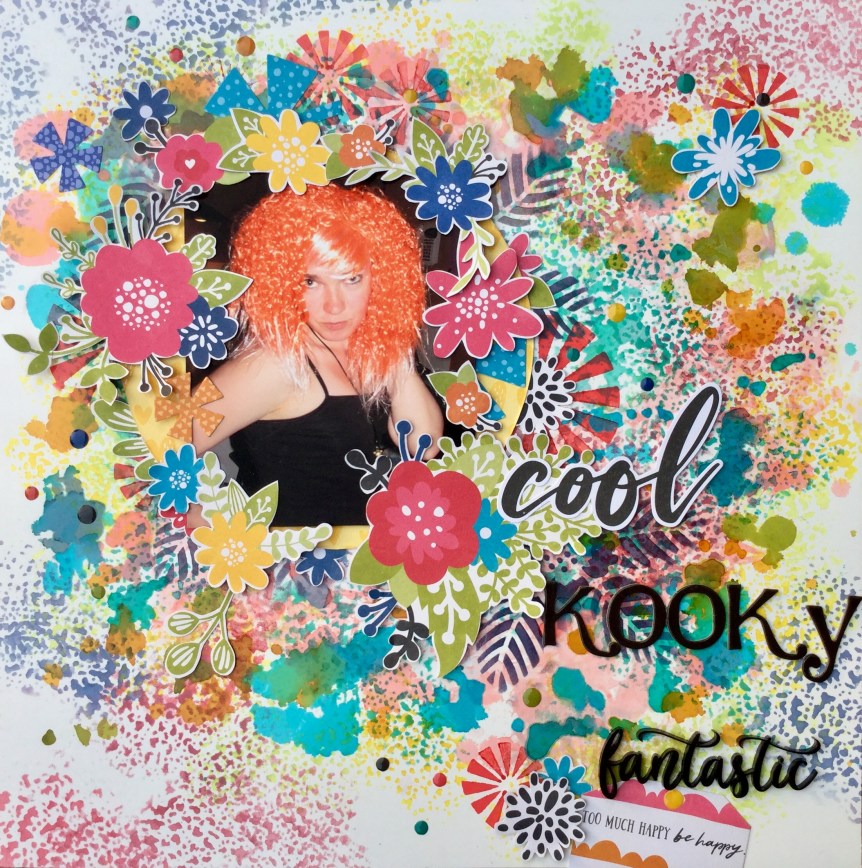
 though the papers are quite masculine and I am using a photo of my teenage son, I couldn’t stop myself from adding some sparkle and shine to the layout. The Zodiac paper features the night sky and astrology motifs and I wanted to highlight this in my design. I used a variety of sequins in crystal, navy, aqua and green to decorate and enhance the layout. Then, I splattered on some watercolour paint in white, green, dark blue and brown.

 doing. When I haven’t been working I’ve been snuggled up reading, scrapbooking or sorting. The sun has been beaming sometimes but it has been bitterly cold and so, I am more than happy to sort and clean spaces.
 Nope, there was three finished layouts and a dozen not finished! And…they were old! Not just a little old, big old, like 12-15 years old! So, I’m sitting on the floor looking at these layouts and I laughed at how terrible some of them were, and I cringed and questioned what was I thinking? They were terrible, there was no design thought, no embellishments on many, no style what so ever and certainly no mixed media. They were seriously old school and I could see why I hadn’t been interested in finishing them. Hmm… what they did have was photos, not all of them great either but still images of family history which needed to be rescued. So, after pondering on how far I had changed in scrapbooking technique and skill, plus attitude (Yep, at one stage in my life I did not like or see any benefit in scrapbooking, I even complained about having to do it (in my workplace), I was a stamper/artist. My husband loves to remind me about this, now that every spare minute is spent on scrapping.), anyhow, I decided to finish or redo the layouts.


 my kit. The only patterned paper I had included which was light blue had aeroplanes on it, so I decided to create my own background on cardstock using my new


 Roux collection and the Vicki Boutin stencils which I had been coveting for quite a while. I was looking forward to trying out the stencils and fussy cutting those Jillibean flowers.


 The
The 


 them. I had fun adding the embellishments, I really wanted to use up quite a few of the embellishments from my kit, many of the ones I used are from a Heidi Swapp ephemera pack and some I fussy cut from the AC Bahama Mama papers.


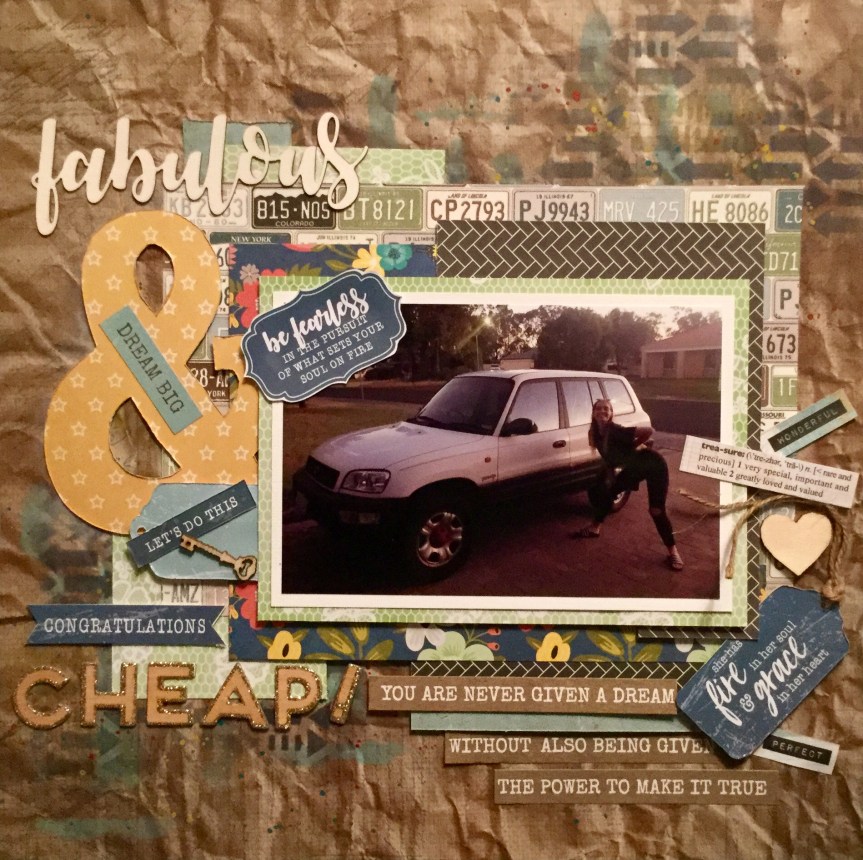
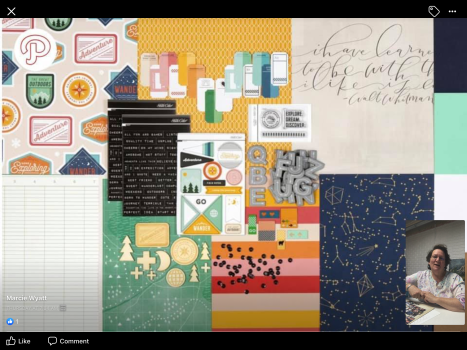
 Challenge #1. was to create a layout based on this mood board, lots of pink and blue, flowers, cars and frames. My layout is of my youngest daughters recent car accident, she was hit side on by a 4WD vehicle. Her car was written off!
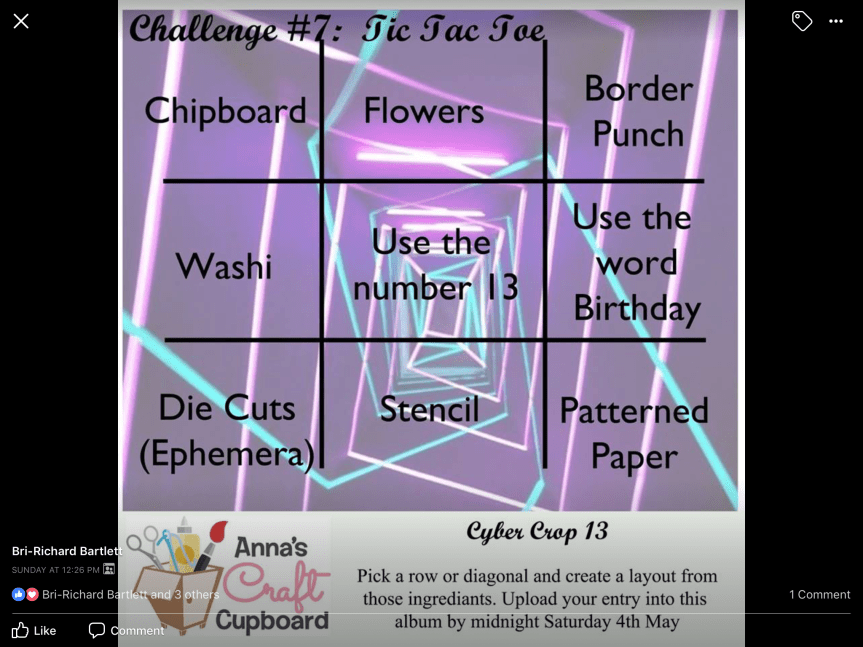
 to the crop and the instructions to create the layout are released step by step in a live feed during the cyber crop.
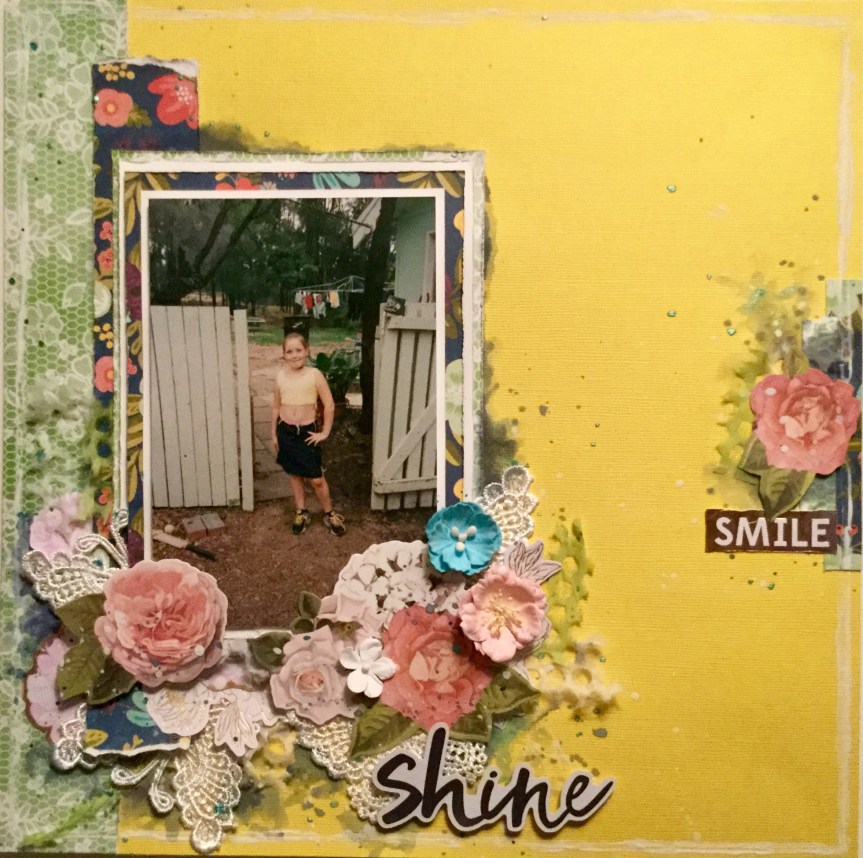
 Challenge #3. was to create a layout with lots of negative space. I used an old picture of my eldest son wearing his denim overalls.


 what and how the Counterfeit Kit Challenge works and how you can all join in. As part of the NSD weekend, Leslie demonstrated how she made her kit for the special NSD BYSS CKC collaboration challenge. The challenge is to construct


")


 to rub over the surface of each piece, this adds a little sheen to the printed cardstock. Next, you fix them together with glue and thin foam tape for a little dimension.


 I am the May