Hi again,
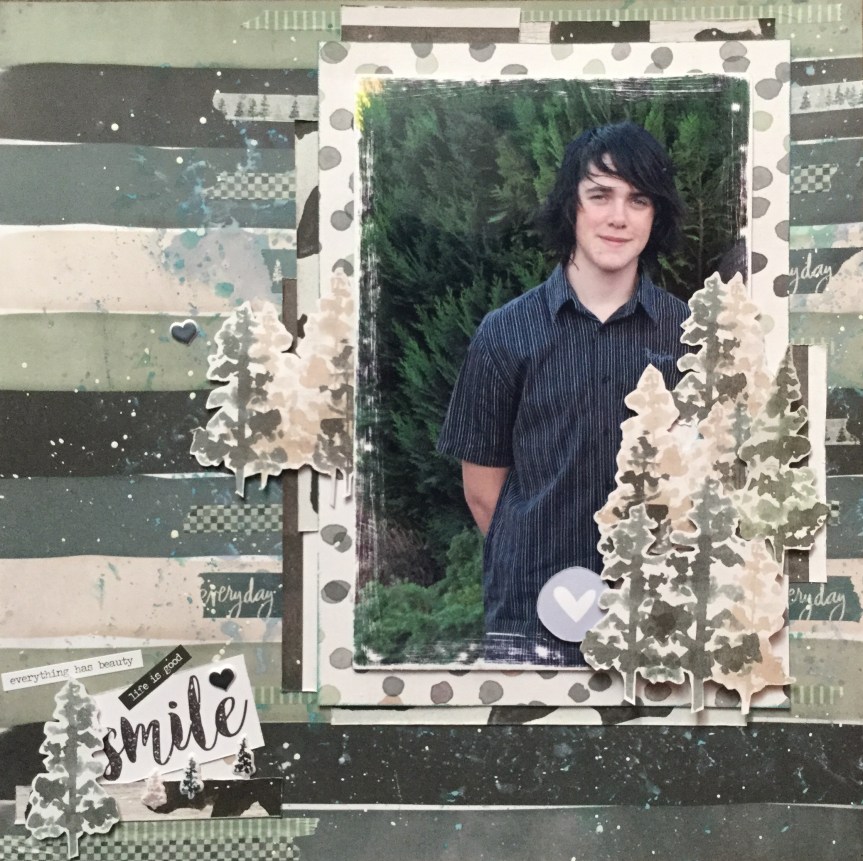
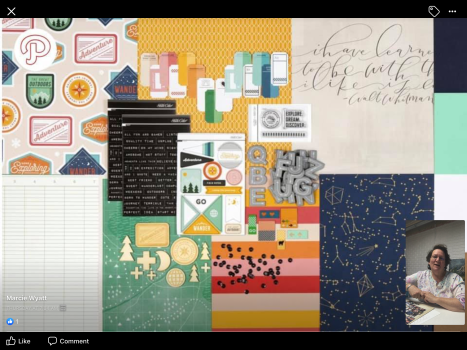
Today I am sharing another layout I made using the Heidi Swapp, Wolf Pack collection. This layout features my youngest son at a different stage of his life. The photo I  have used was originally a photo of all four of my children together which I have scrapped several times, so they each have one. This time I cropped the photo down to try and just get my youngest son in the image, as I don’t have many teen photos of him to use in layouts. The problem I encountered, as you can see, is that part of my eldest daughter was still in the image. As gorgeous as she is, she had to go for this layout! Here’s how I erased my daughter from the image by hand, the old fashioned way and then, put the layout together.
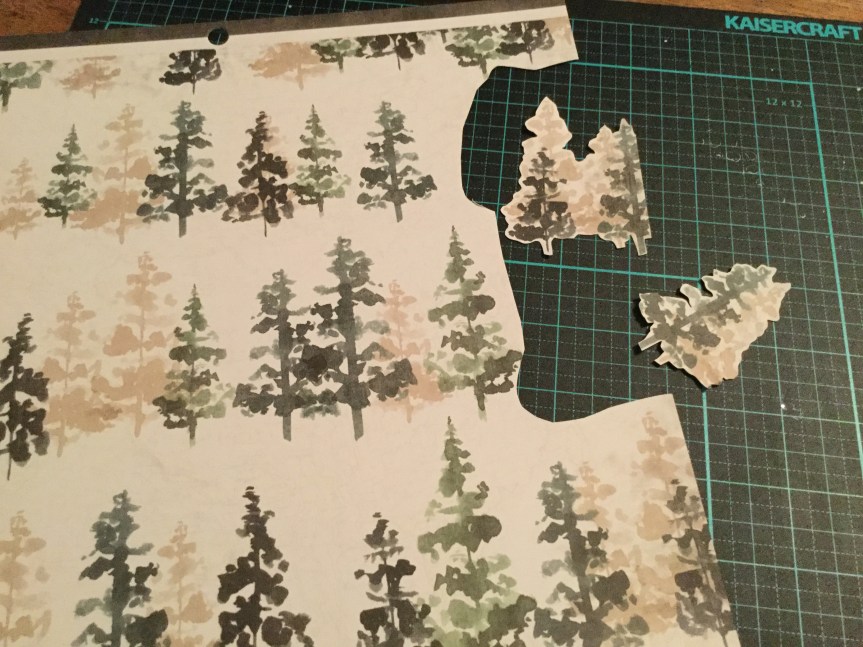
Below are the Wolf Pack papers I used and the washi tape. I selected the B side of the Explorer paper, a fun polka dot print and the B side stripe print of the Zodiac paper, plus the Woodsy paper with the pine trees.


First, I fussy cut the pine trees from the Woodsy paper to use as embellishments.
A little sandpaper worked magic to create an interesting border and camouflage my daughter’s bright dress into the foliage.


Then, I layered my fussy cut pine trees over what was left of my daughter. She always did like to climb and hide in trees. 🙂

When constructing the background I applied strips of washi tape horizontal onto each stripe of the B side, Zodiac paper.


Then, I used Tim Holtz Oxide Distress inks and the plastic bag technique to smoosh some colour onto the background. I was careful not to use too much water or the washi tape may have lifted.


Next, I mounted the photo onto pieces of the banding strips offcuts from the papers and adhered it to the background with a layer of foam. A few more pine trees were added on the other side of the photo for balance.

A small cluster of paper scraps, sticker quotes (Tim Holtz) and embellishments were added to the bottom left corner. Then, I covered the photo over to protect it and splashed around some white watercolour paint. I used a few of the Wolf Pack puffy stickers to add a little dimension. I think I did well hiding my daughter in the bushes. Haha 🙂


I am loving using this collection, it is so very versatile. Please do share what you are making with the Wolf Pack collection. You can share links to your work in the comments section, remember that you need to click on the title of the post to open the page to comment.
Keep on scrapping 🙂

 being able to create layouts about my sons, daughters, grandson and Christmas. The lovely outdoor pine forest, mountains and starry nights would work well for our traditional, annual, Christmas tree hunt. The other papers, a mix of contemporary and cultural patterns in black, white and shades of greens, and the wood grain can be used for recording many special events or moments.


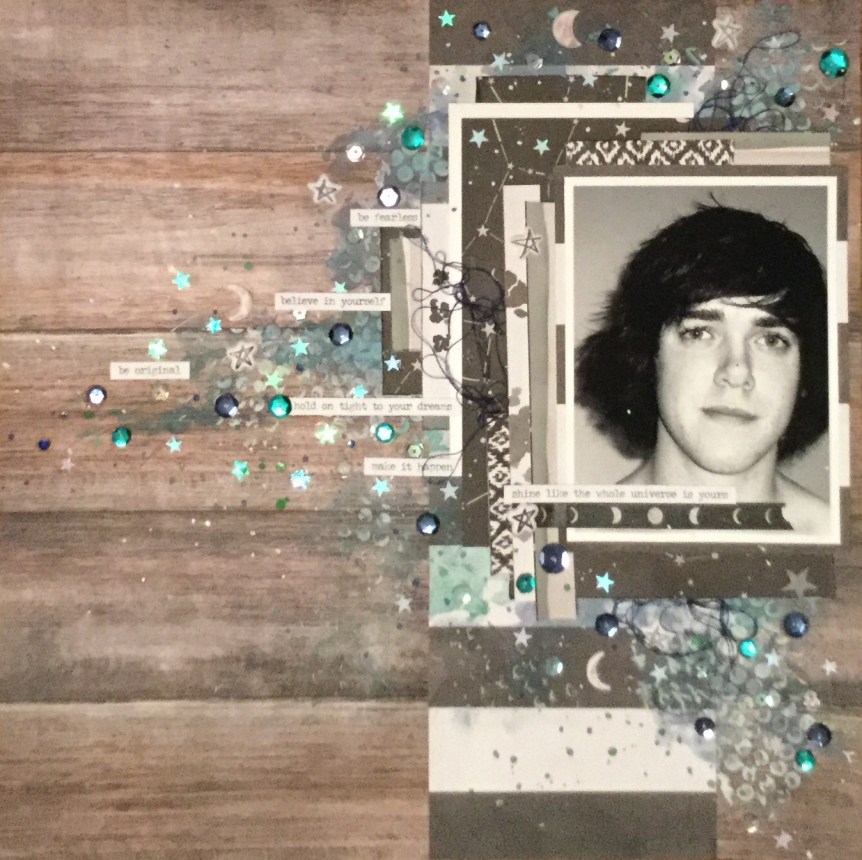
 though the papers are quite masculine and I am using a photo of my teenage son, I couldn’t stop myself from adding some sparkle and shine to the layout. The Zodiac paper features the night sky and astrology motifs and I wanted to highlight this in my design. I used a variety of sequins in crystal, navy, aqua and green to decorate and enhance the layout. Then, I splattered on some watercolour paint in white, green, dark blue and brown.


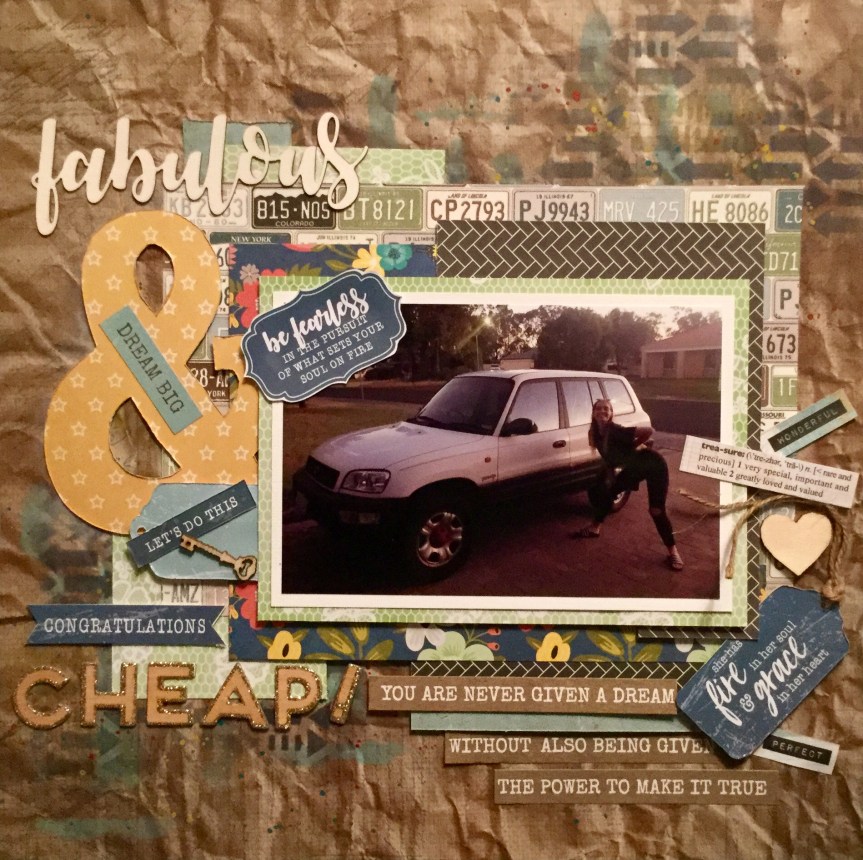
 Challenge #1. was to create a layout based on this mood board, lots of pink and blue, flowers, cars and frames. My layout is of my youngest daughters recent car accident, she was hit side on by a 4WD vehicle. Her car was written off!
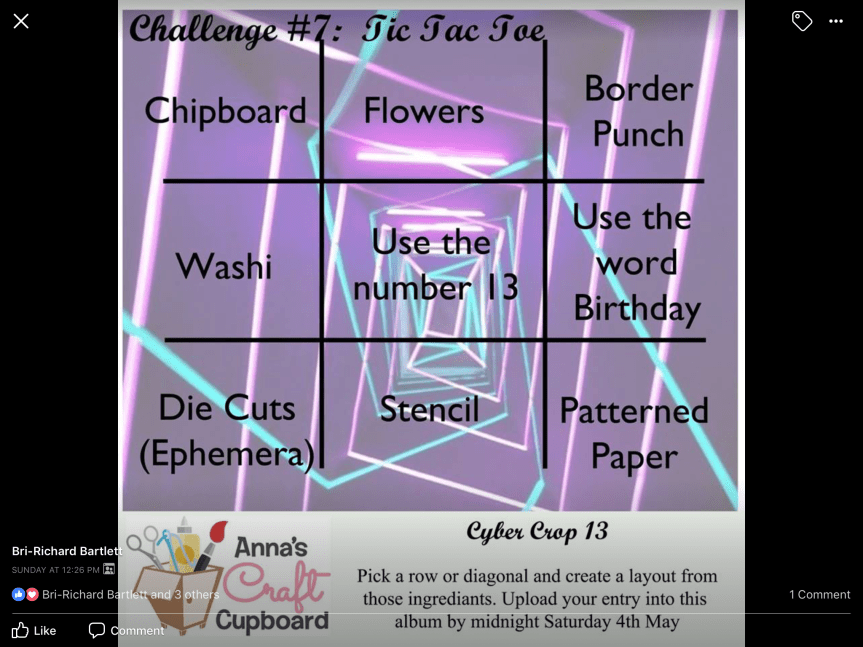
 to the crop and the instructions to create the layout are released step by step in a live feed during the cyber crop.
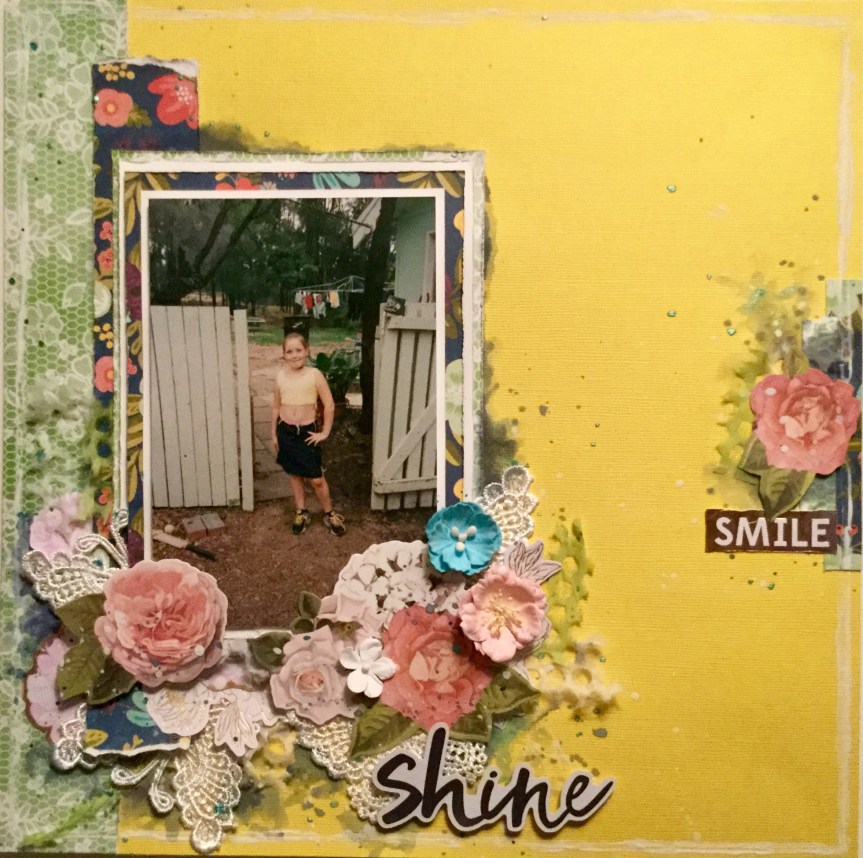
 Challenge #3. was to create a layout with lots of negative space. I used an old picture of my eldest son wearing his denim overalls.


 what and how the Counterfeit Kit Challenge works and how you can all join in. As part of the NSD weekend, Leslie demonstrated how she made her kit for the special NSD BYSS CKC collaboration challenge. The challenge is to construct


")