

Hi everyone,
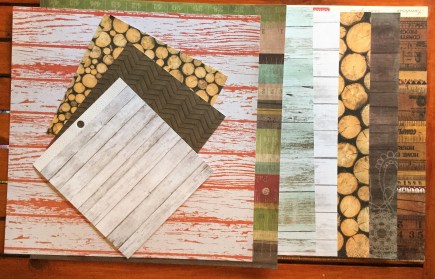
I recently treated myself to some scrap goodies for Mother’s Day and my birthday, amongst what I purchased was some of the lovely masculine Wolf Pack collection by Heidi Swapp. It’s a gorgeous collection with lots of potential and versatility, I saw myself  being able to create layouts about my sons, daughters, grandson and Christmas. The lovely outdoor pine forest, mountains and starry nights would work well for our traditional, annual, Christmas tree hunt. The other papers, a mix of contemporary and cultural patterns in black, white and shades of greens, and the wood grain can be used for recording many special events or moments.
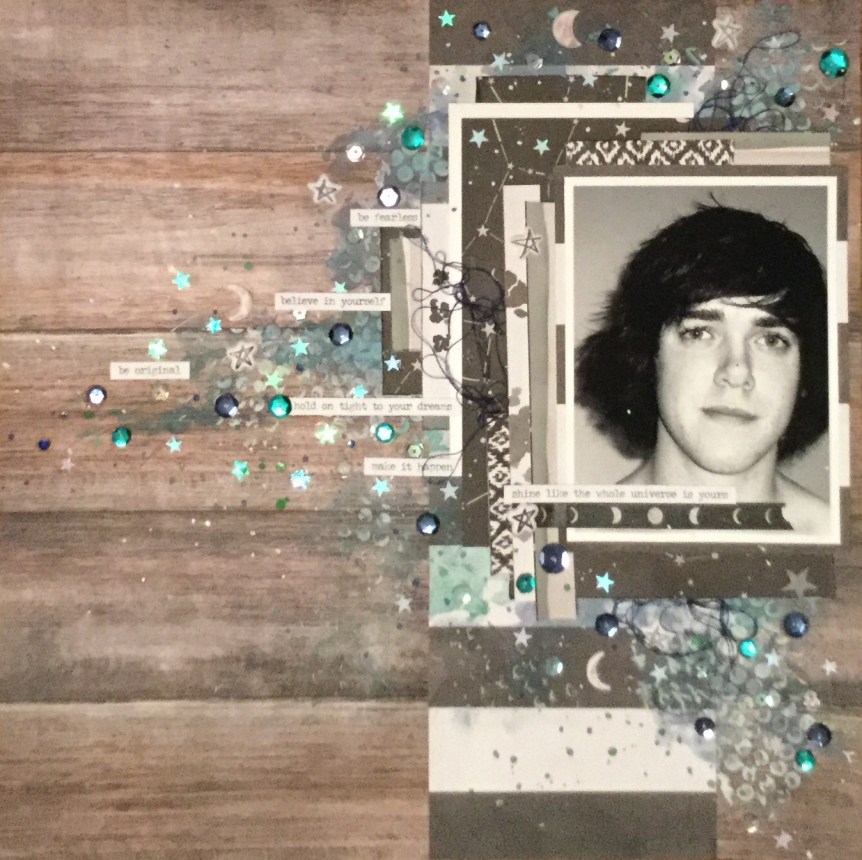
For this layout, I chose to use three of the collection papers, the Zodiac, the wood grain (B side of Mama Bear) and the black and white bold stripe (B side of Woodsy). I also wanted to use the washi tape and the very cute puffy stickers.


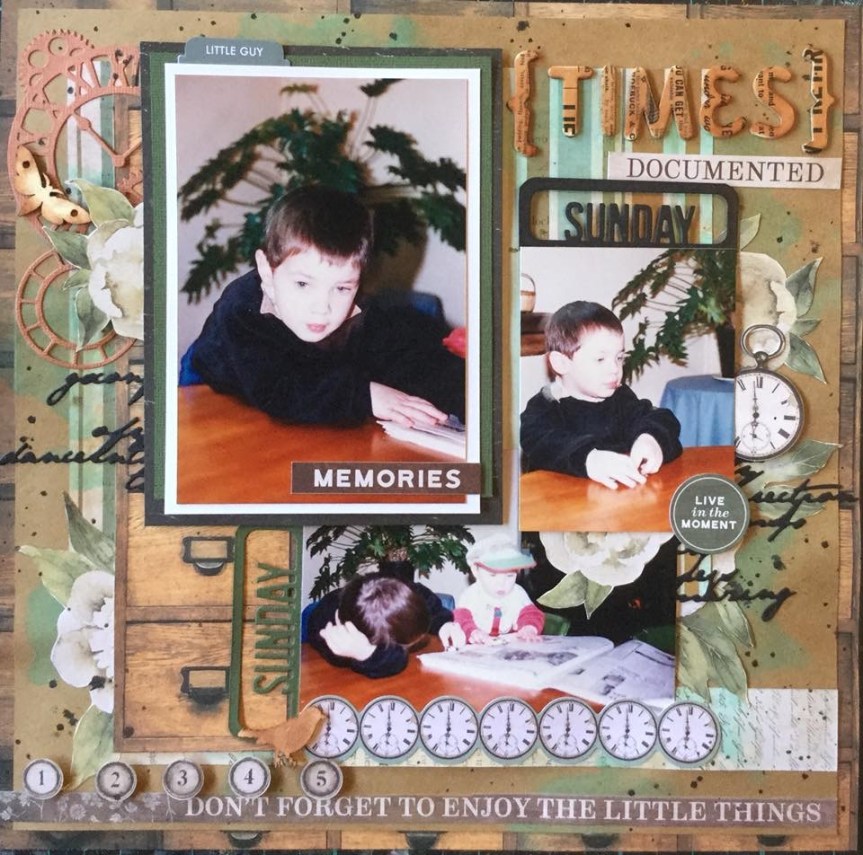
To start with I used some texture gesso paste and a Kaisercraft stencil (Distressed Dots) on my background, a mix of stripe and wood grain paper. The stencil gives a lovely grunge effect.

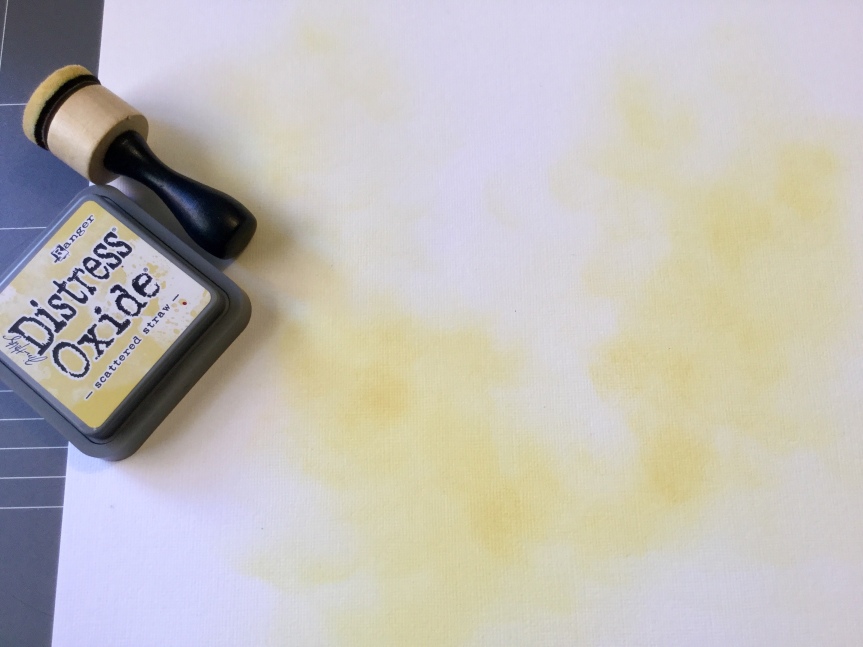
After drying of the gesso, I applied Tim Holtz Distress Oxide inks. You just stamp the pad on a smooth surface, mine is a piece of black acrylic, and add water to the ink, then paint the ink onto the stencilled gesso. The fluid ink runs into all the crevices of the gesso and blends together beautifully.


While that dries I got to work on mounting my photo. I used the banding strips trimmed off the papers, each strip has a print motif on it of one of the other papers in the collection…wolves, bears, etc. Because they are little strips and I am using them as edging mounts, you can’t identify them as bears, etc.


Next, I mounted the photo onto the background and began to embellish the layout. Even  though the papers are quite masculine and I am using a photo of my teenage son, I couldn’t stop myself from adding some sparkle and shine to the layout. The Zodiac paper features the night sky and astrology motifs and I wanted to highlight this in my design. I used a variety of sequins in crystal, navy, aqua and green to decorate and enhance the layout. Then, I splattered on some watercolour paint in white, green, dark blue and brown.
The final touch was to add the puffy star stickers, some moon washi tape and some cotton thread bunches, then a few Tim Holtz quote stickers and a little extra splatter.
I decided not to add a title, the layout was to capture my son at this stage of his life when he was full of dreams and possibilities for the future. The quote stickers were appropriate and told the story, a title would draw the viewers eye away from the photo.
I love how this turned out and it was fun to create. I can’t wait to use the rest of this collection. Who else is using the Wolf Pack collection? Share links to your work in the comments section, remember that you need to click on the title of the post to open the page to comment.
Happy scrapping 🙂


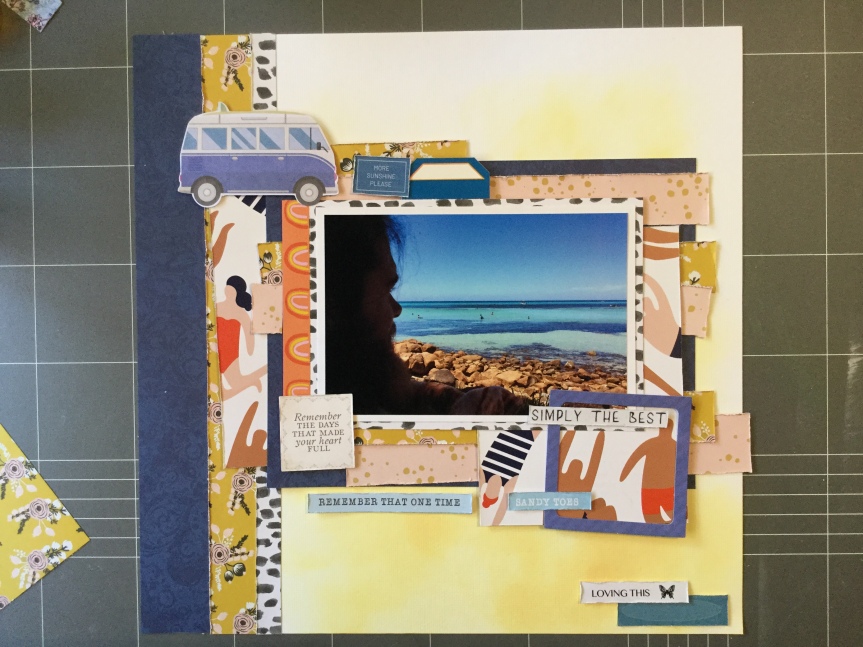
 my kit. The only patterned paper I had included which was light blue had aeroplanes on it, so I decided to create my own background on cardstock using my new


 them. I had fun adding the embellishments, I really wanted to use up quite a few of the embellishments from my kit, many of the ones I used are from a Heidi Swapp ephemera pack and some I fussy cut from the AC Bahama Mama papers.


 Scraps


 in your layout and my order of
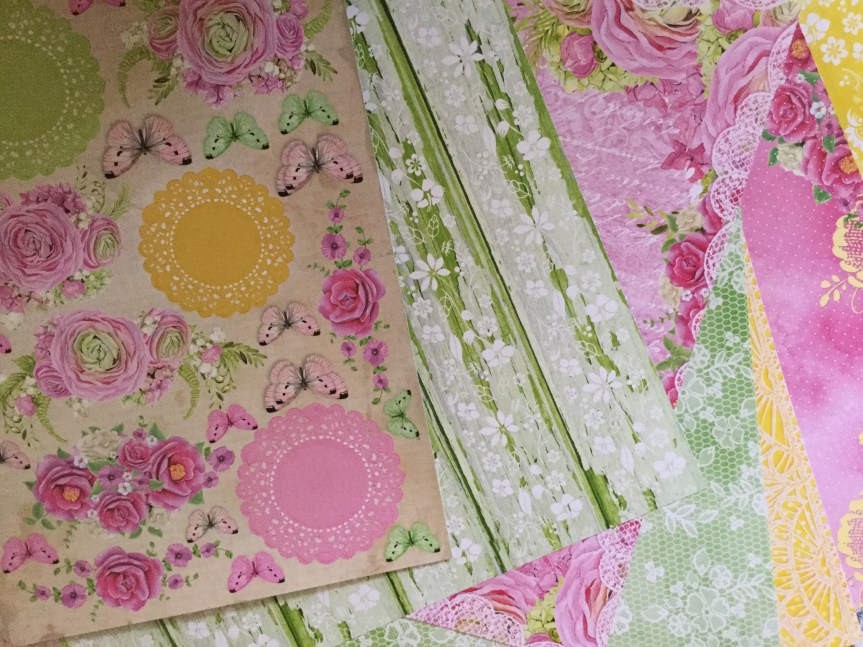


 4 x 6 rectangles which I used for frames and pieces to mat the photo. The two 4 x 6 left were used to cut embellishments with my Sizzix Bigshot. I used a mix of dies, many were from the Uniquely Creative and the KaiserCraft range. I decided that I needed a few more greens and some white to balance the layout, so found some scrap papers and cardstock to cut a few more diecuts. You can see that I incorporated some traditional design styles and some contemporary designs. I used the geometric die because of the pattern on my daughters top. The top was handknitted by my mother, which I had completely forgotten about until I started working on the layout. She knitted many clothes for my children, a pastime which she has had to give up due to arthritis.


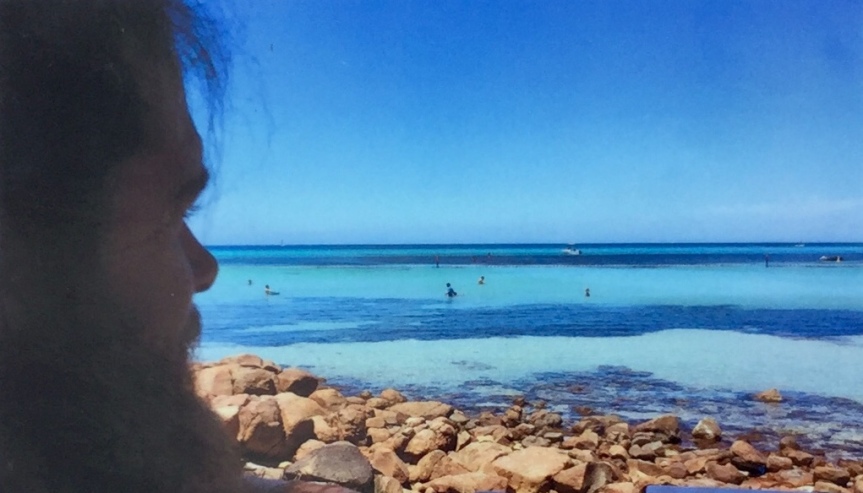
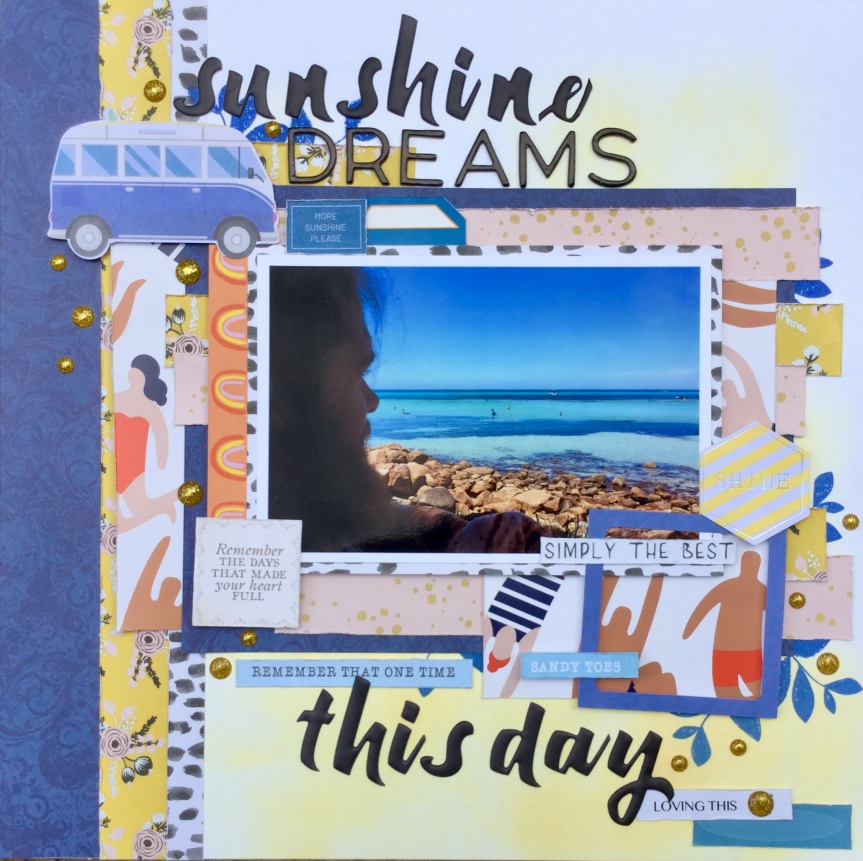
 I am loving the papers, all that greenery, yummy teals and beautiful, bright hibiscus flowers. The problem is I don’t have any tropical photos, no tropical island holidays for us yet! Though, it did give me the opportunity to remind hubby about how he mentioned he’d like to go to Fiji, the perfect reason to holiday…to use up scrapbook paper.


 Hello again, I am just popping in with a layout I created for a September colour layout challenge on the


 Hello Scrappers, I am excited to be joining in with the September


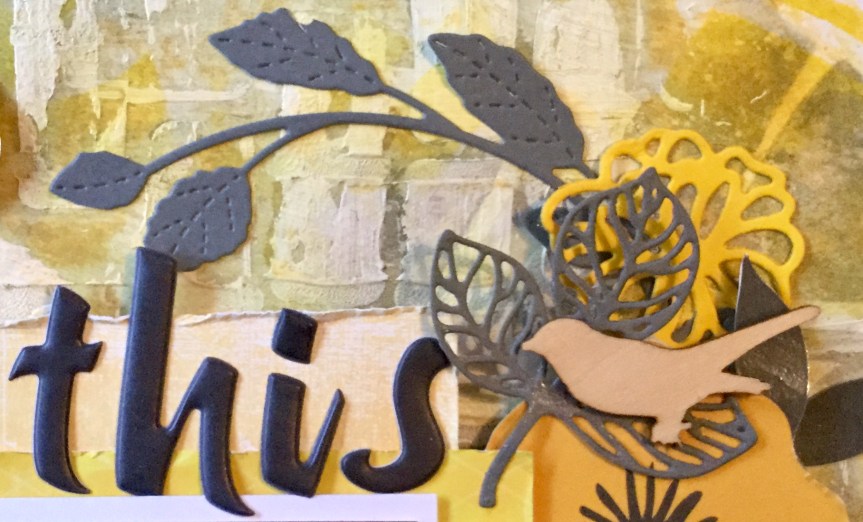
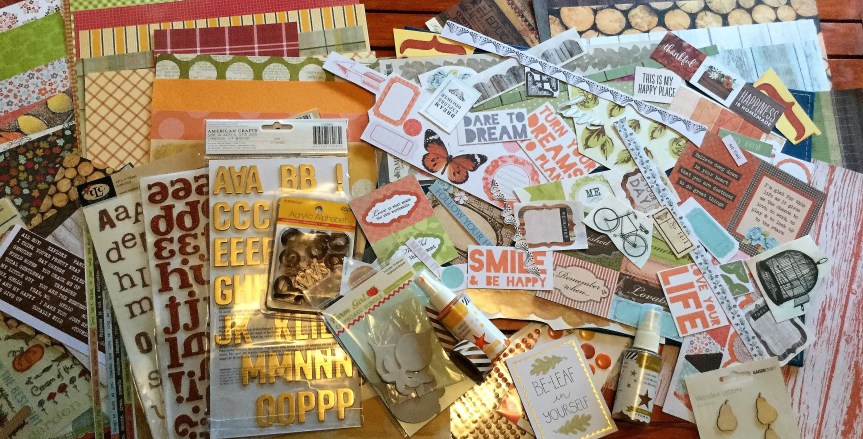
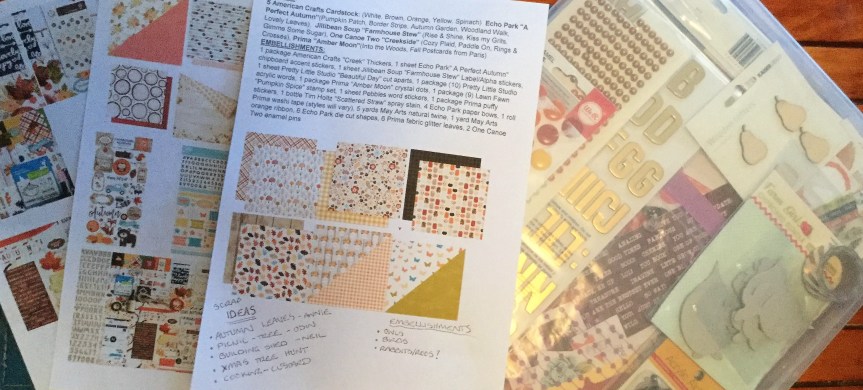
 My substitute for the Tim Holtz distress stain is two Heidi Swapp shines in gold and mustard. I haven’t decided on which stamps to use but will most likely use some leaf and foliage stamps. The bows I will make out of scraps from the kit and I will turn some of my embellishment die-cuts into chipboard elements. My choice in washi tape is a lovely metallic and white diagonal stripe for some added bling. I may also add some wood veneers and some ribbon.


 The first is one of the layouts designed by Tracey Schultz. I swapped the paint colours to suit my photo and used different bird embellishments.


 I started off by altering the paper itself, my photo is of my son and daughter bathed and ready for bed, and I was thinking about what related to clean. Bubbles seemed to pop into my creative brainstorm and would link nicely with the circular design on the paper. I used a Kaisercraft stencil and acrylic paint to sponge bubbles across the page.
 sponge to apply my mix media colours. I have been using car wash sponge for years, you can pick one up from any of the cheap, two dollar type shops. Use some large scissors to snip the sponge into 8-10 pieces and you a have a very versatile application tool which has only cost you a couple of dollars for the whole lot. When working with inks you can use each edge of your sponge piece for a different colour! They wash clean very easily with soap and water, some staining will occur but doesn’t transfer when you use them next. When you use them with acrylic paint, wash them as soon as you finish otherwise they will dry with a firm crust. Should this happen, you can simply trim off the stiffened surface and you are good to go again.


