Hello all, I hope everyone is well and getting some crafty time.
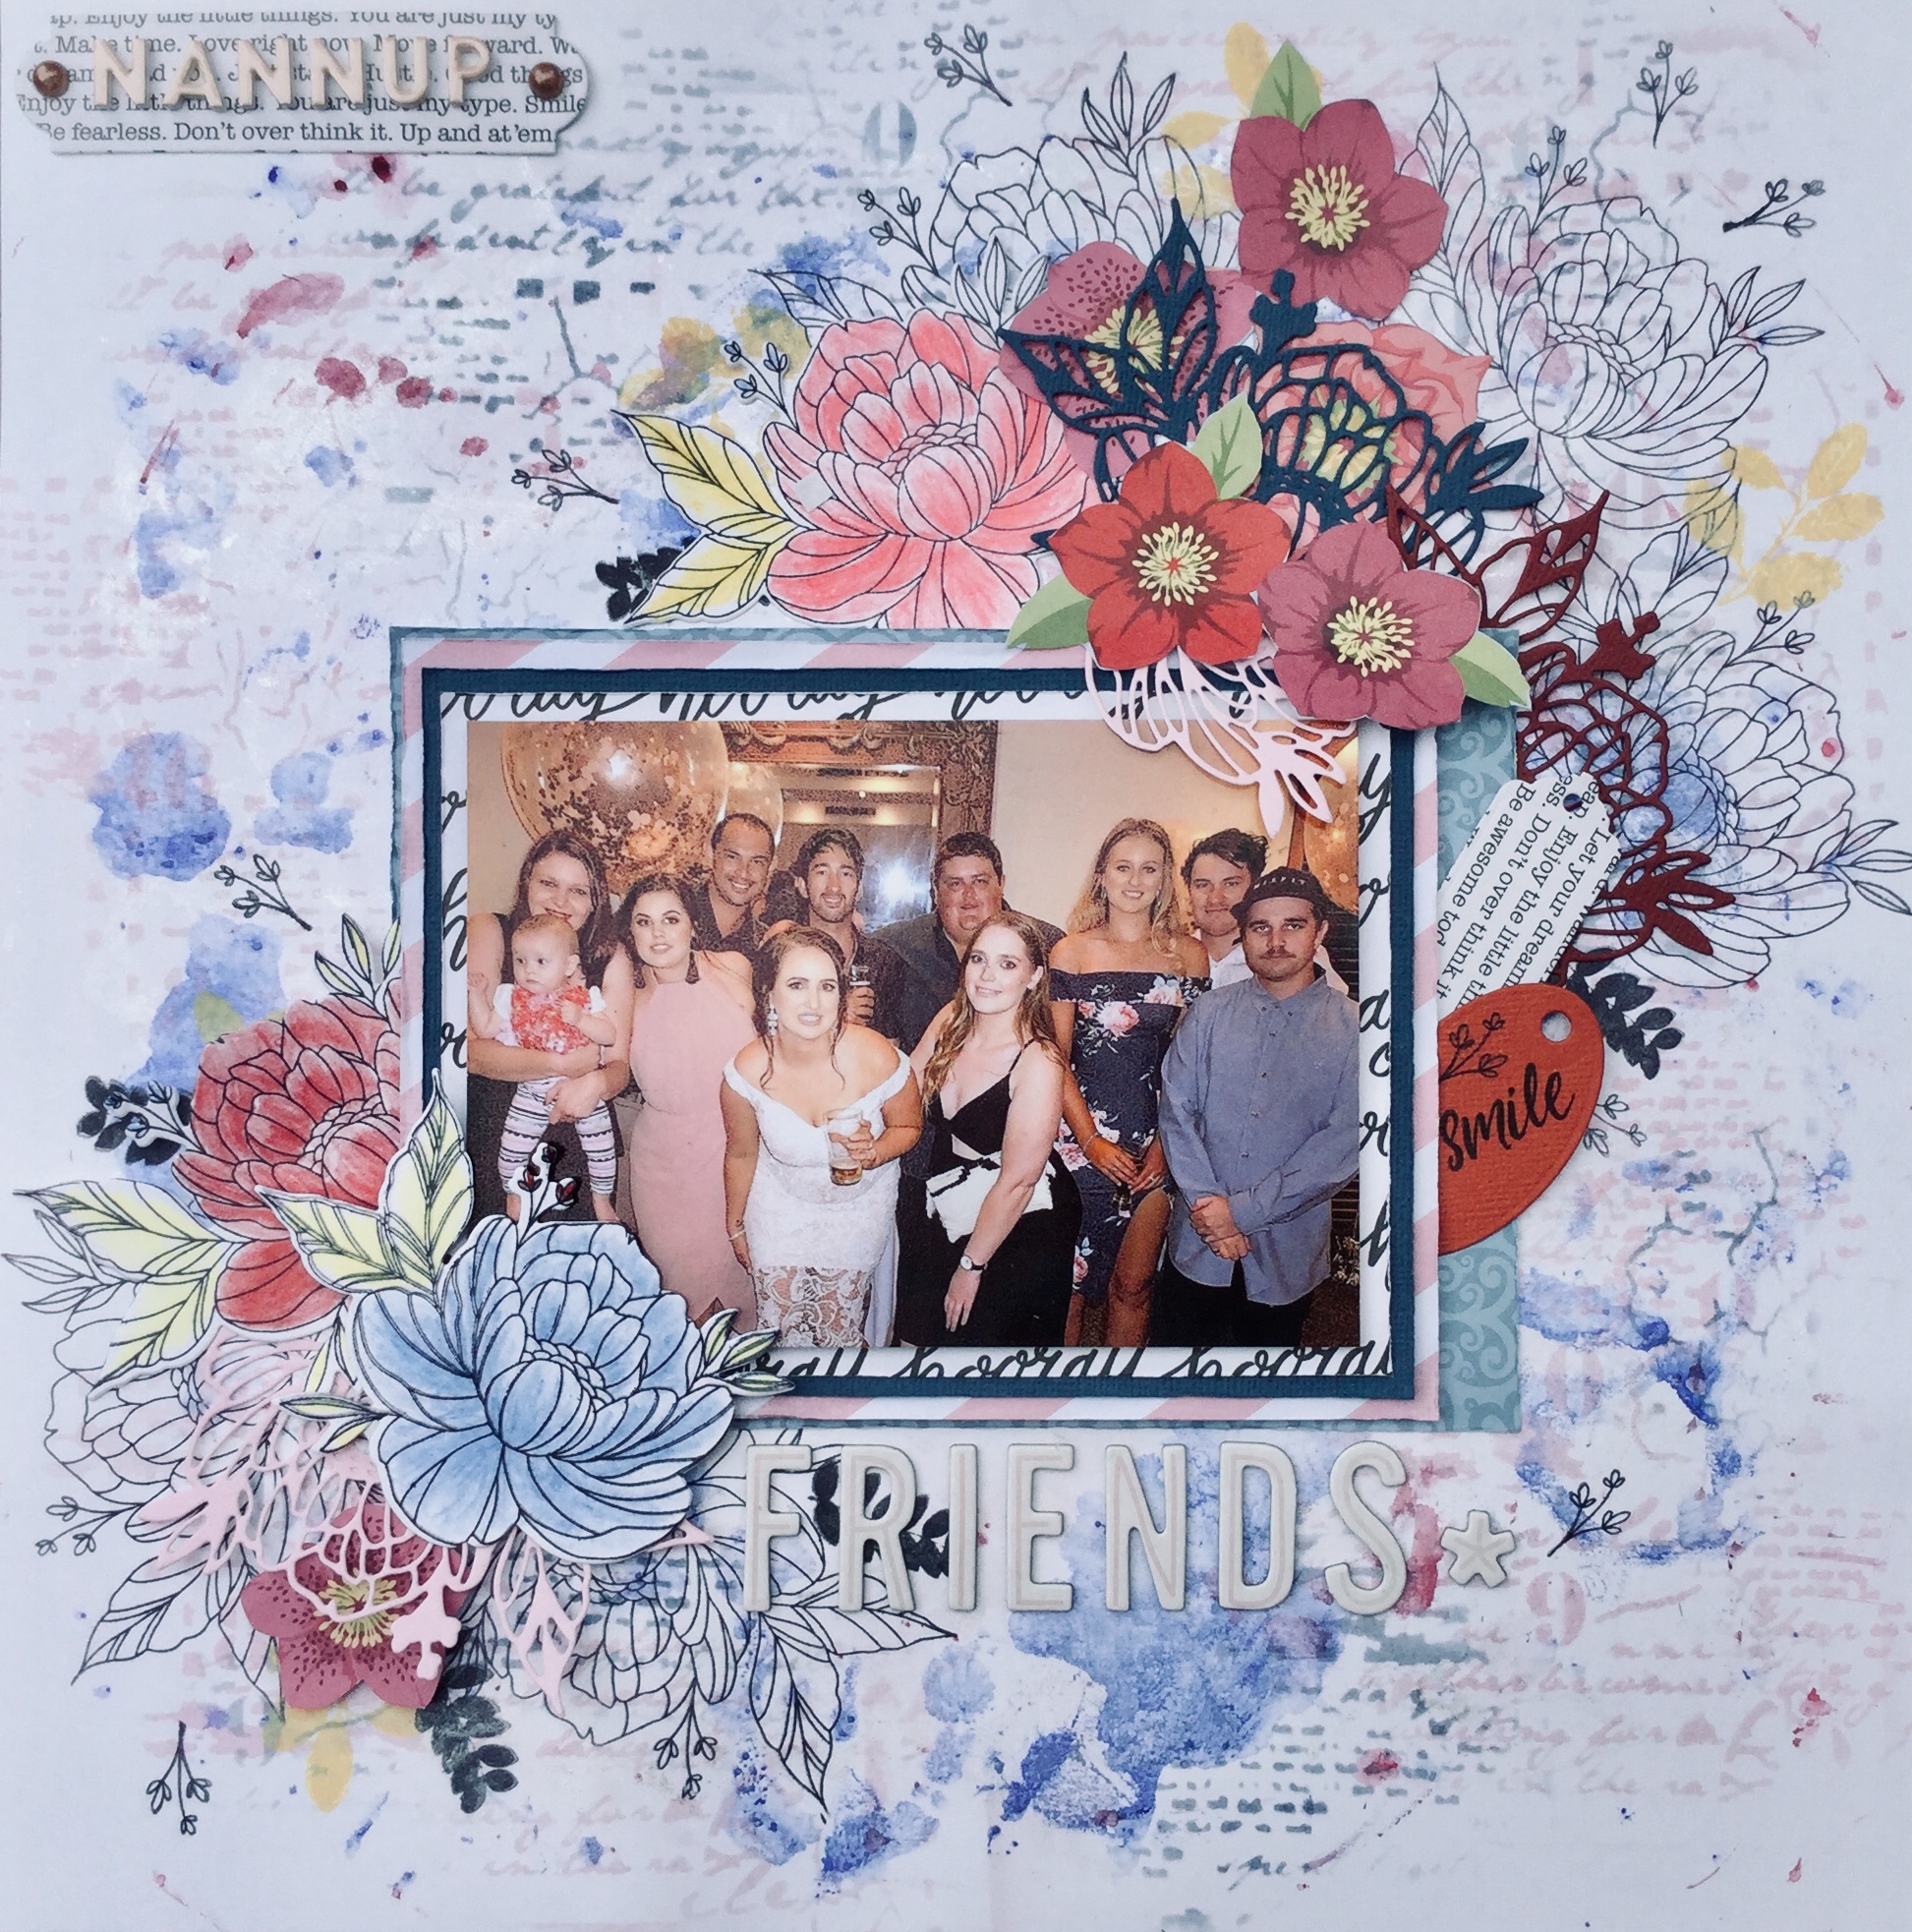
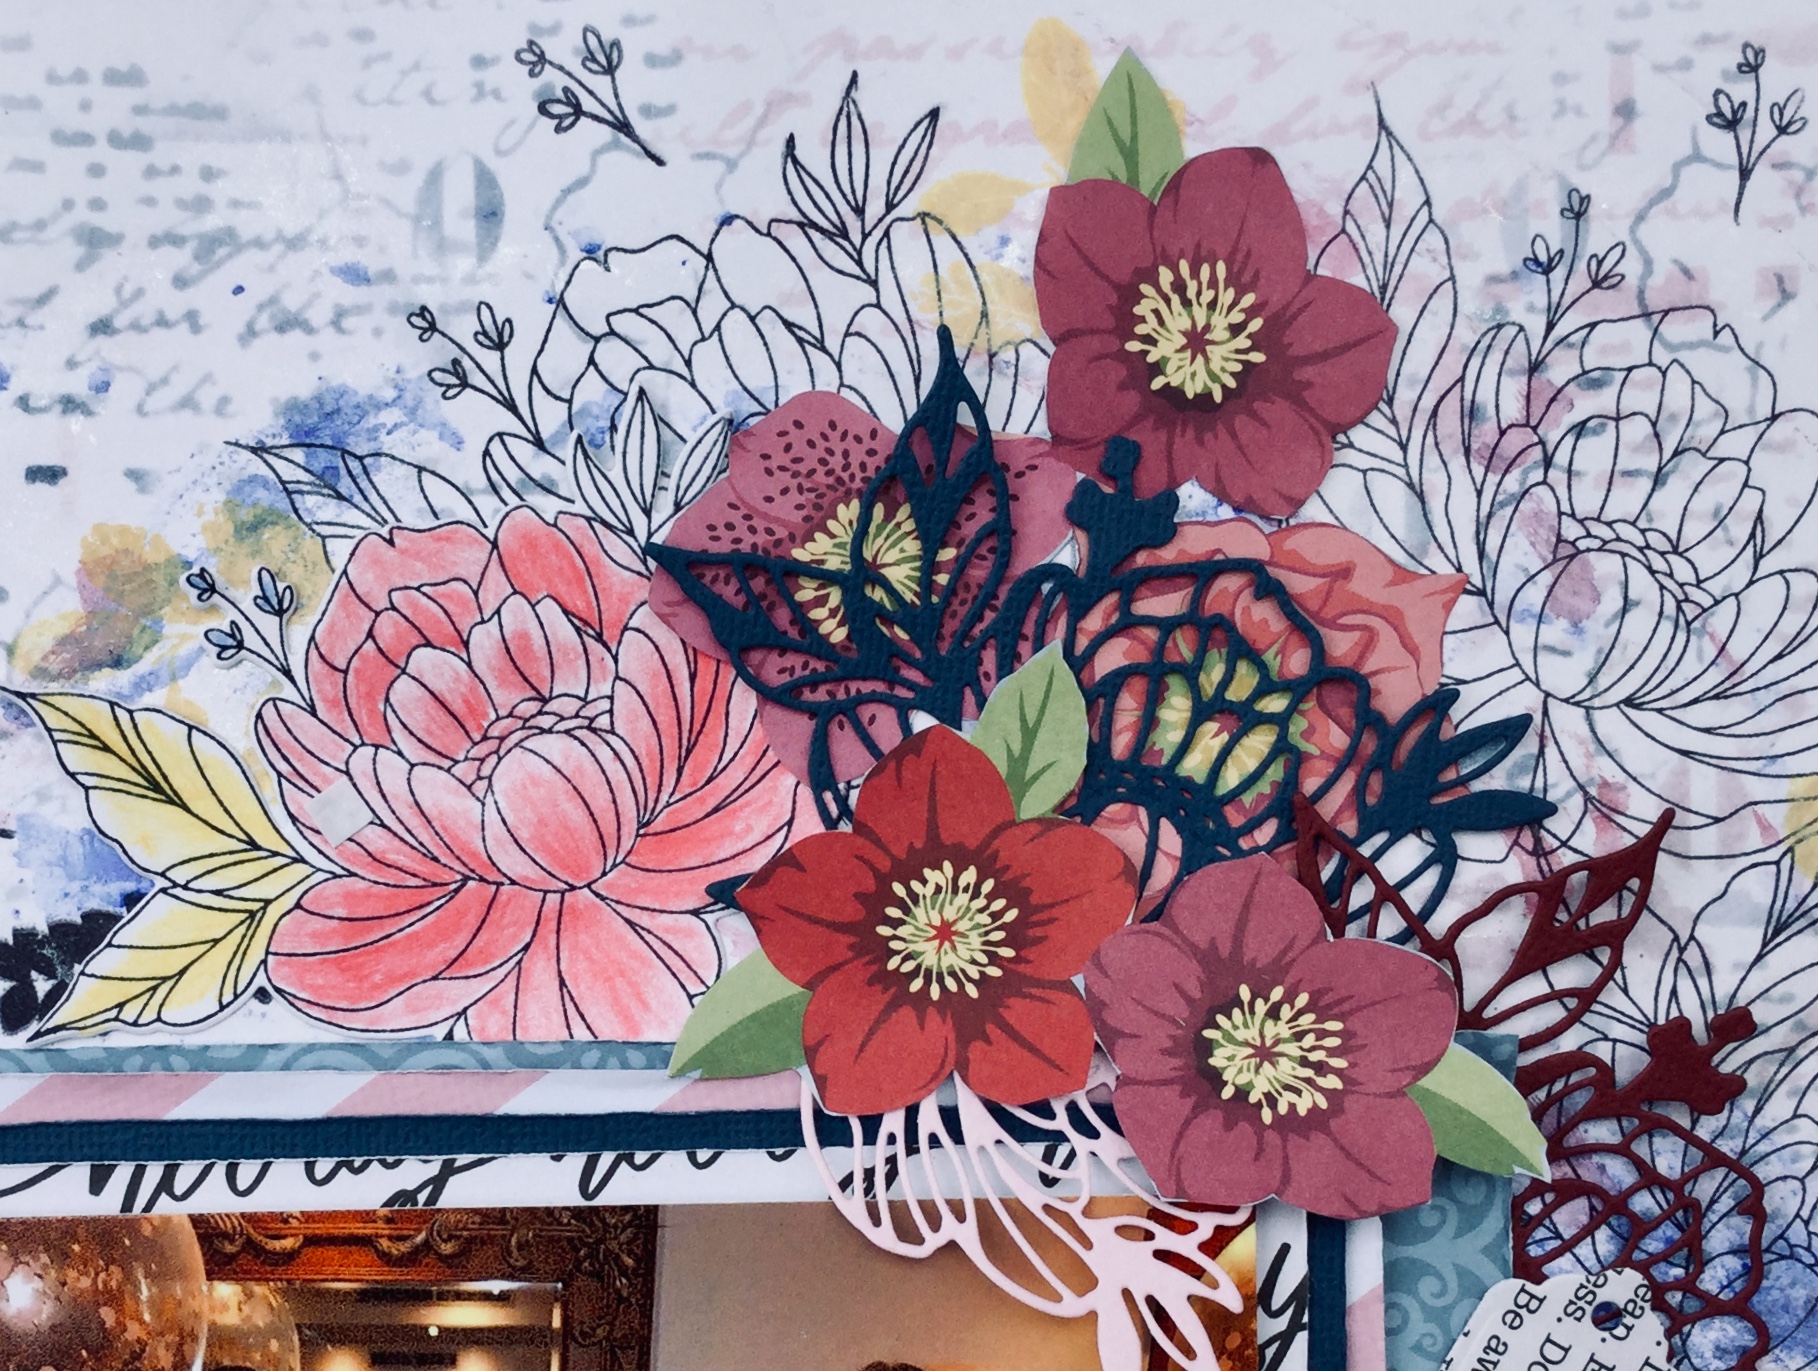
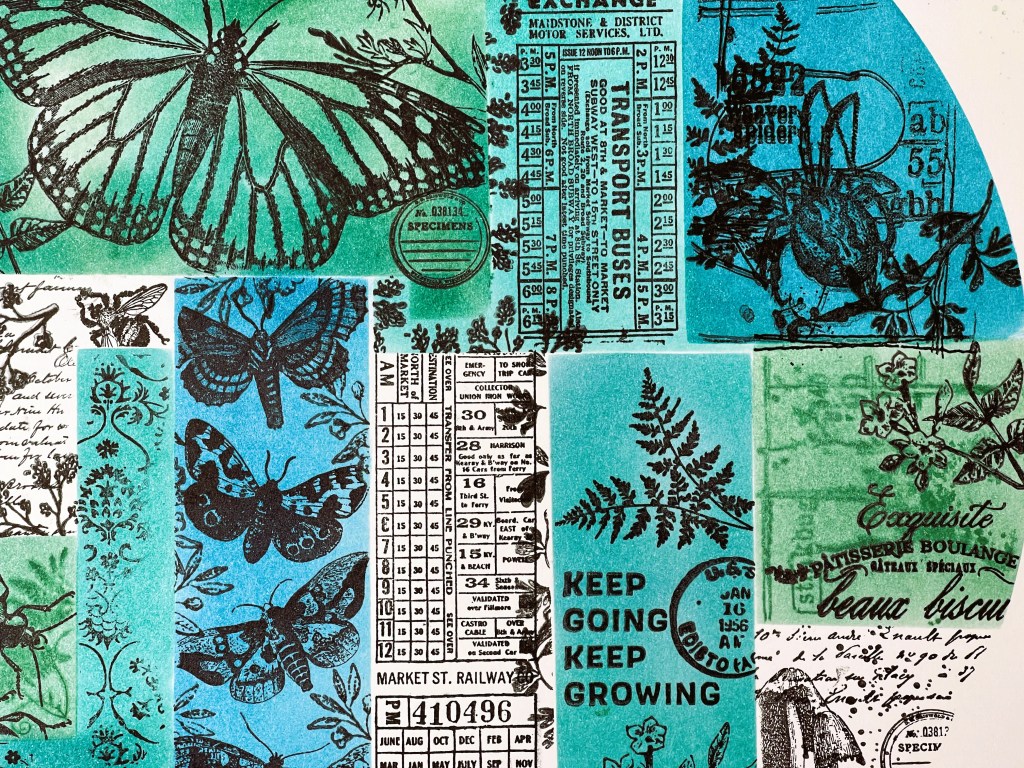
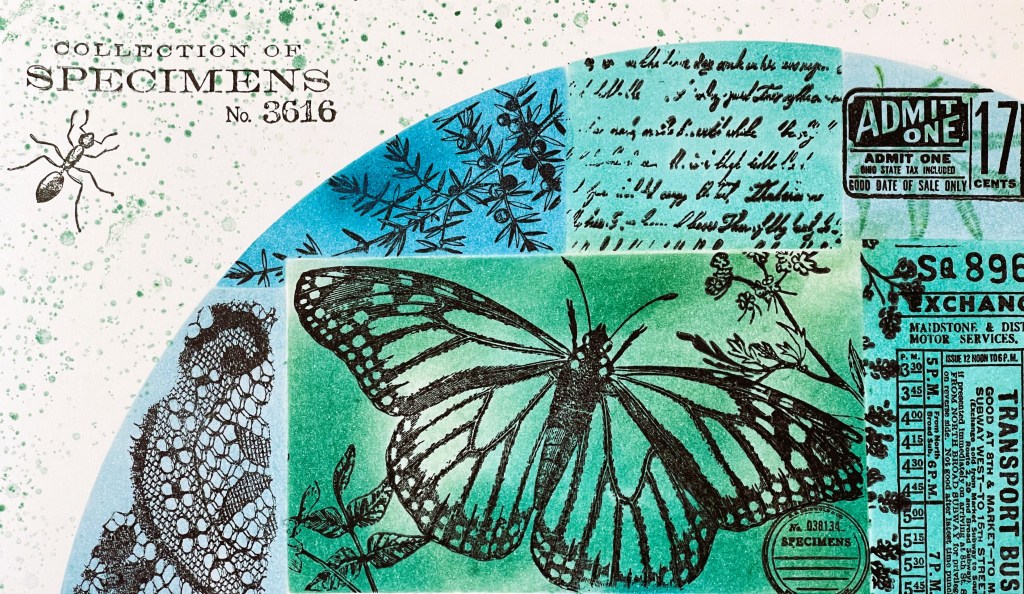
I have had a few requests regarding the stamped Spectrum Sherbet inspired 12×12 background that I created, shared on my blog, filmed and put on my YouTube channel. Some people were interested in seeing how I would use this background paper and others were keen to know which Tim Holtz inks I used. So, yesterday I created the layout, using more Tim Holtz distress ink and the 49 and Market-Spectrum Sherbet acetate embellishments (these are drool-worthy, love them). I love how it has turned out, the acetate embellishments really make a statement. The translucency of these allows for parts of the background to show through if you are using white or light cardstock, for instance, my ink splatters show through. However, some of the embellishments are opaque which is necessary in order for them to stand out on your page if you are using a heavily patterned background like I have. So, the acetate embellishments are pretty versatile, and a credit to the designer, they really thought about a crafter’s needs.
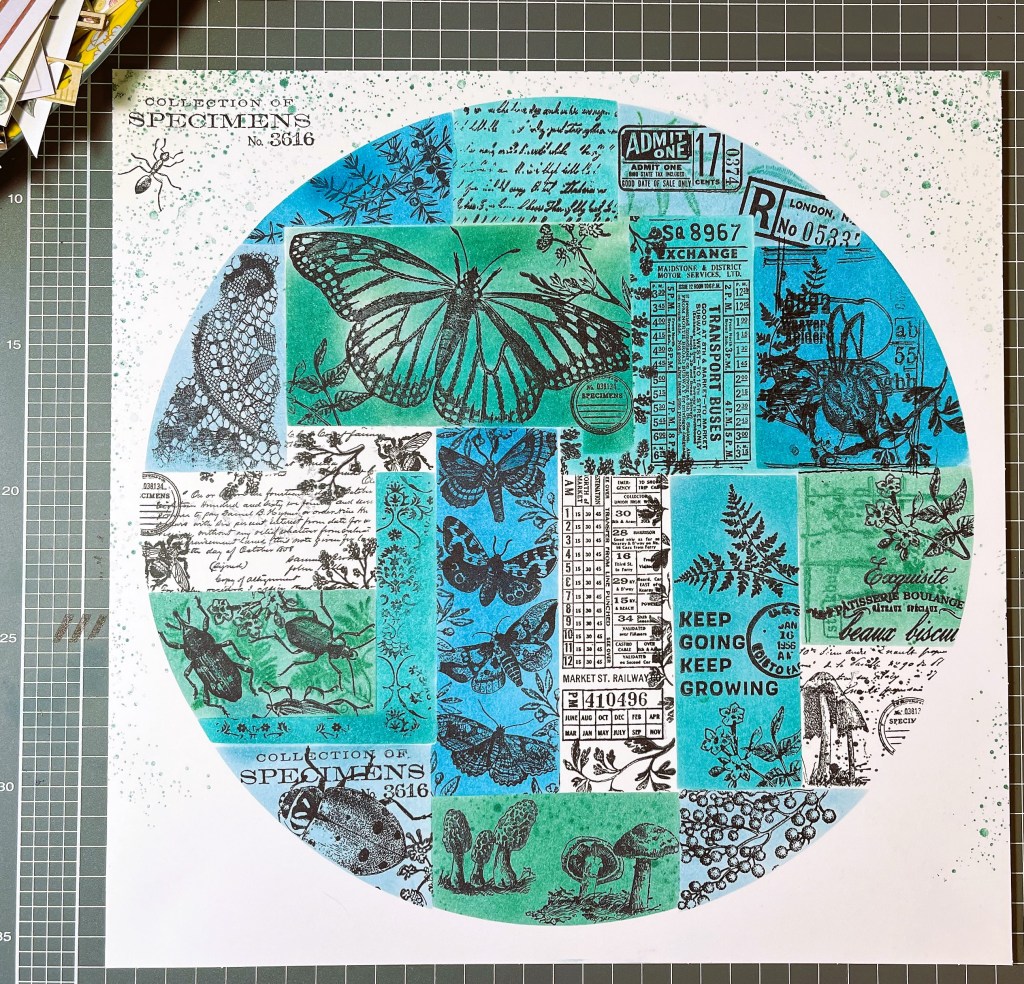
If you haven’t watched the ‘Make your own Spectrum Sherbet inspired scrapbook backgrounds’ video you can view it here. Later today my new video will come out showing how I assembled the layout and what products I used. I noted in the description the main products I used if you are interested. I have not included where to purchase any of the products, as I’m not affiliated with any companies, and I’m a big believer in encouraging you to shop local when possible or stay loyal to your favourite online store. Having said that, the 49 and Market, Spectrum Sherbet collection has been very popular worldwide and many stores sold out quickly, so you may have to search for stock.

Anyway, here’s what I did with it, in constructing the layout.
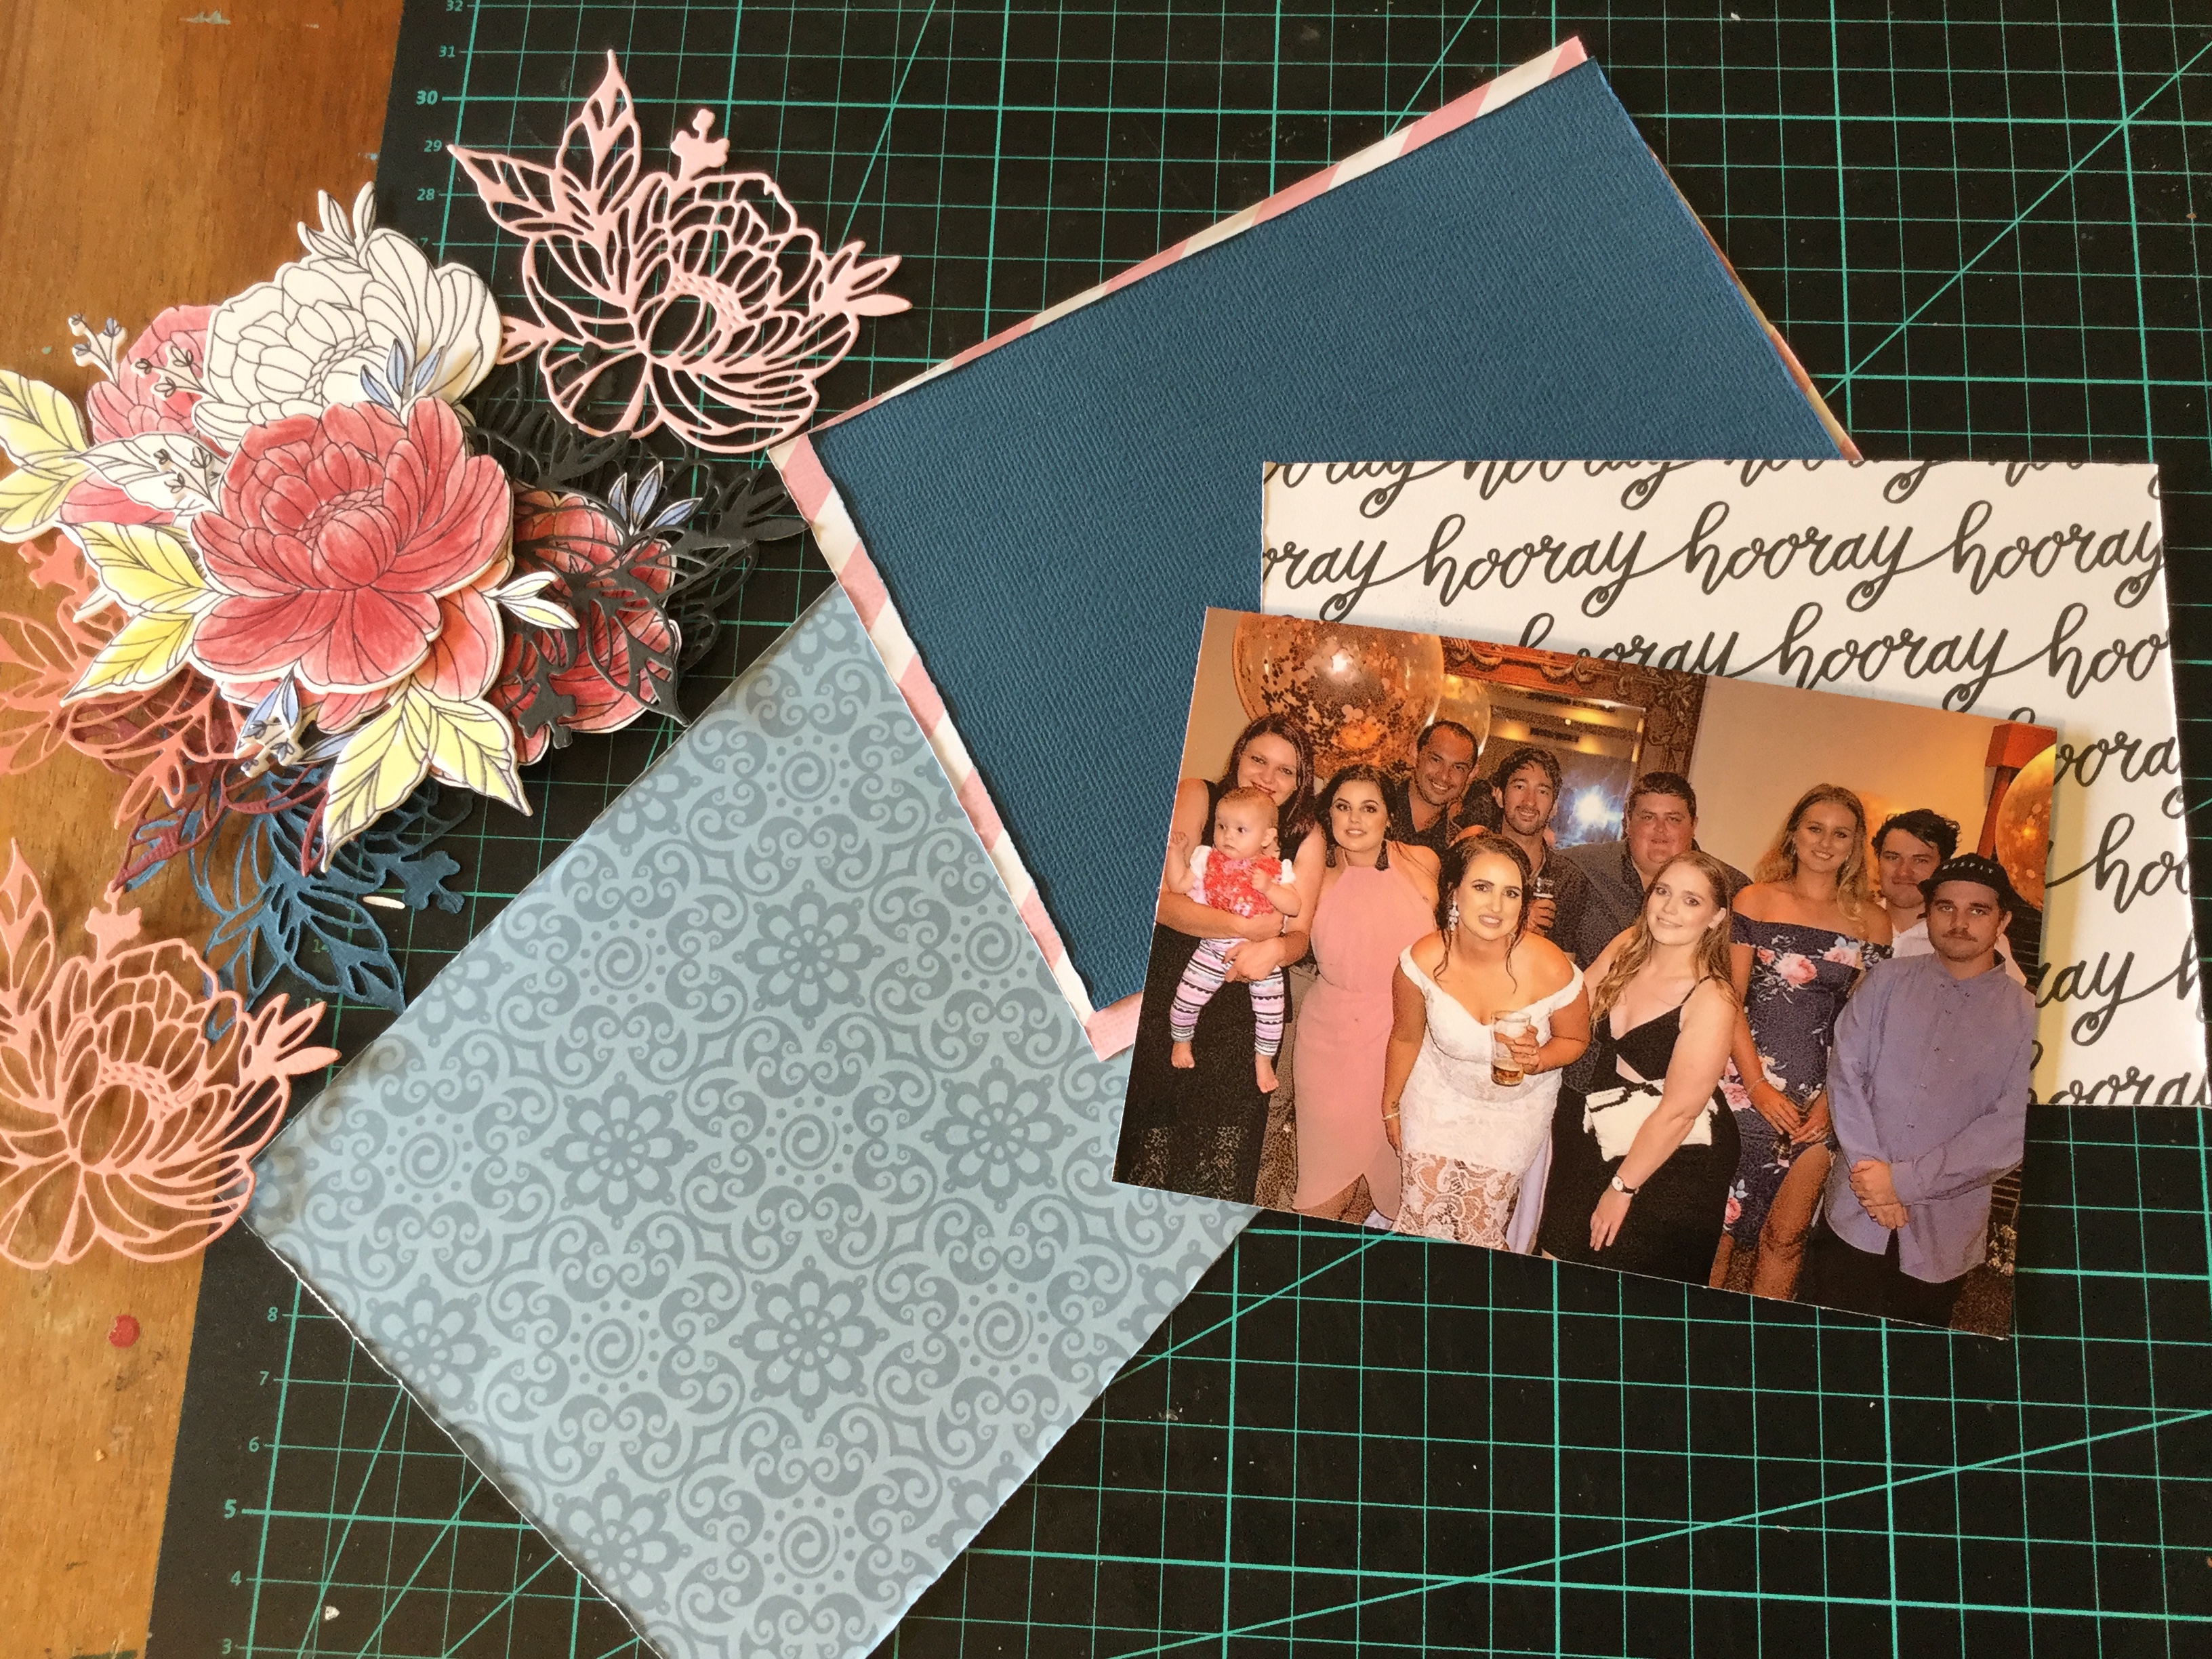
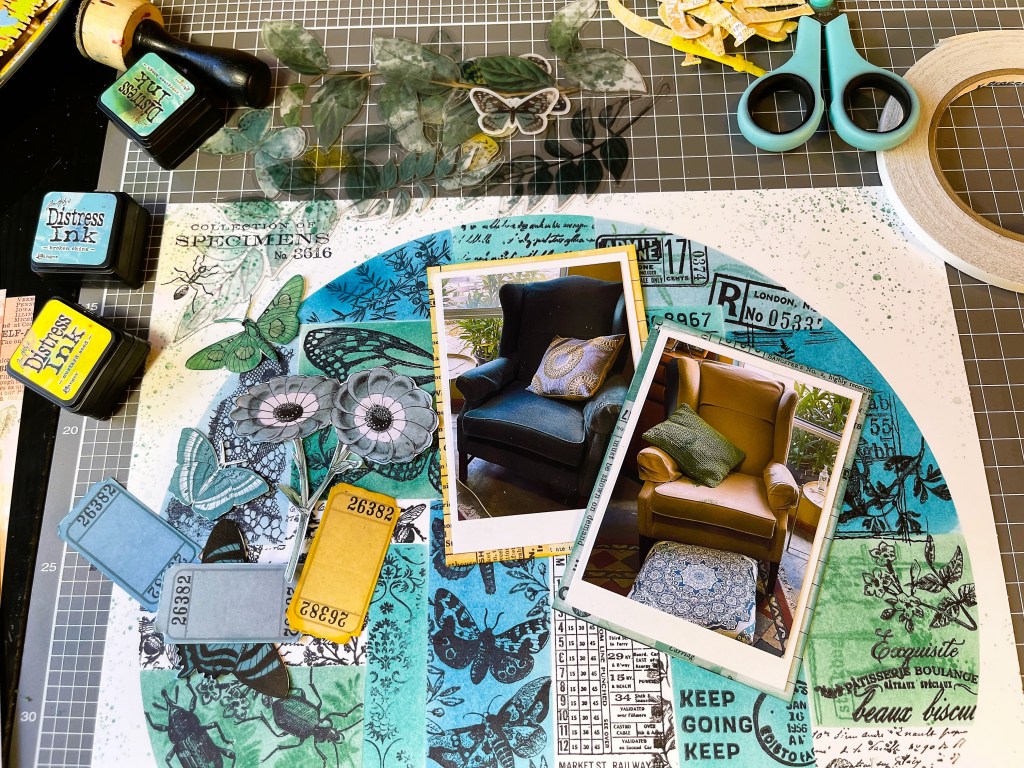
I used the embellishment sheet which comes with the collection. I needed some pieces which would pick up the colours on my stamped background and the colours in my photos. The photos which I’m using are of furniture, the latest to enter our house last month. I went to a local charity auction on my birthday and couldn’t quite believe it when no one was bidding on these two very lovely wingbacked chairs. The auctioneer was so desperate to sell them, with no bids happening, that he said $5! Well, then I couldn’t not bid, I raised my auction card knowing that others would then start bidding, only they didn’t and so, I ended up winning the bid. I am now the very happy owner of two wingback chairs that only cost me $5 for both! Did I need any chairs…no! We are now contemplating which lounge to get rid of, as things are a little tight in the living room.


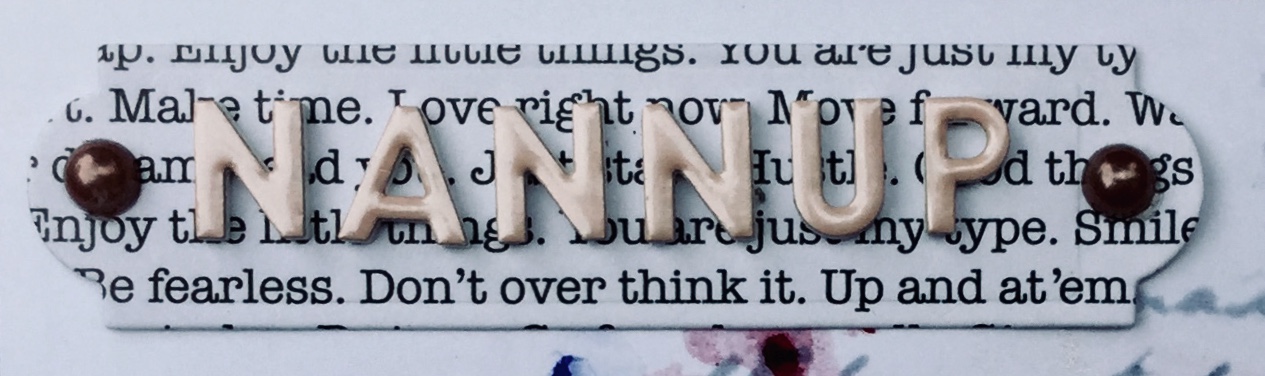
Next, I double-matted my photos using some white cardstock and some of the 49 and Market-Spectrum Sherbet-Classics papers. Then, I made my title using some Paper Roses alpha dies, the Spectrum Sherbet-Classics-Brumbleberry paper (B-side) and some adhesive foam to give the title some dimension.


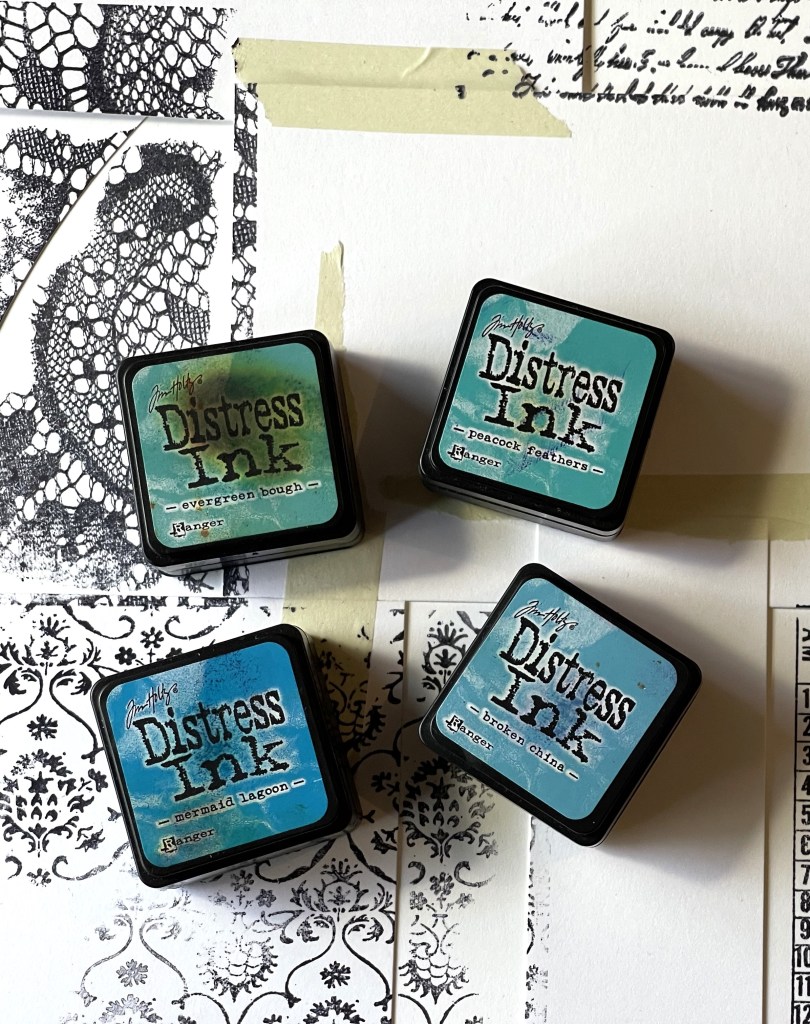
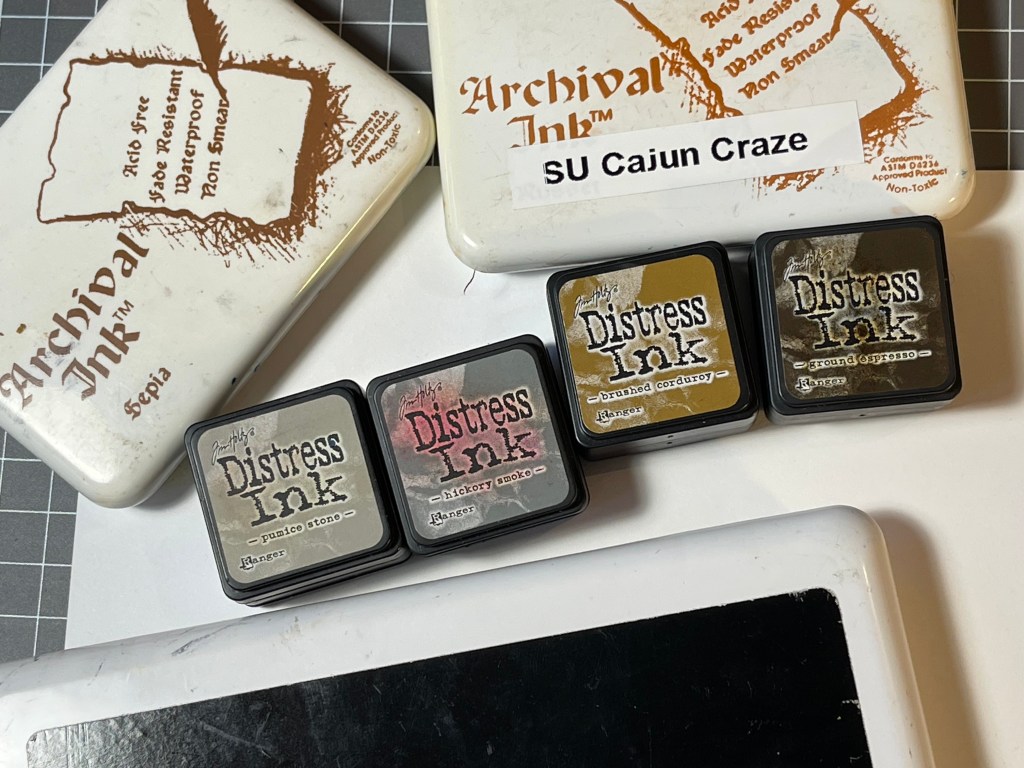
I inked the edges of my photo mats and my cut-apart embellishments. The inks I used were Tim Holtz distress inks – Broken China, Peacock Feathers, Mermaid Lagoon, Evergreen Bough and Mustard Seed (my favourite yellow).
Time to put it all together, it was just a matter of layering the embellishments. I use wet glue, Mono Aqua Liquid Glue, and double-sided tape to adhere everything. The Mono Aqua Liquid Glue worked really well to adhere the acetate embellishments, as it’s a clear glue.

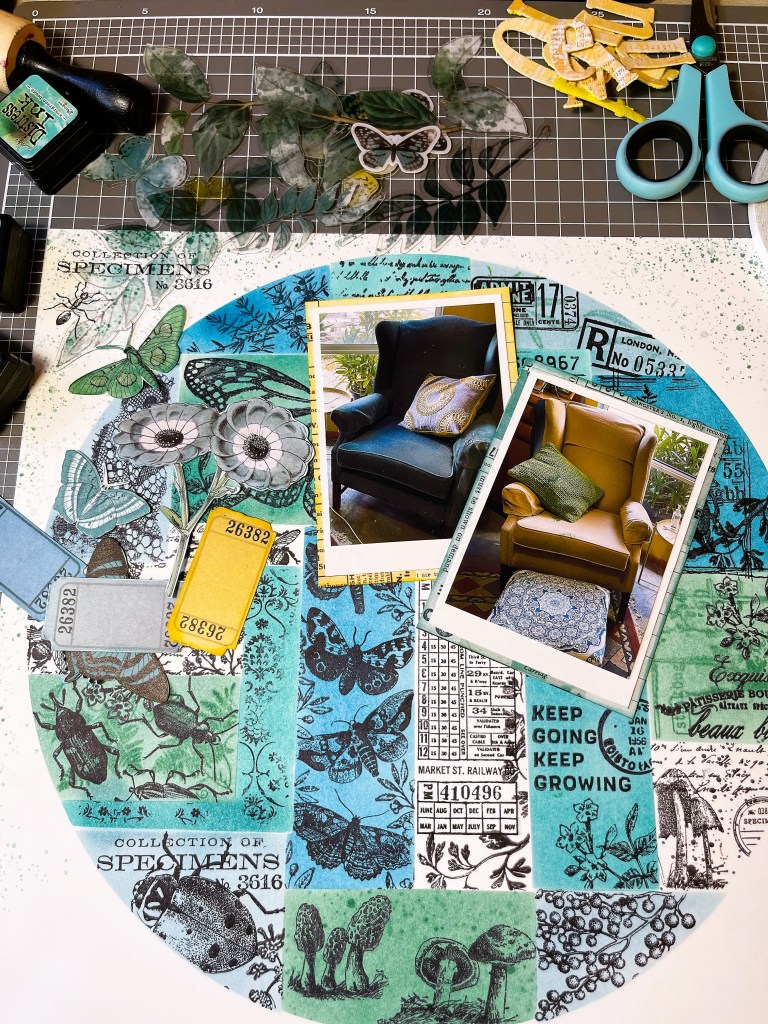
Overall, I am very pleased with how it looks.
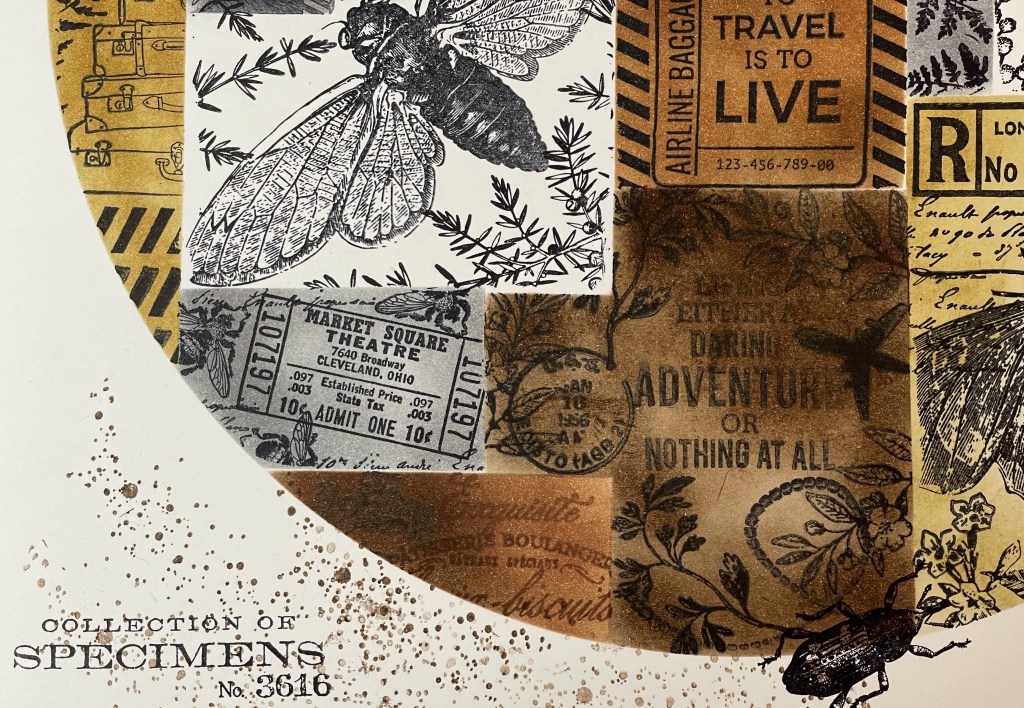
My next layout share will be working with the brown/grey stamped background I created, also inspired by the collaged effect found on the B-side papers from the 49 and Market-Spectrum Sherbet Classics pack. You can view images of this stamped background in my last blog post, scroll right to the bottom to view them.


To view the process video click here.
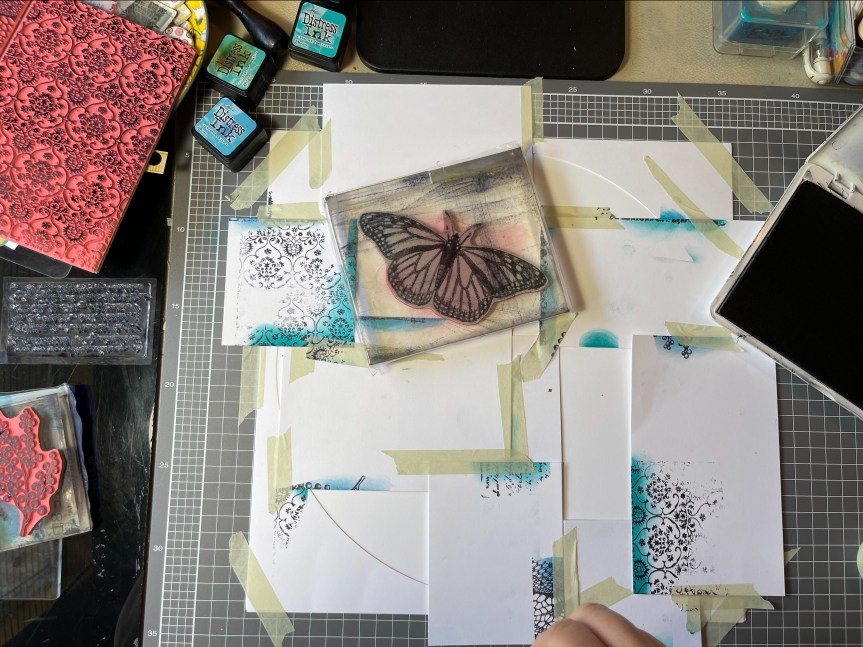
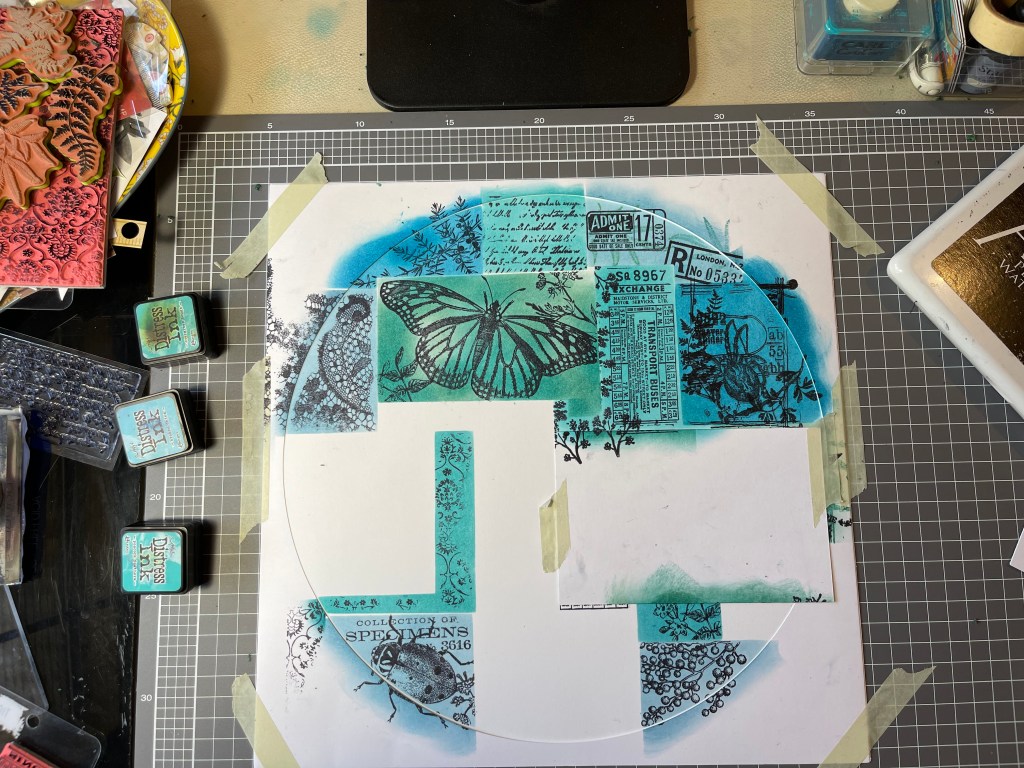
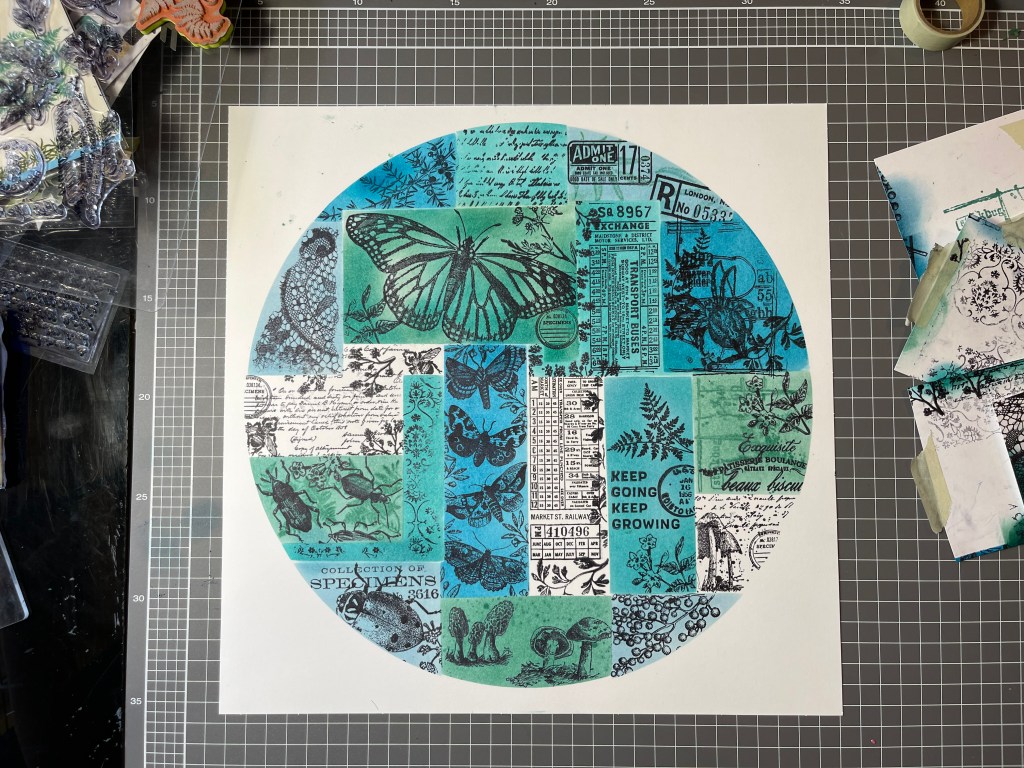
To view how to make the stamped background click here.


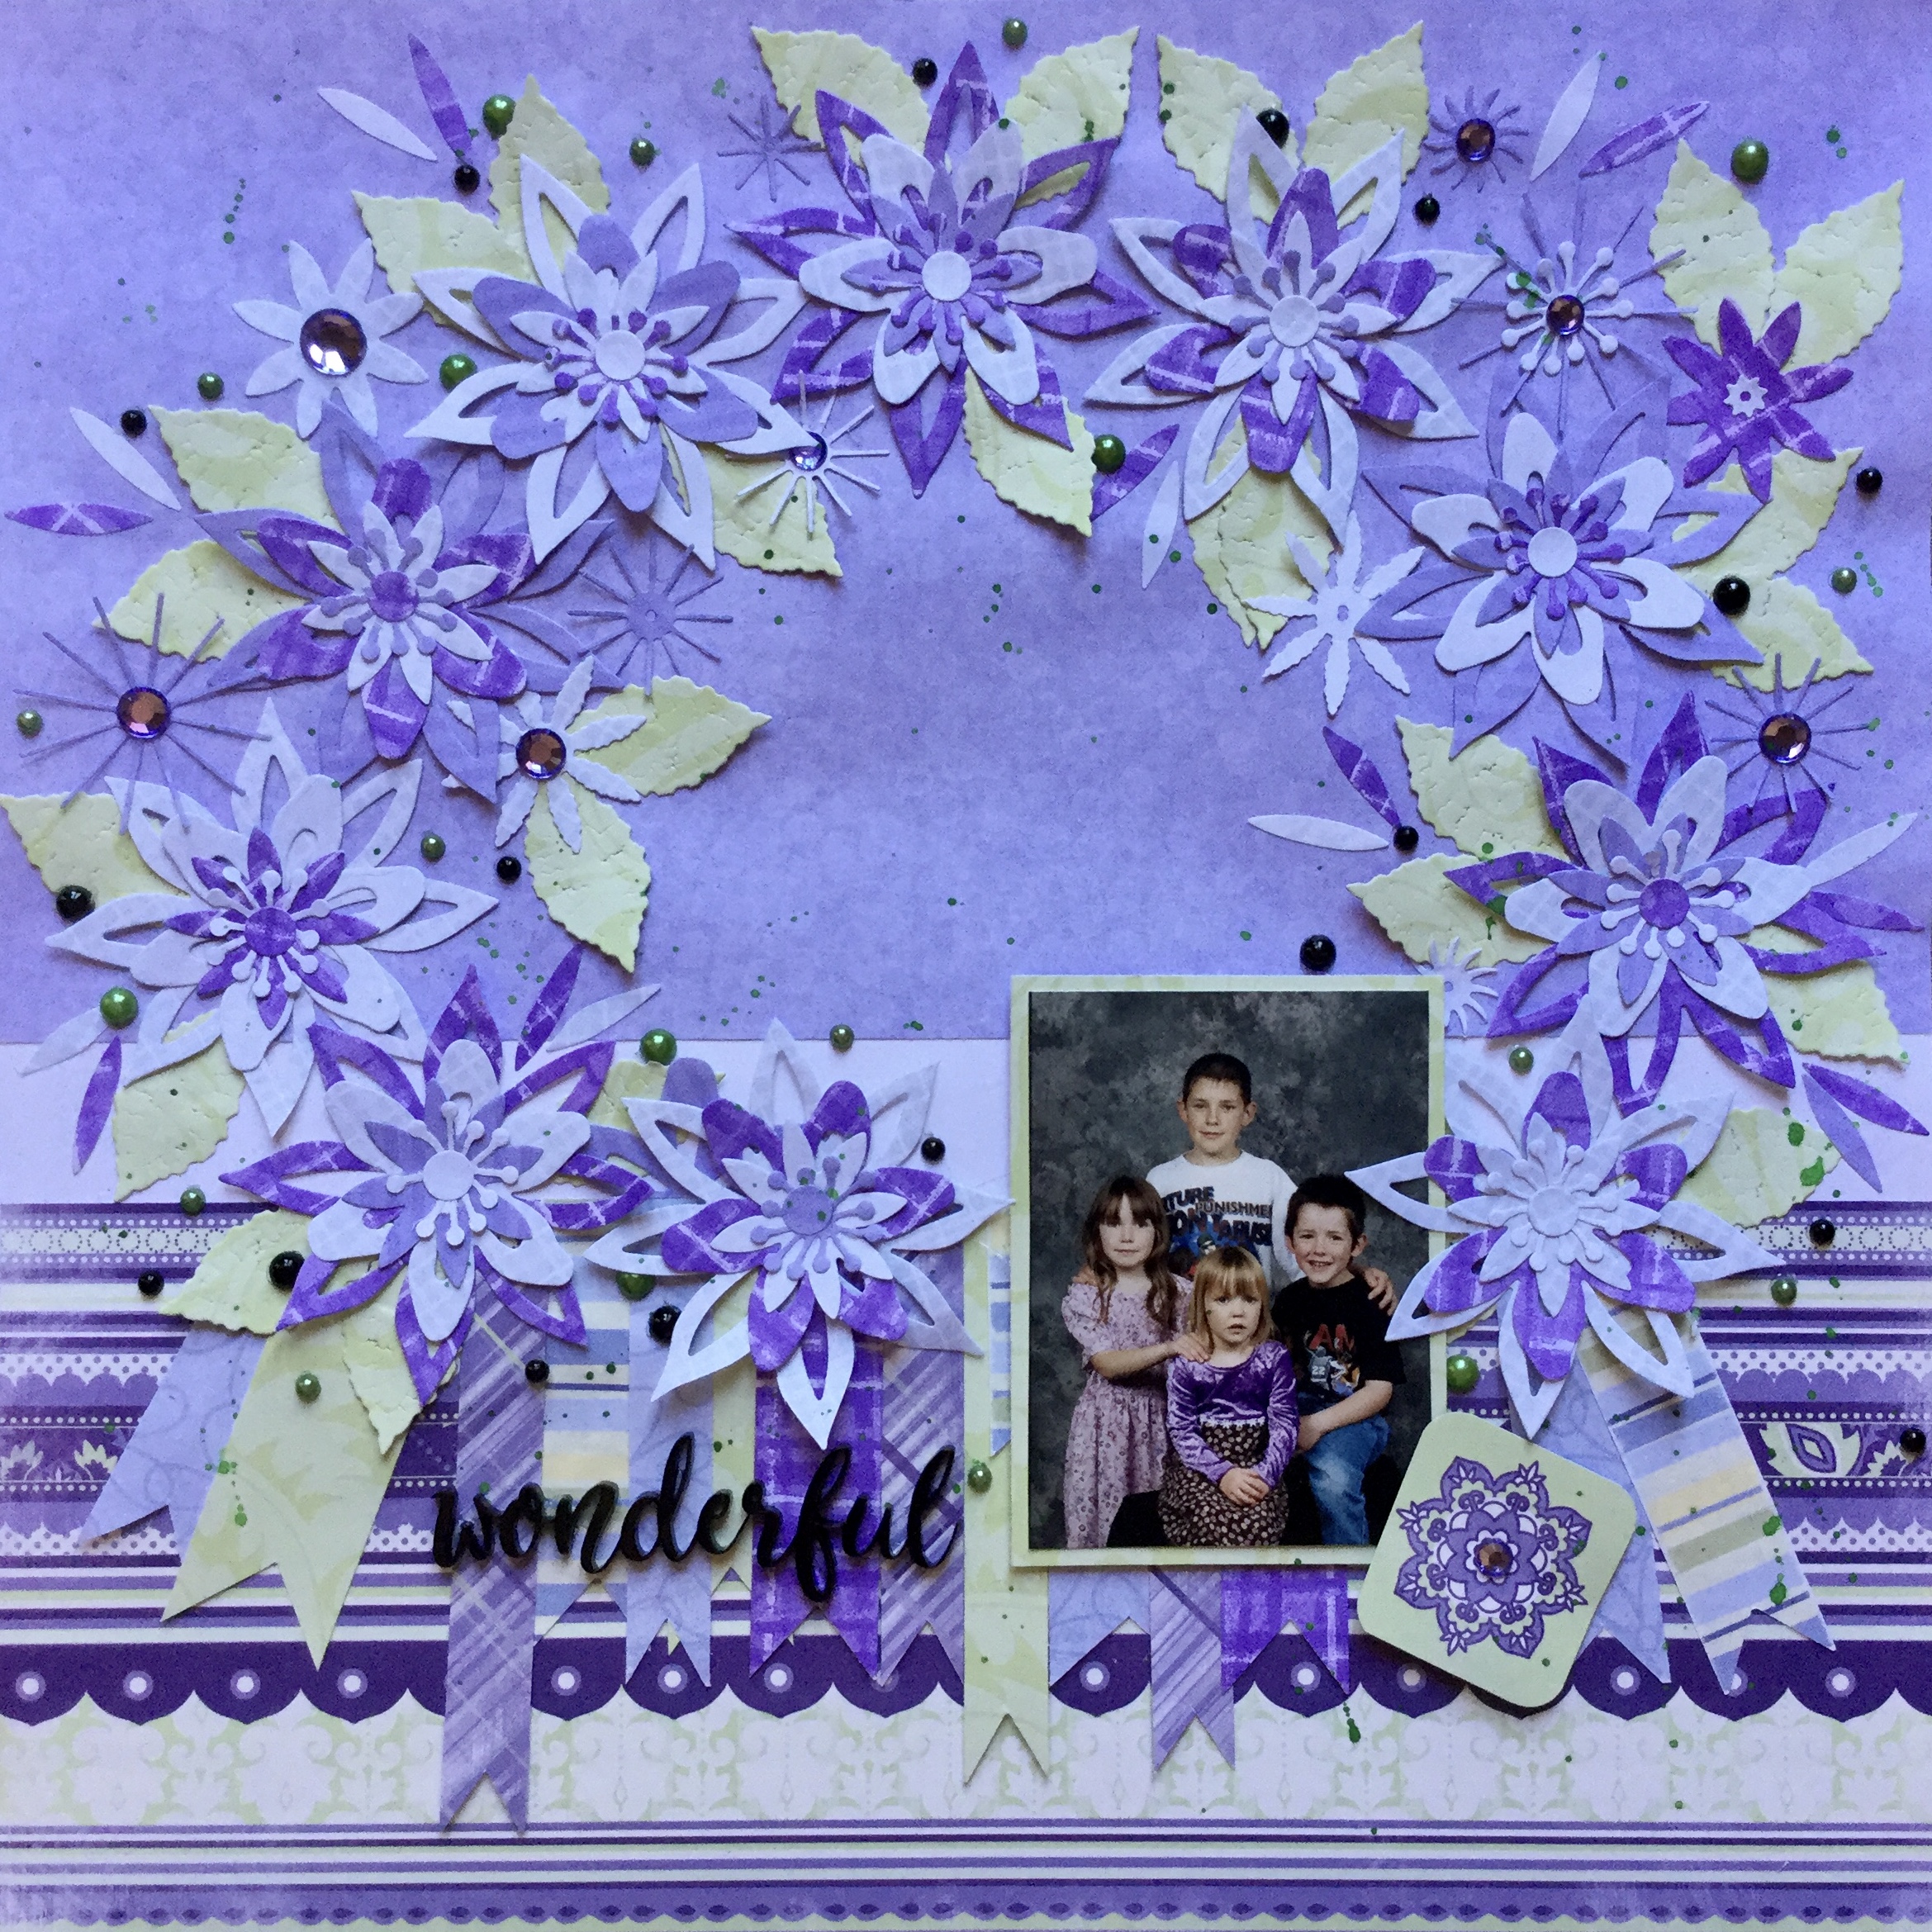
 that I don’t know who created the original layout, I tried Google image search and had no luck…they linked it to artificial flowers! I wonder why? Haha. So, if you know whose layout this is please let me know, I would like to credit them? What I loved about this layout was the negative space and the layering on both sides of the layout.


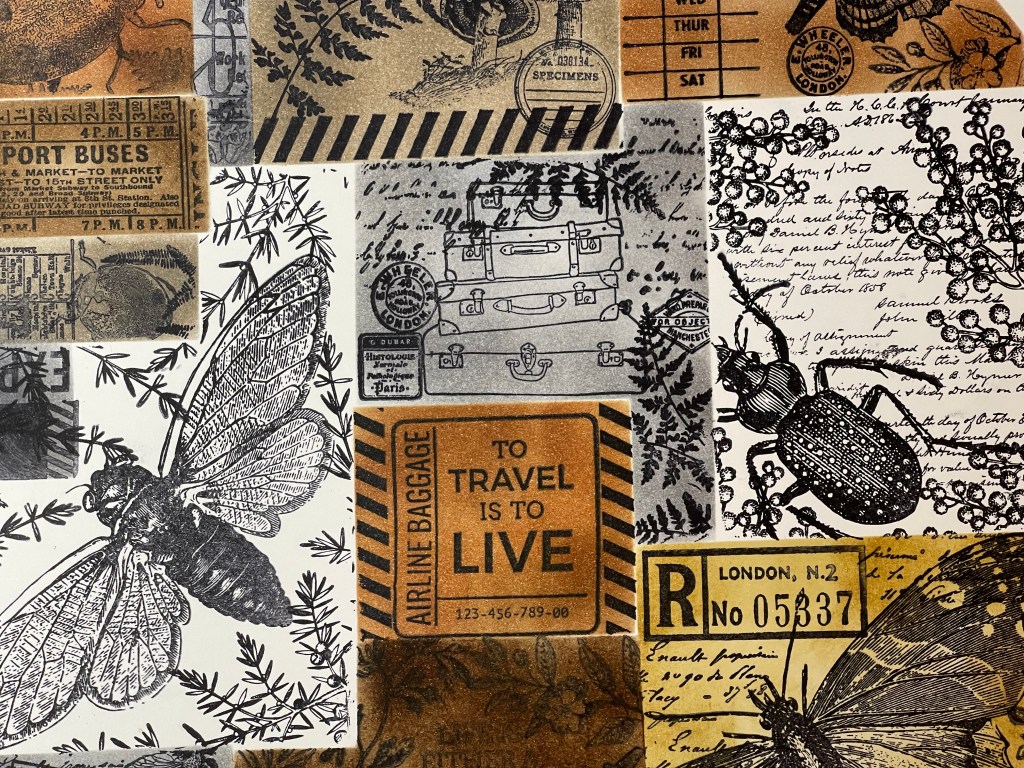
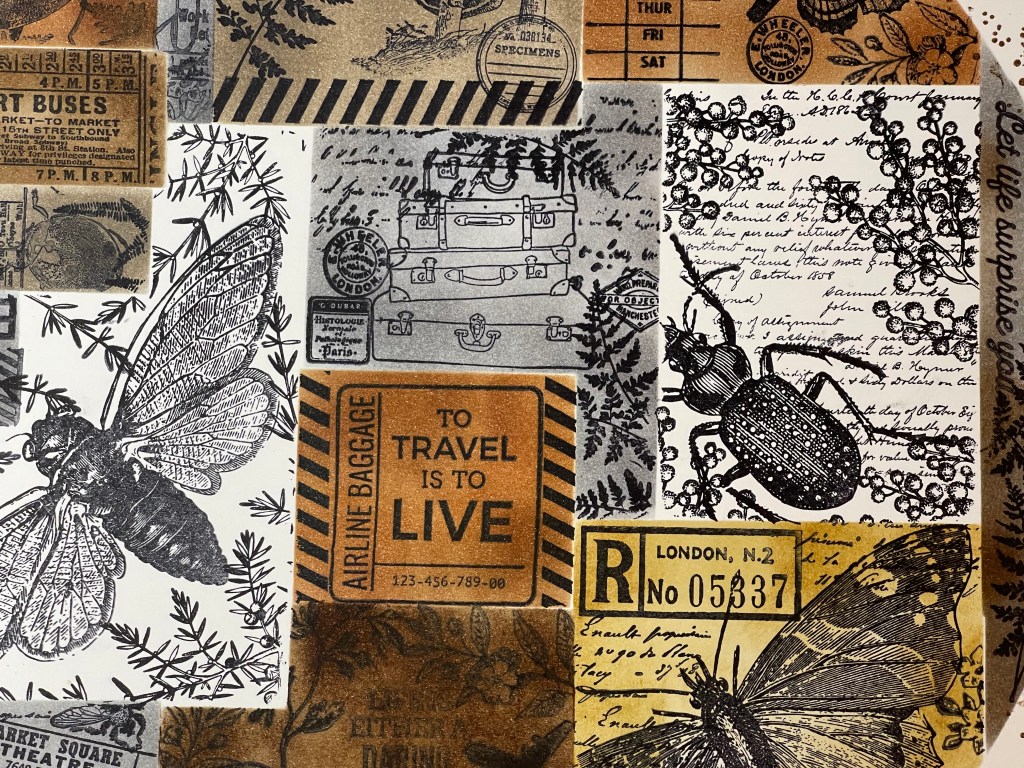
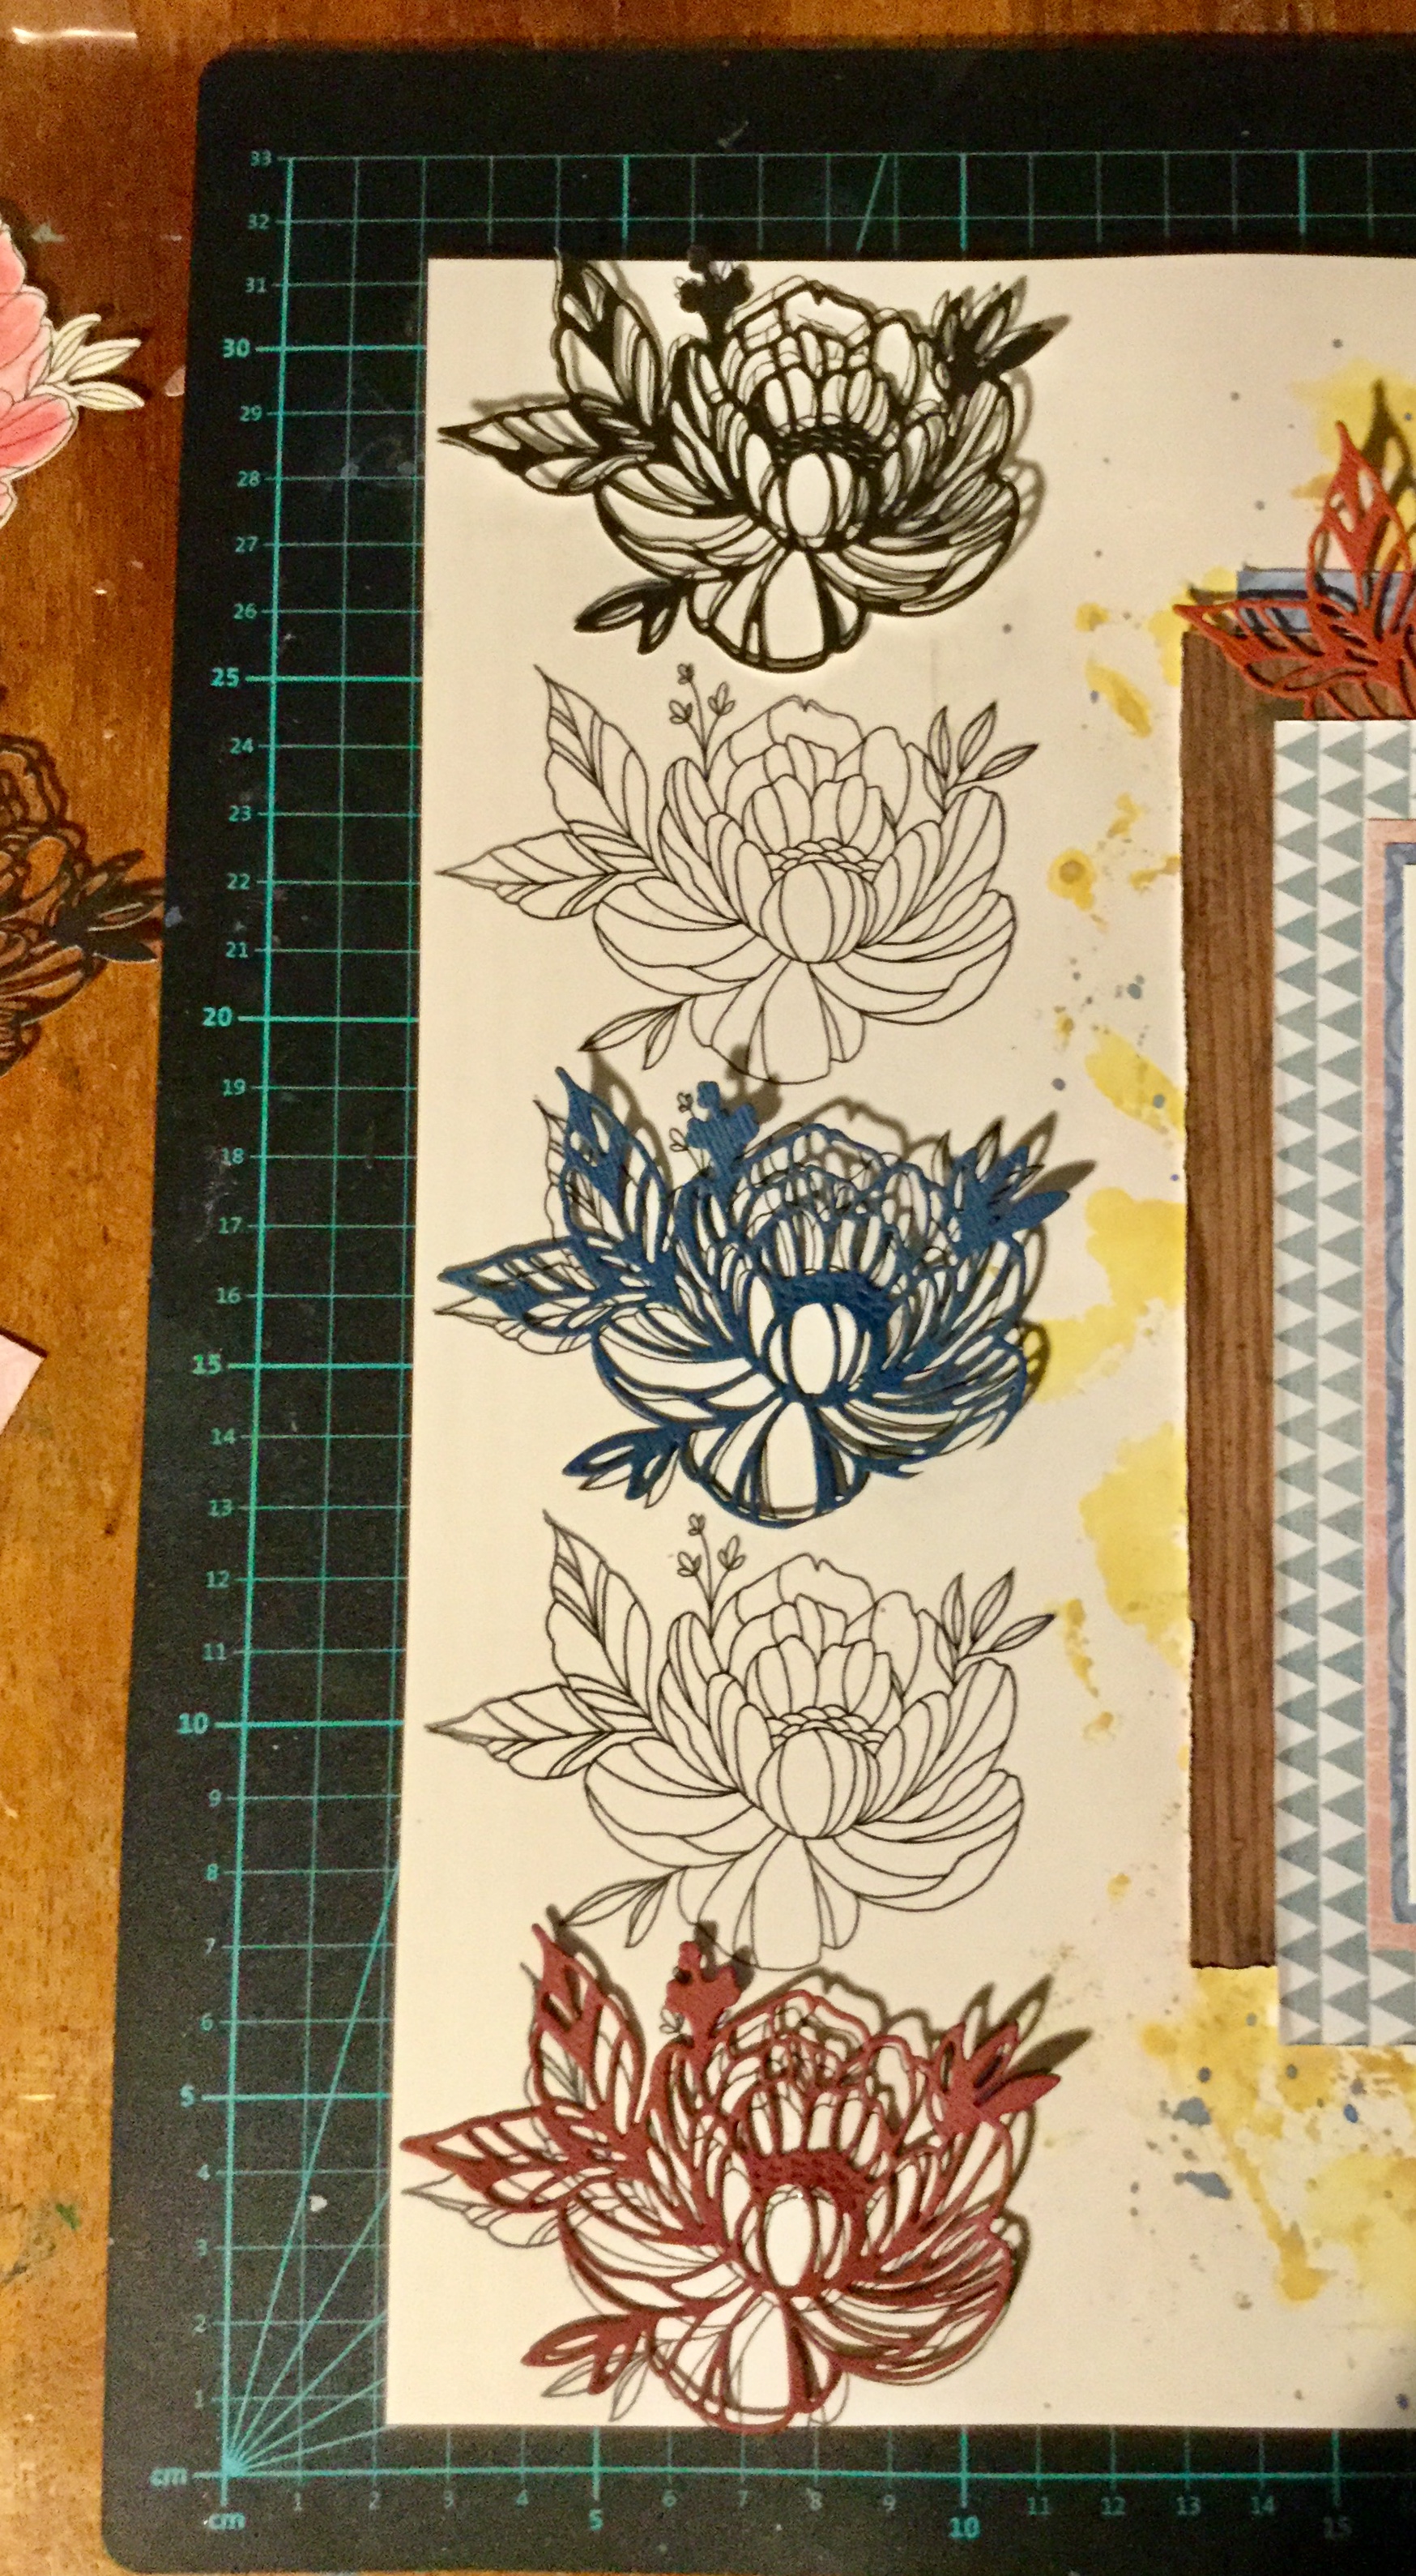
 by rubbing each image with a little Tim Holtz Distress Micro Glaze. It just makes the colour pop a little more and looks like a bought die cut. I also printed a heritage document from the website recommended on RTS,


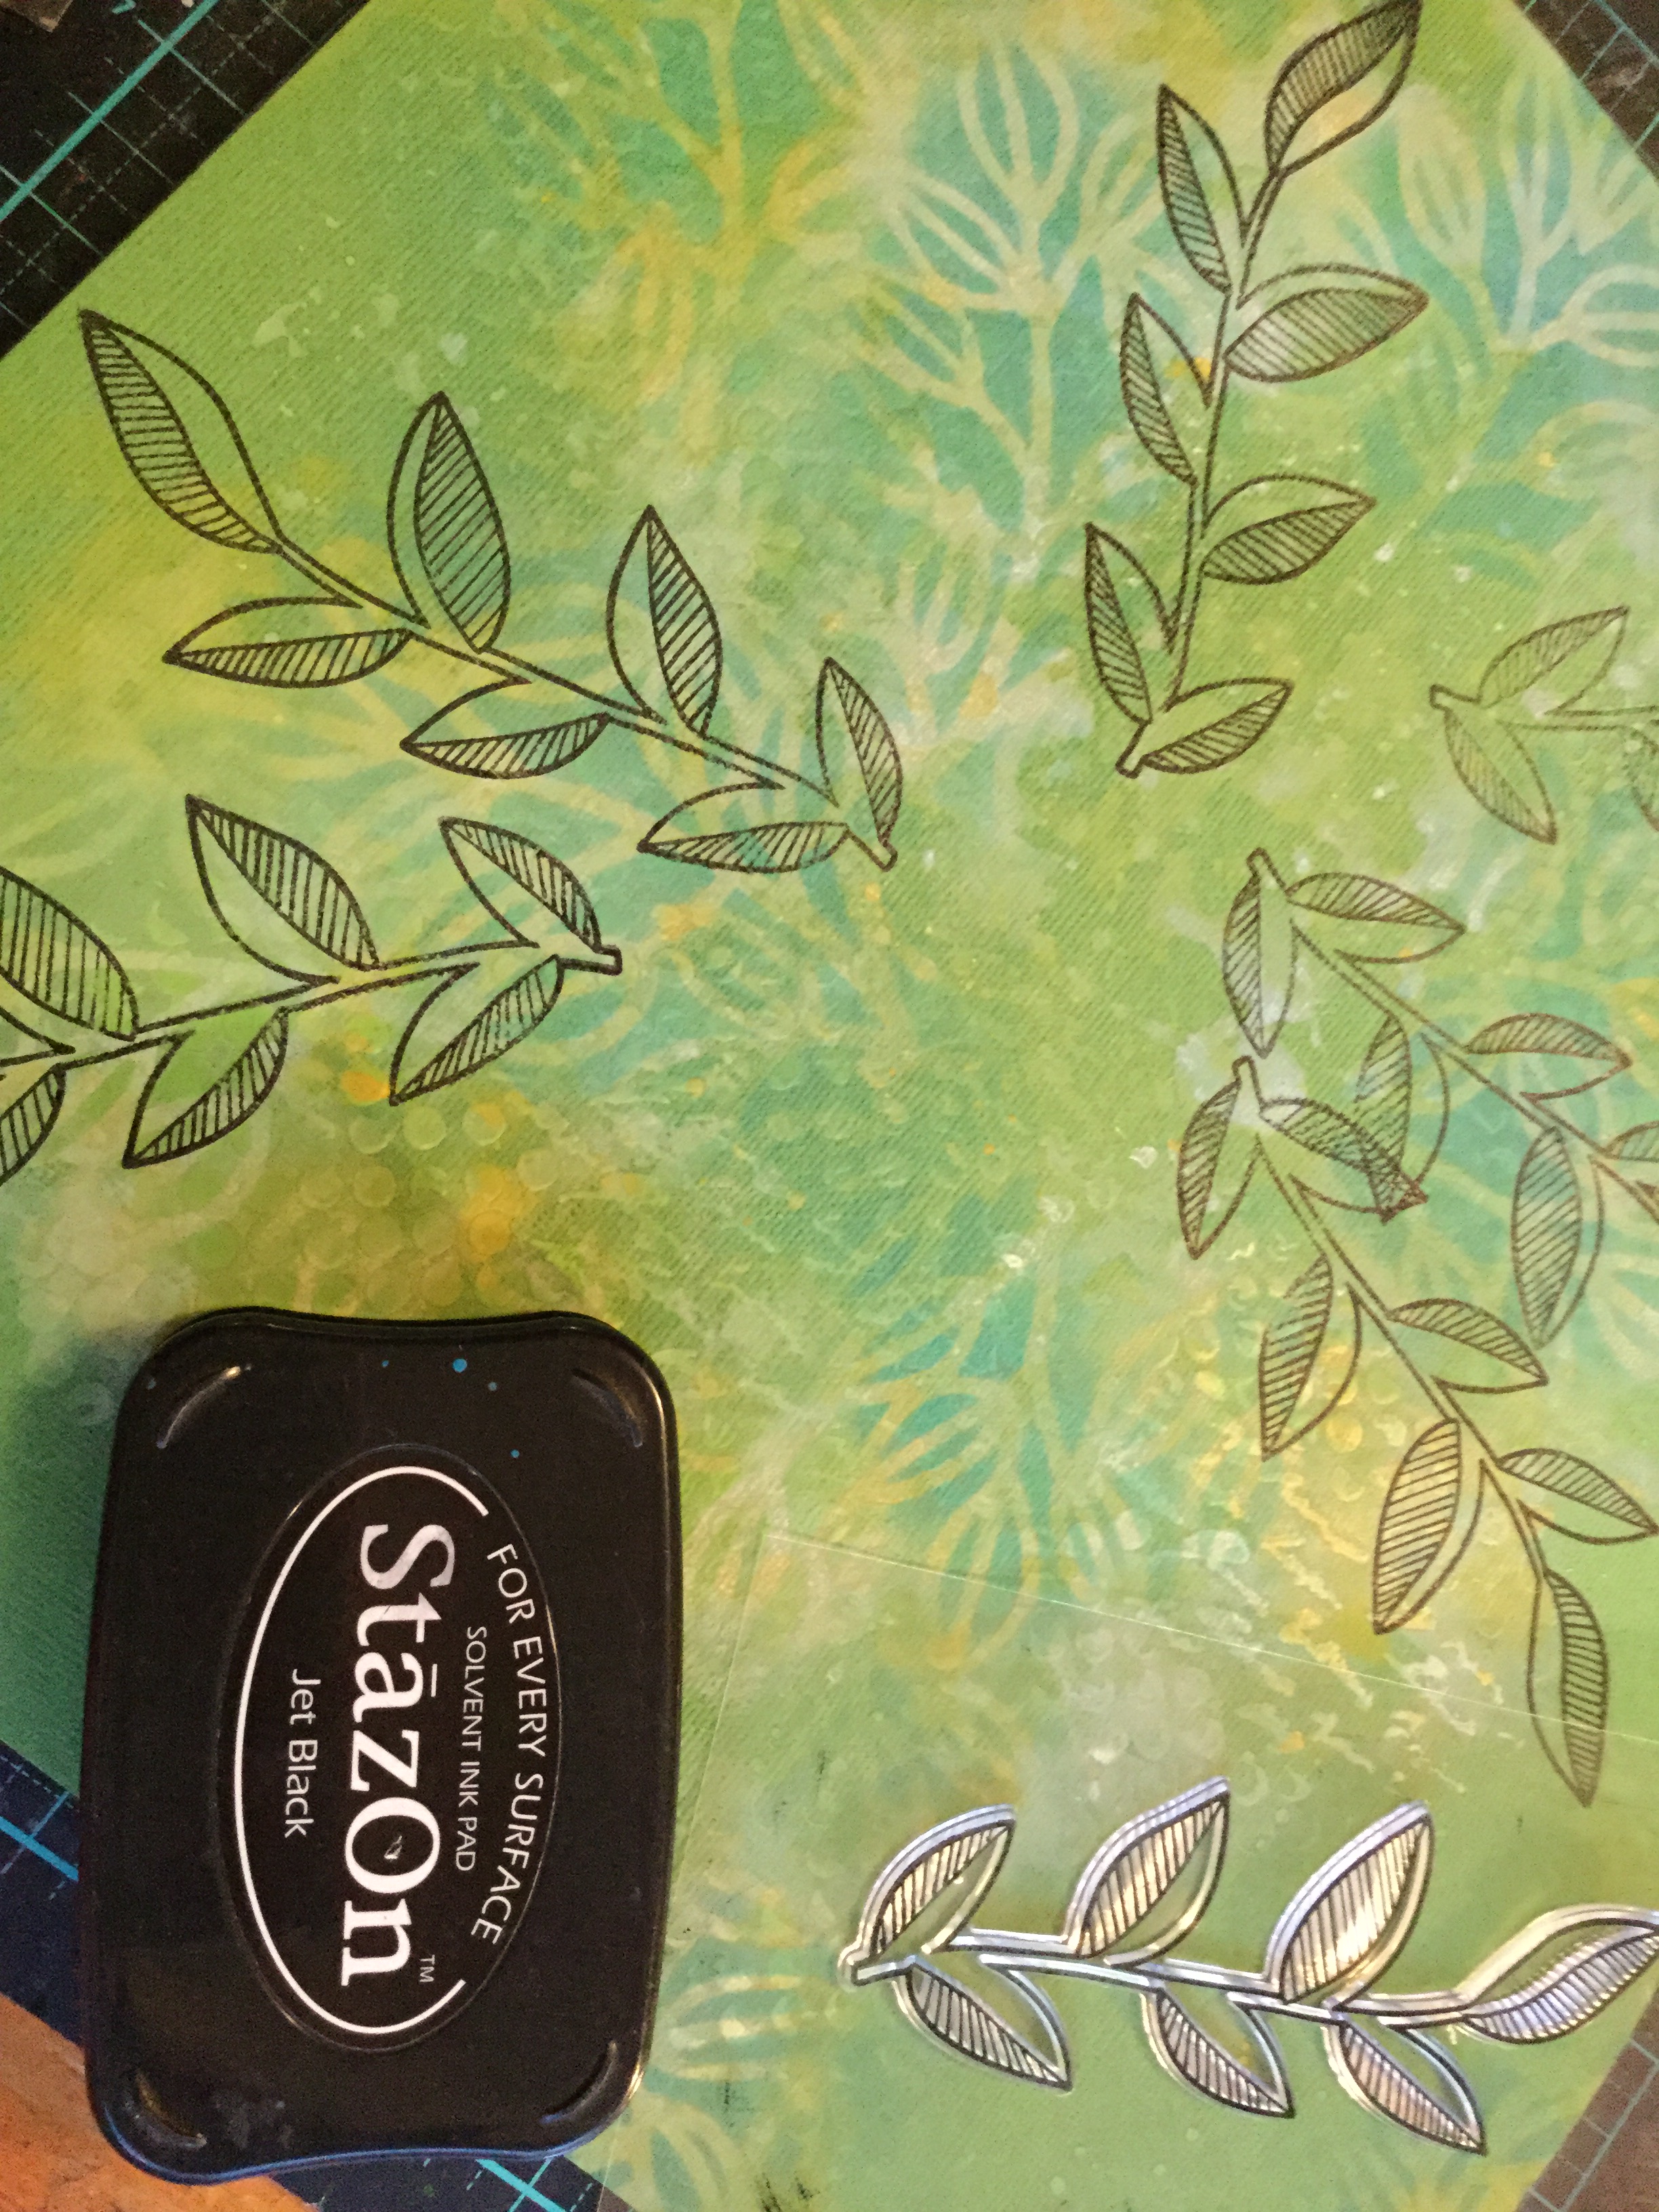
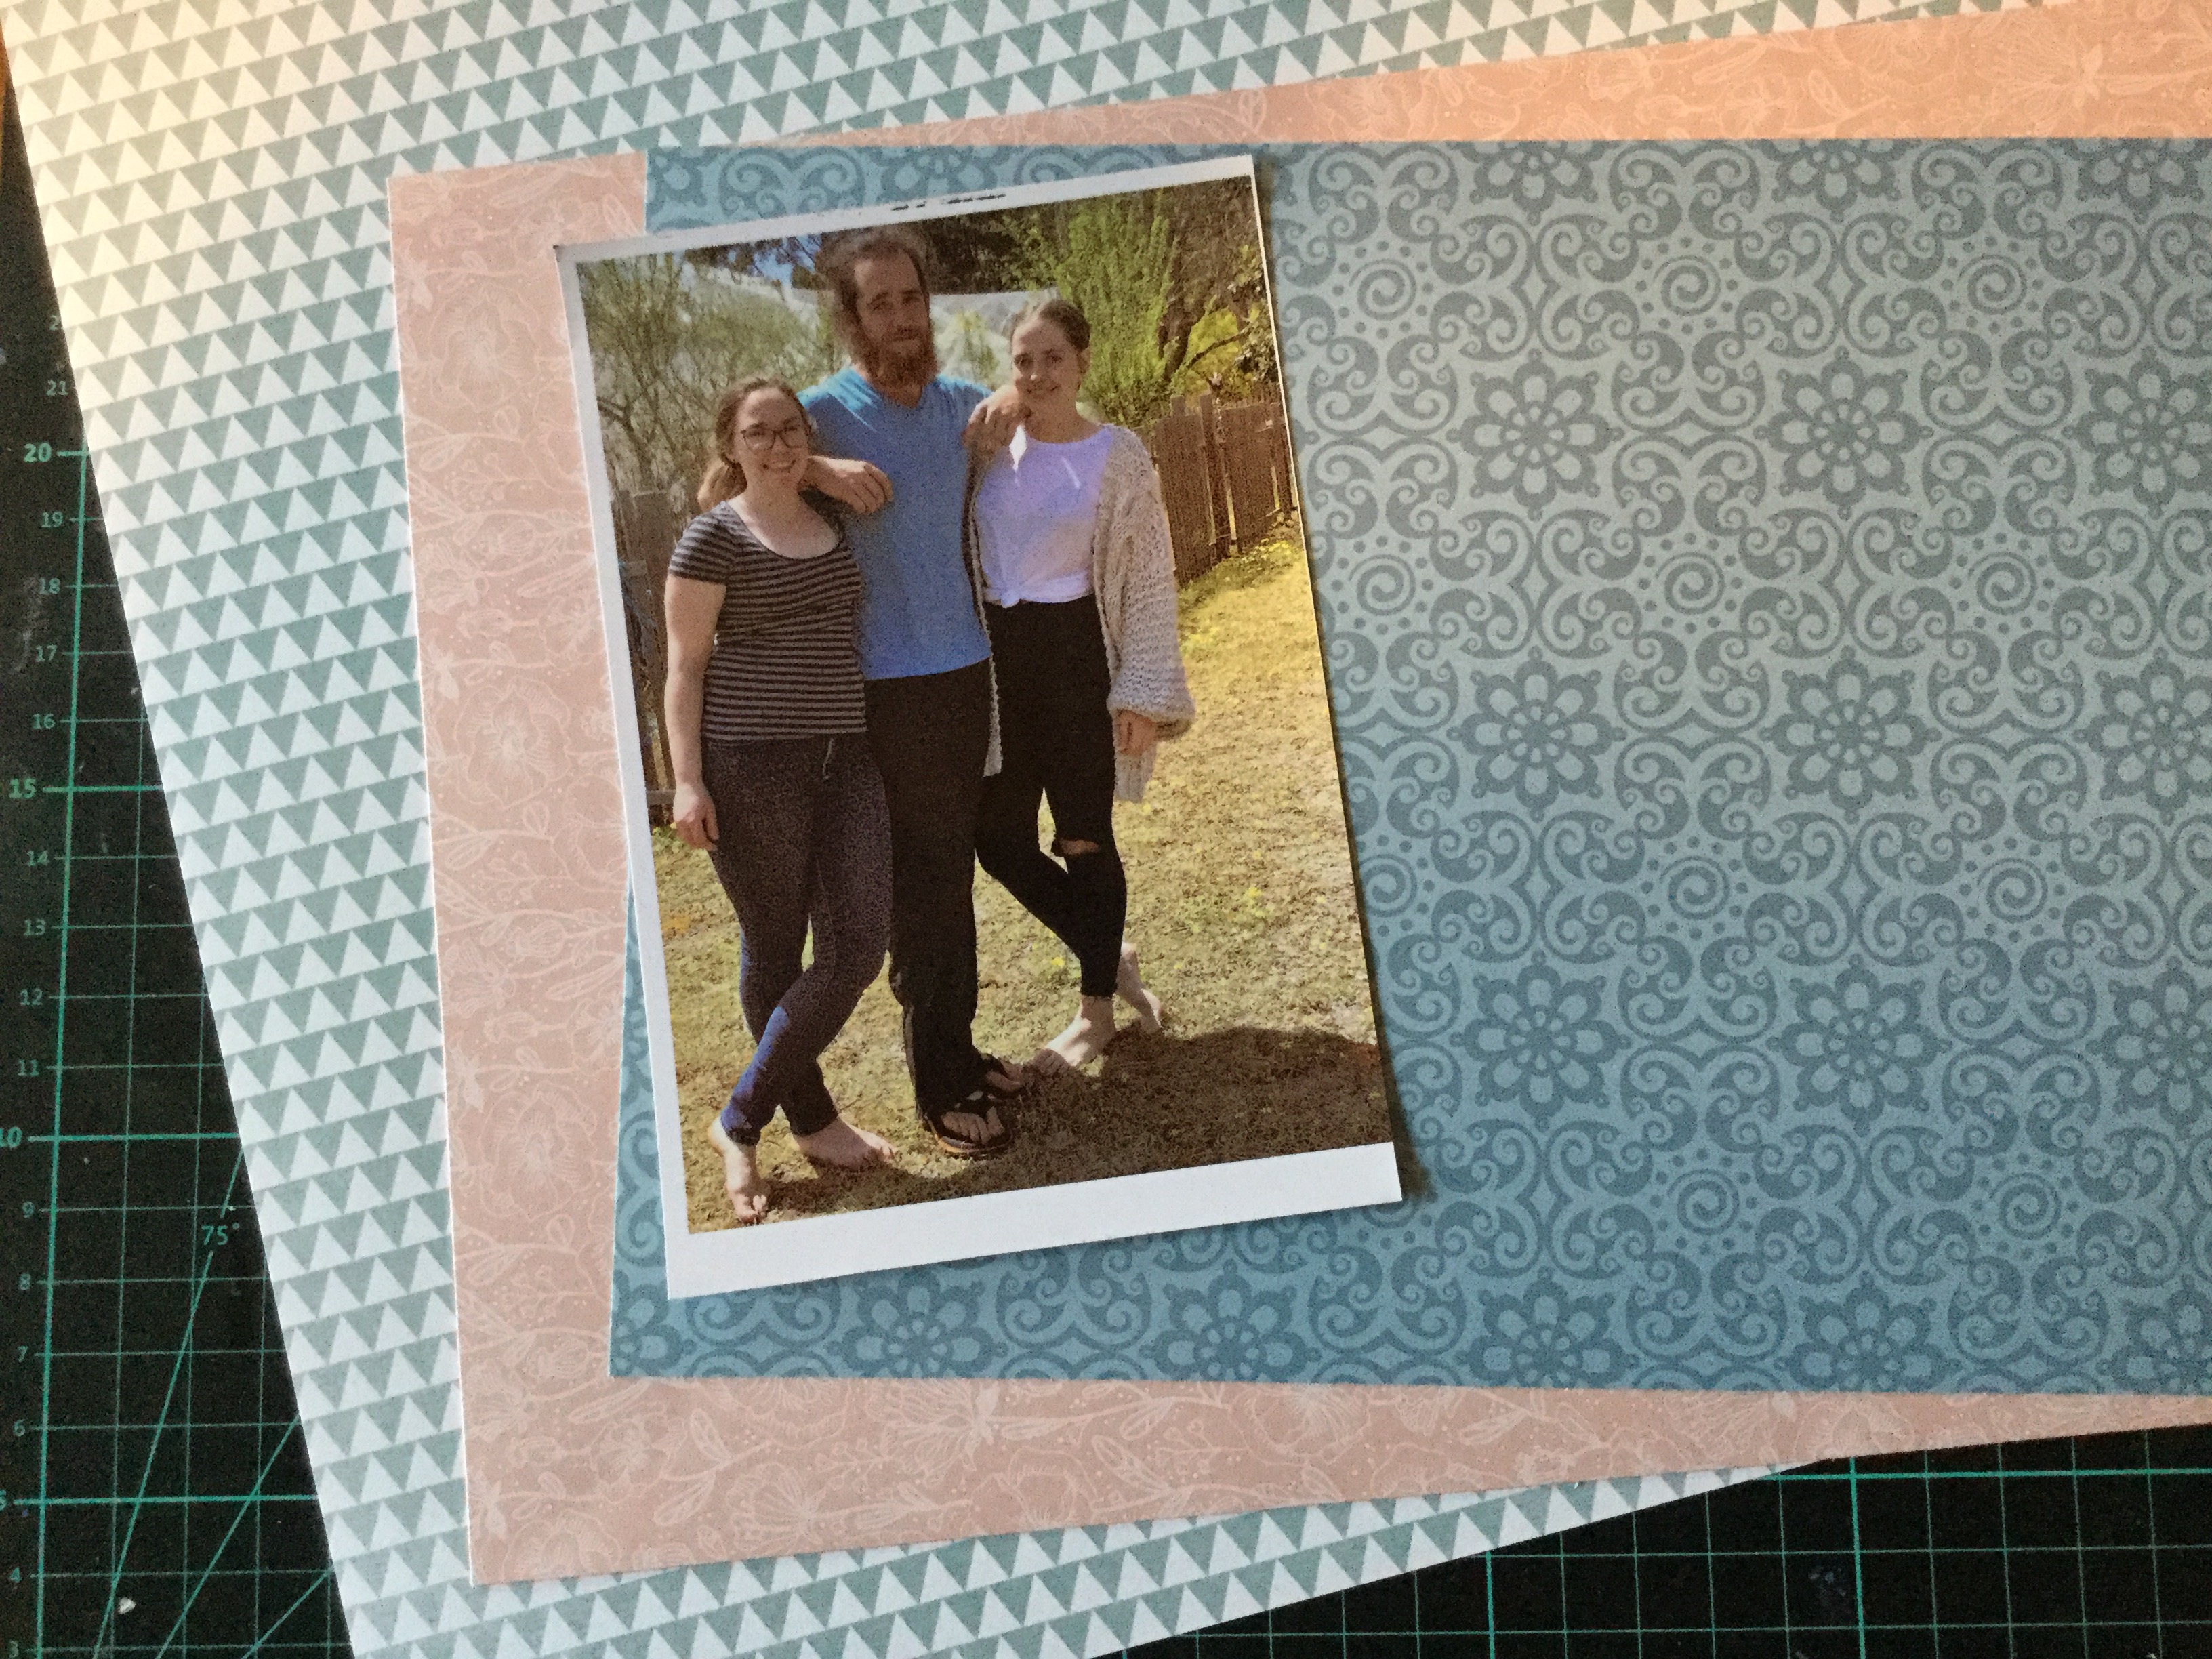
 loved. The colours were perfect for my photo. There was a slight hint of blue in the background of the photo and some lovely creams and golds from my daughters, hair, skin and jewellery. I used three different Tim Holtz oxide inks to grunge up the background using the plastic bag technique, a very simple technique using just ink and water to create amazing layers of colour.


 stories and slip them behind the journal mount.


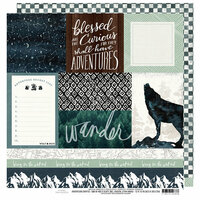
 kit had been sitting on my desk, under a pile of supplies and when having a clean up I found the kit and broke it down, separating and sorting all the components. Now I don’t make cards but I loved the stamps and stencils in the kit, which is why I purchased it. The design of both is very Australian, using patterns similar to indigenous art. The booklet which came with the kit had a picture of a wonderful layout made by


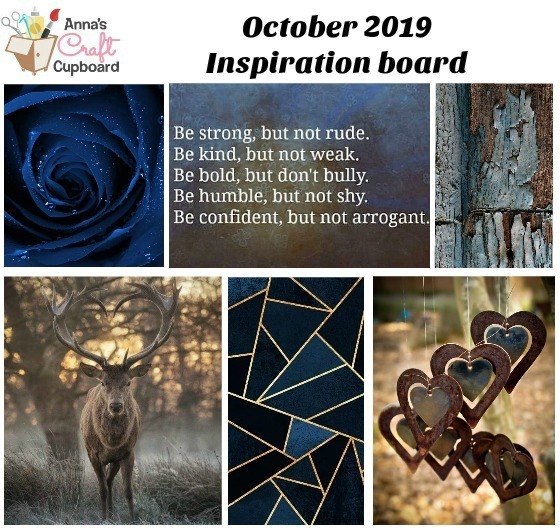
 you have had sitting around for a few years, untouched! I did not have any untouched paper pads, only brand new ones (birthday/Mother’s Day gifts) which is why I decided to use this paper pad. I am doing well, getting through the pad with 14 papers left out of 36. The ones left are mostly pine trees, wolves and bear papers, given that I live in a country with no wolves and bears it is a challenge.


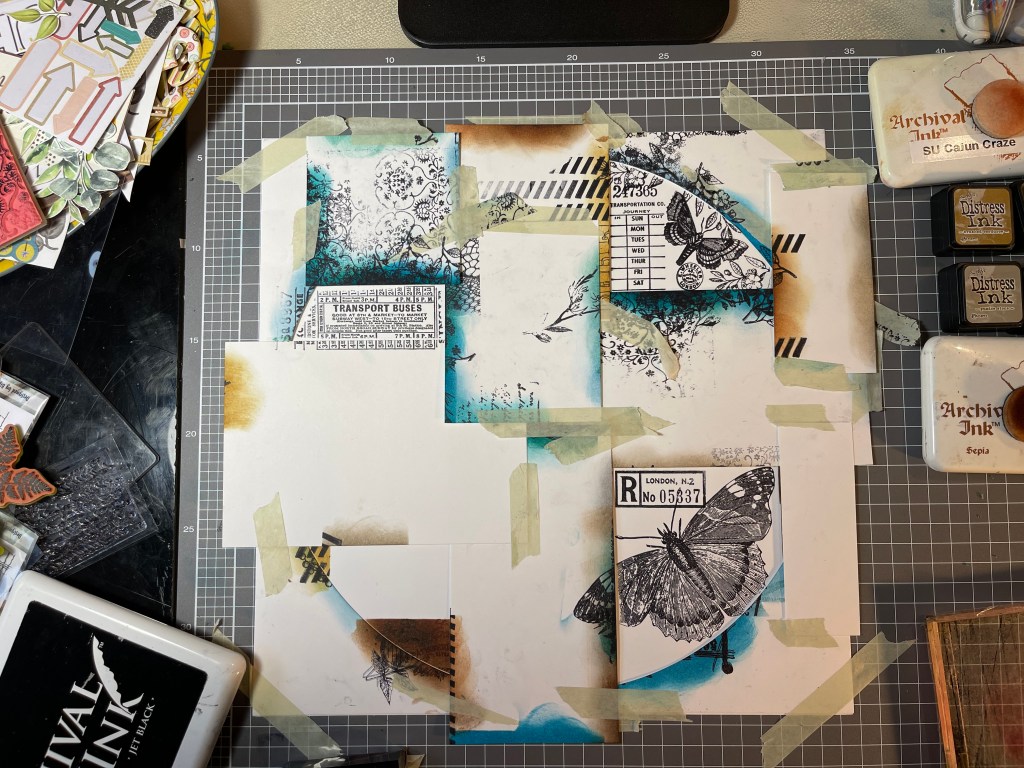
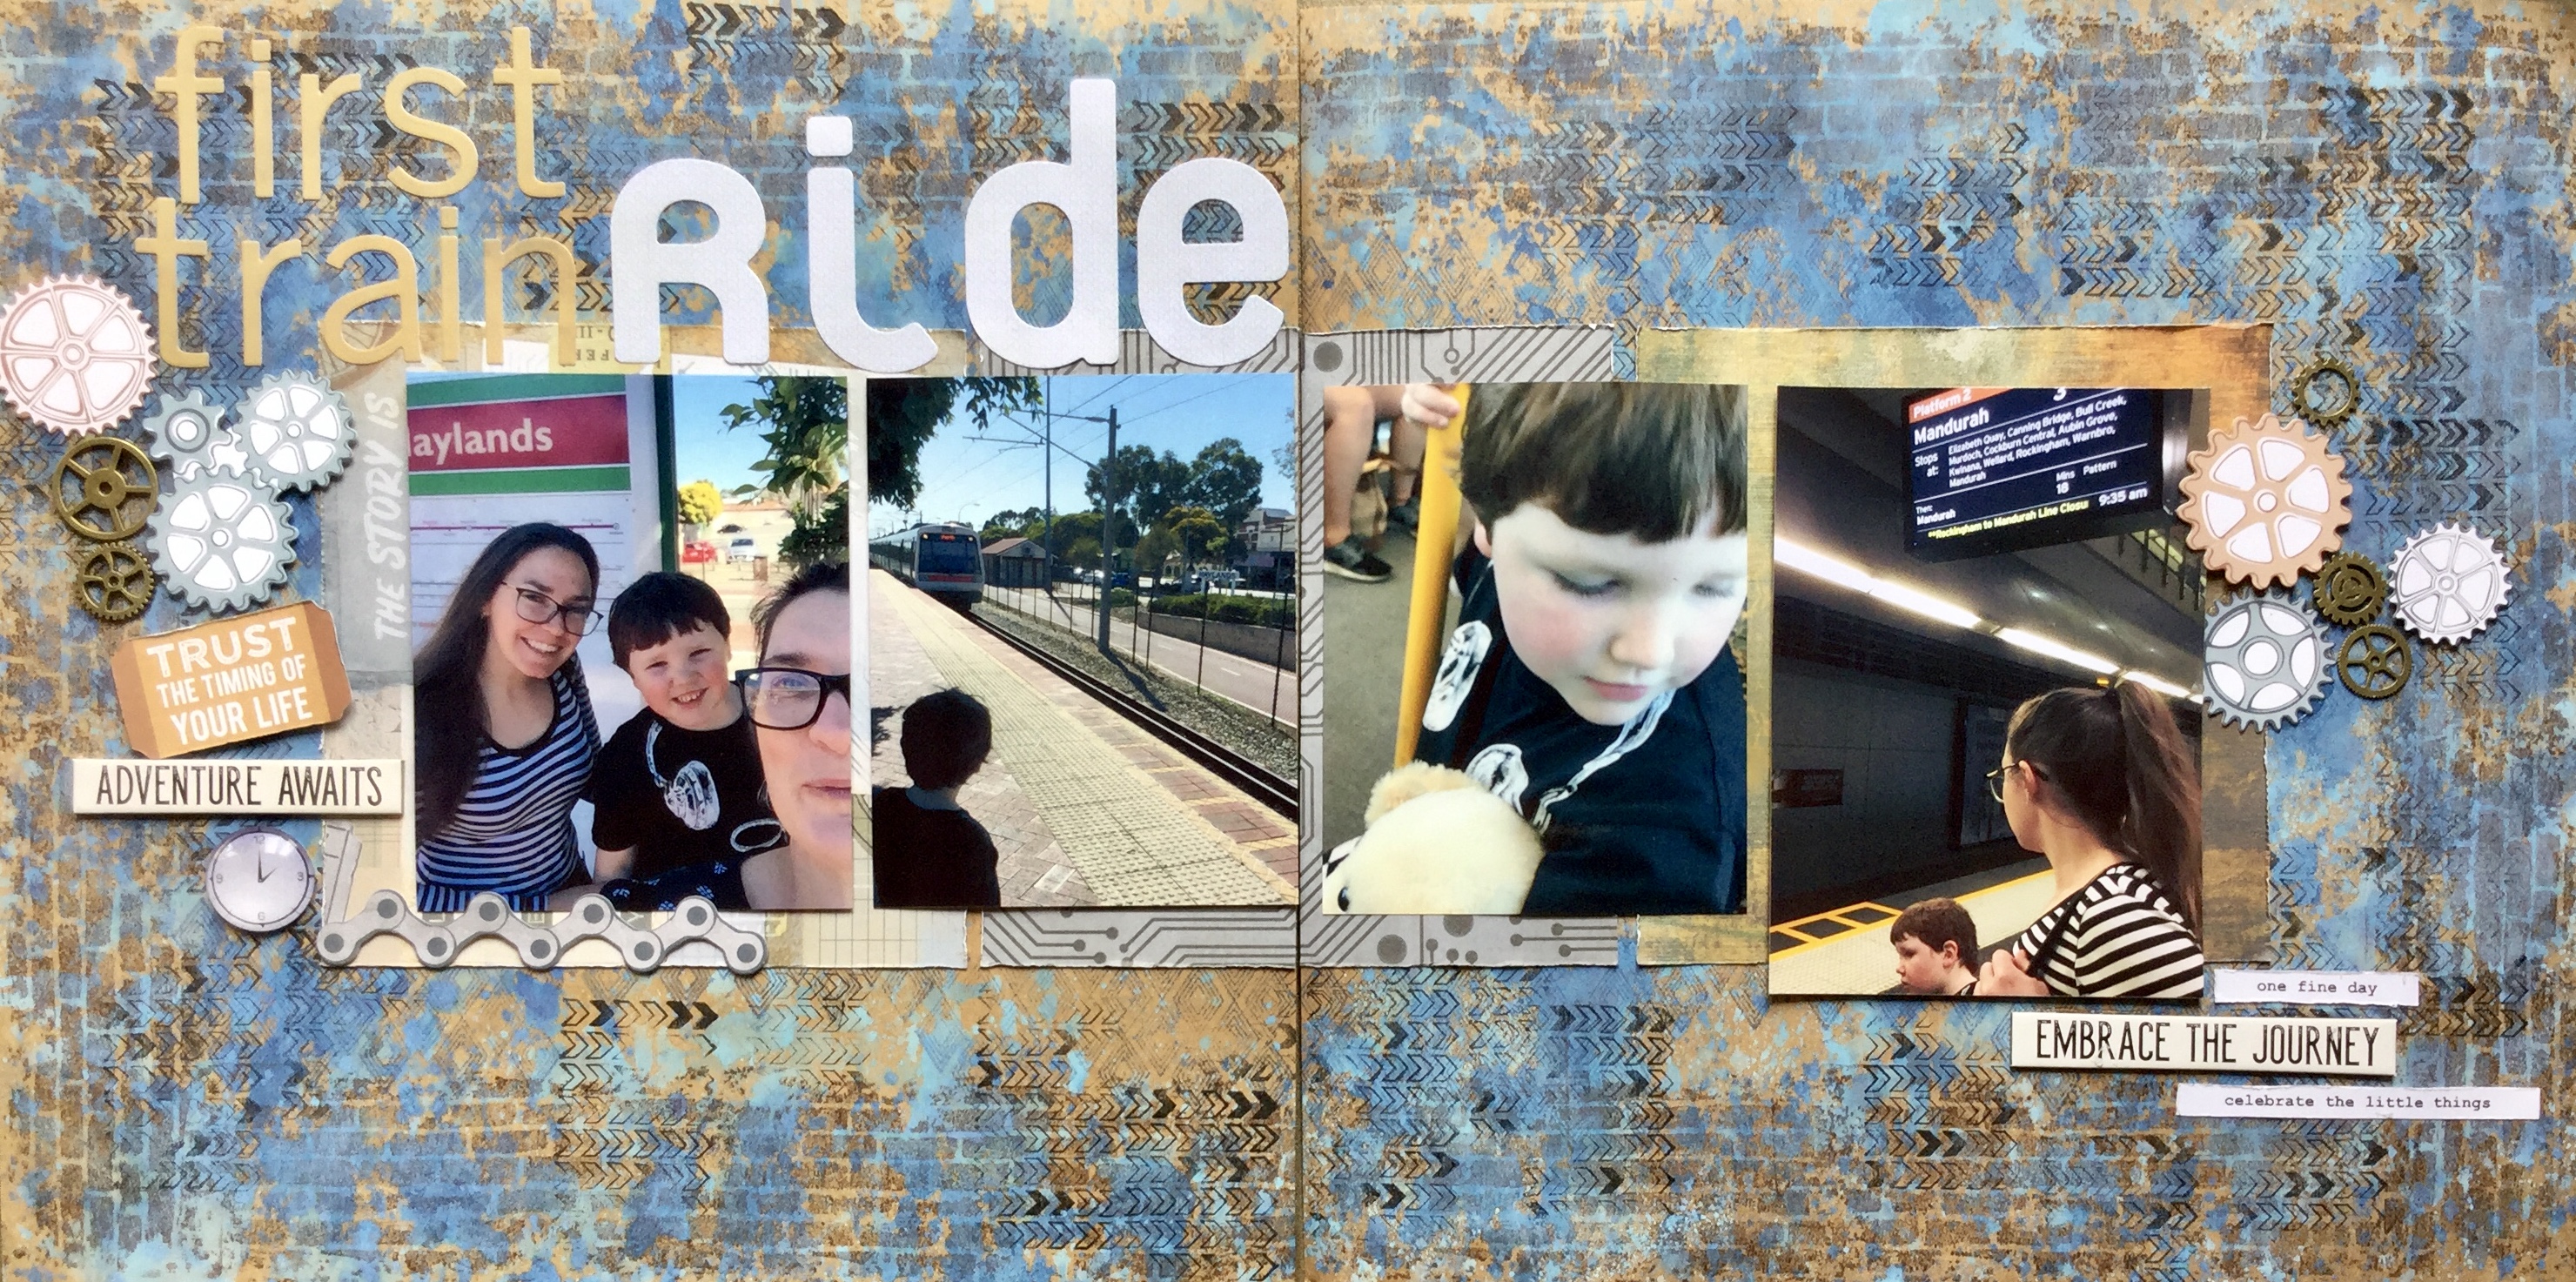
 and added some colour across the page using the plastic bag smooshing technique. The Tim Holtz ‘Tumbled Glass’ oxide ink created a soft blue surface to work on, I then splattered some watercolour paint across the page in browns and blue.


 in the collection and finally come up with an idea when I came across some photos of my grandson eating some dessert.


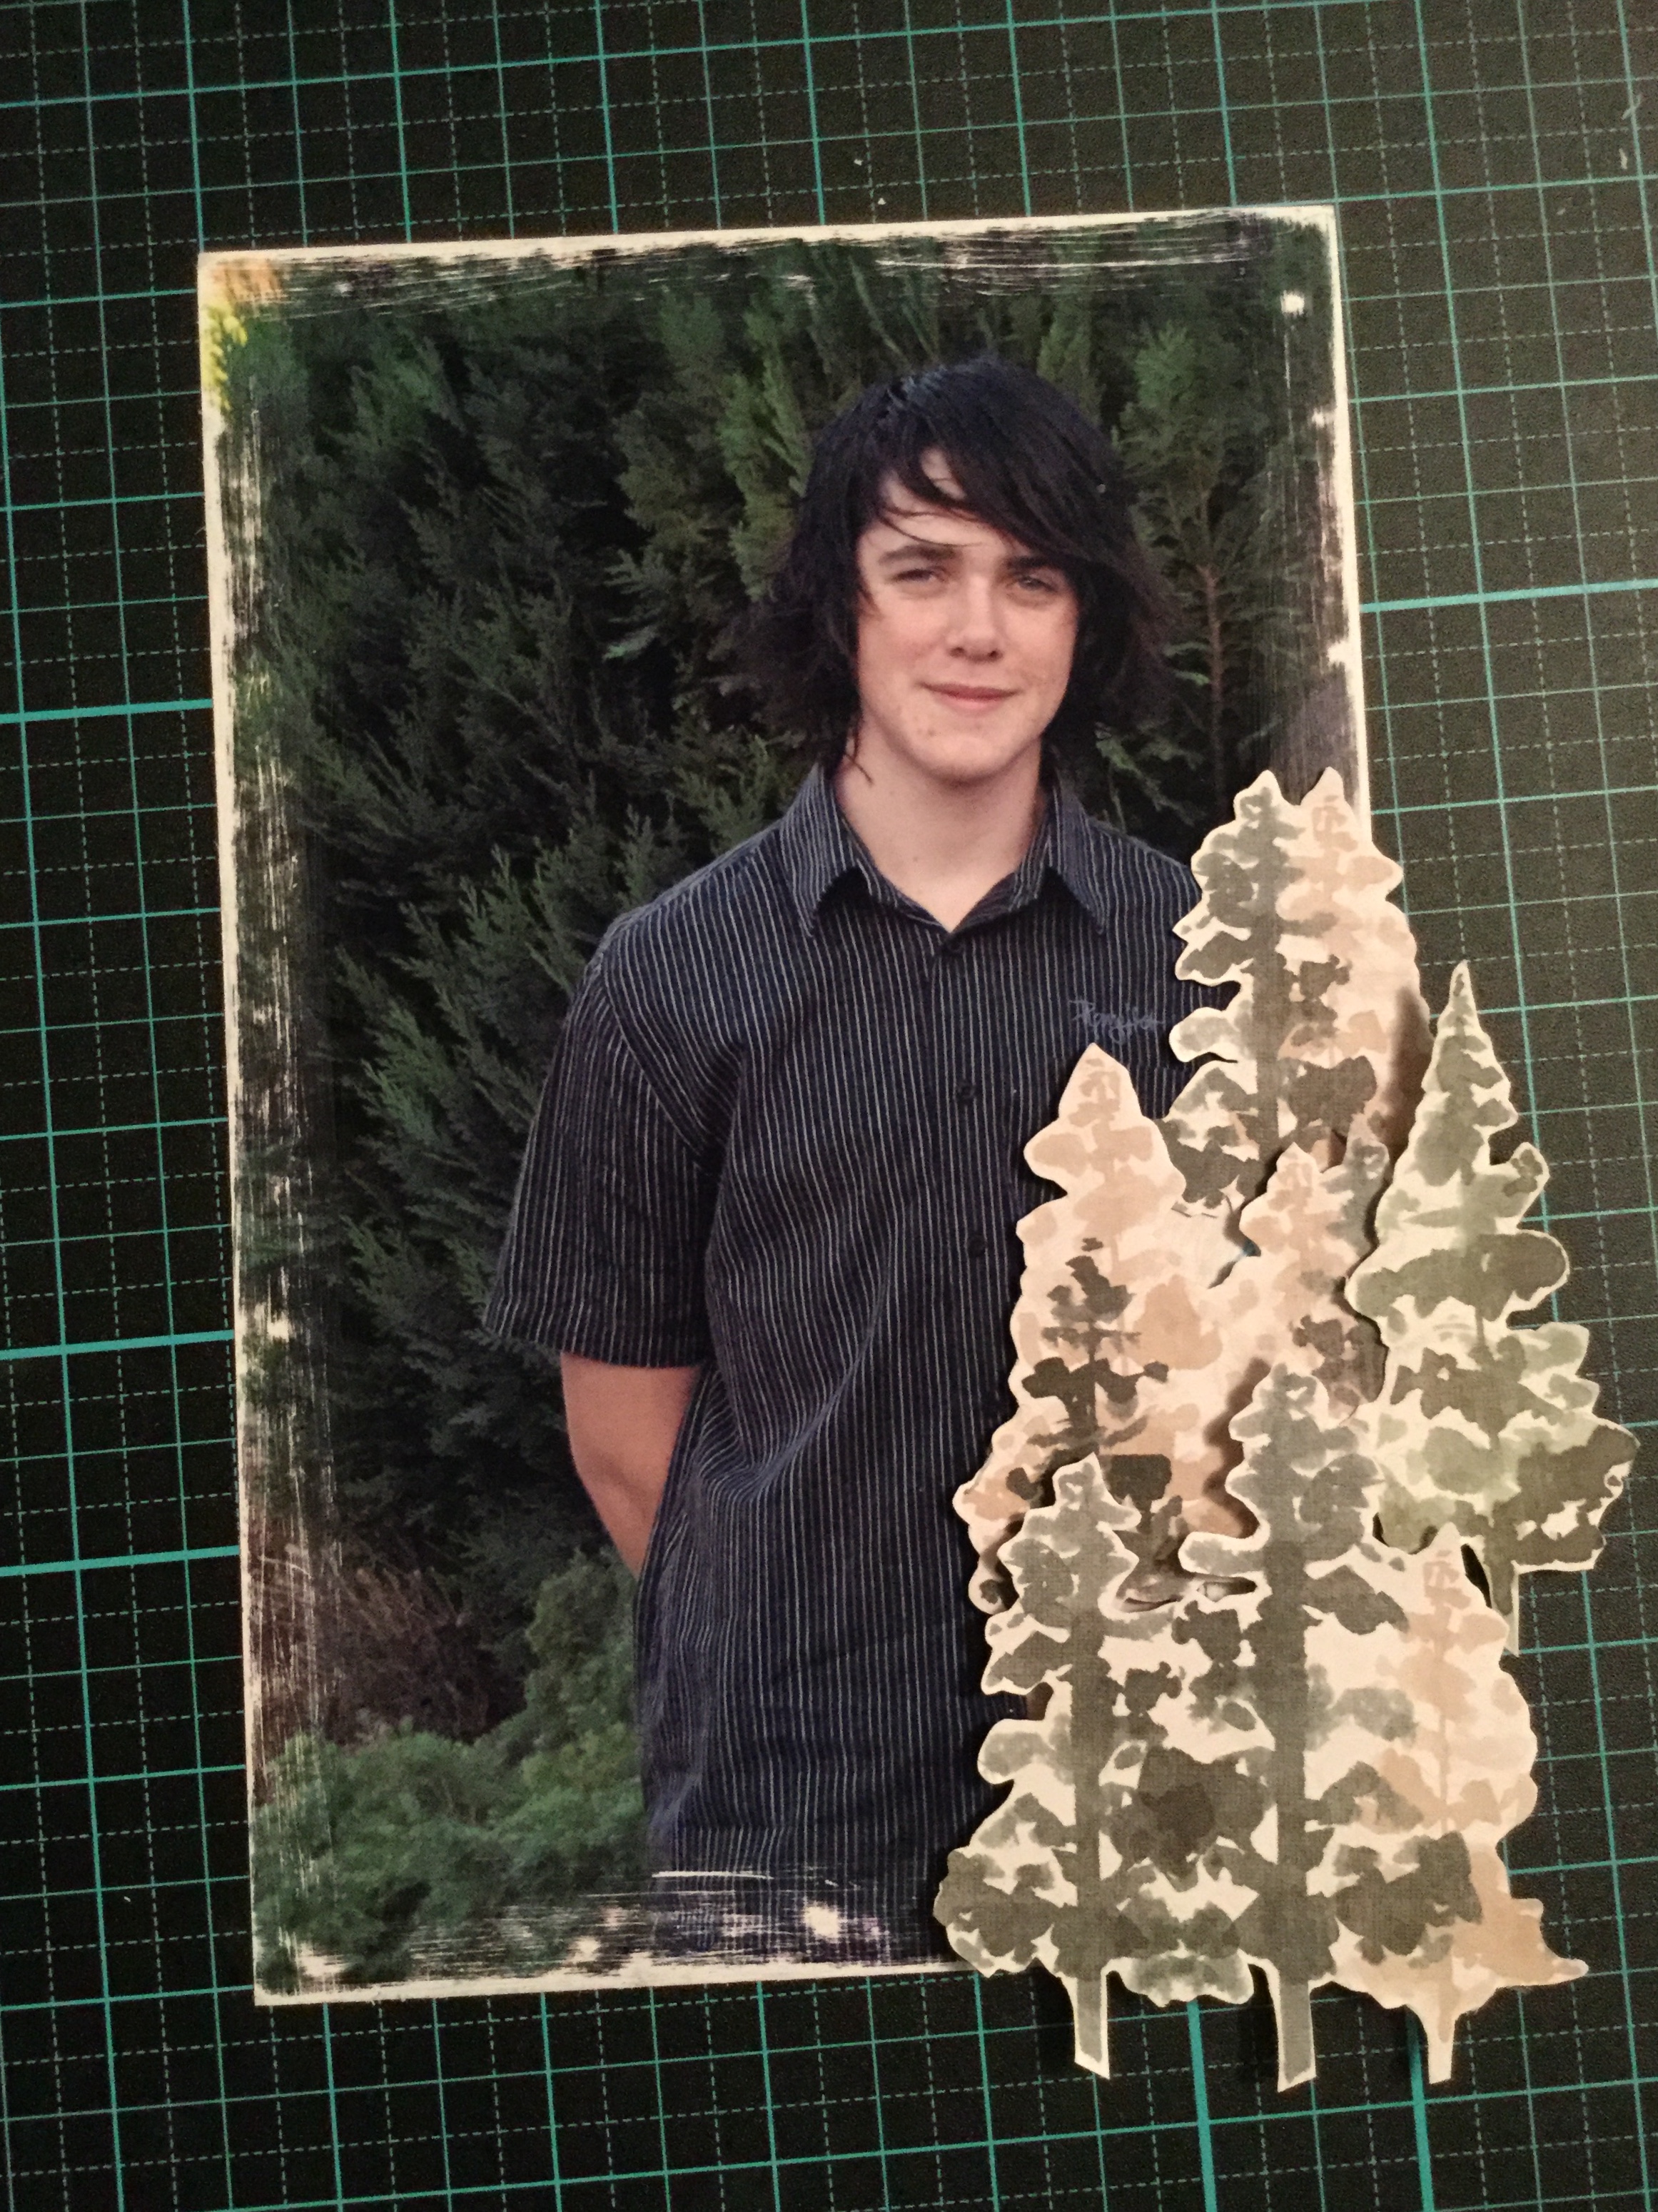


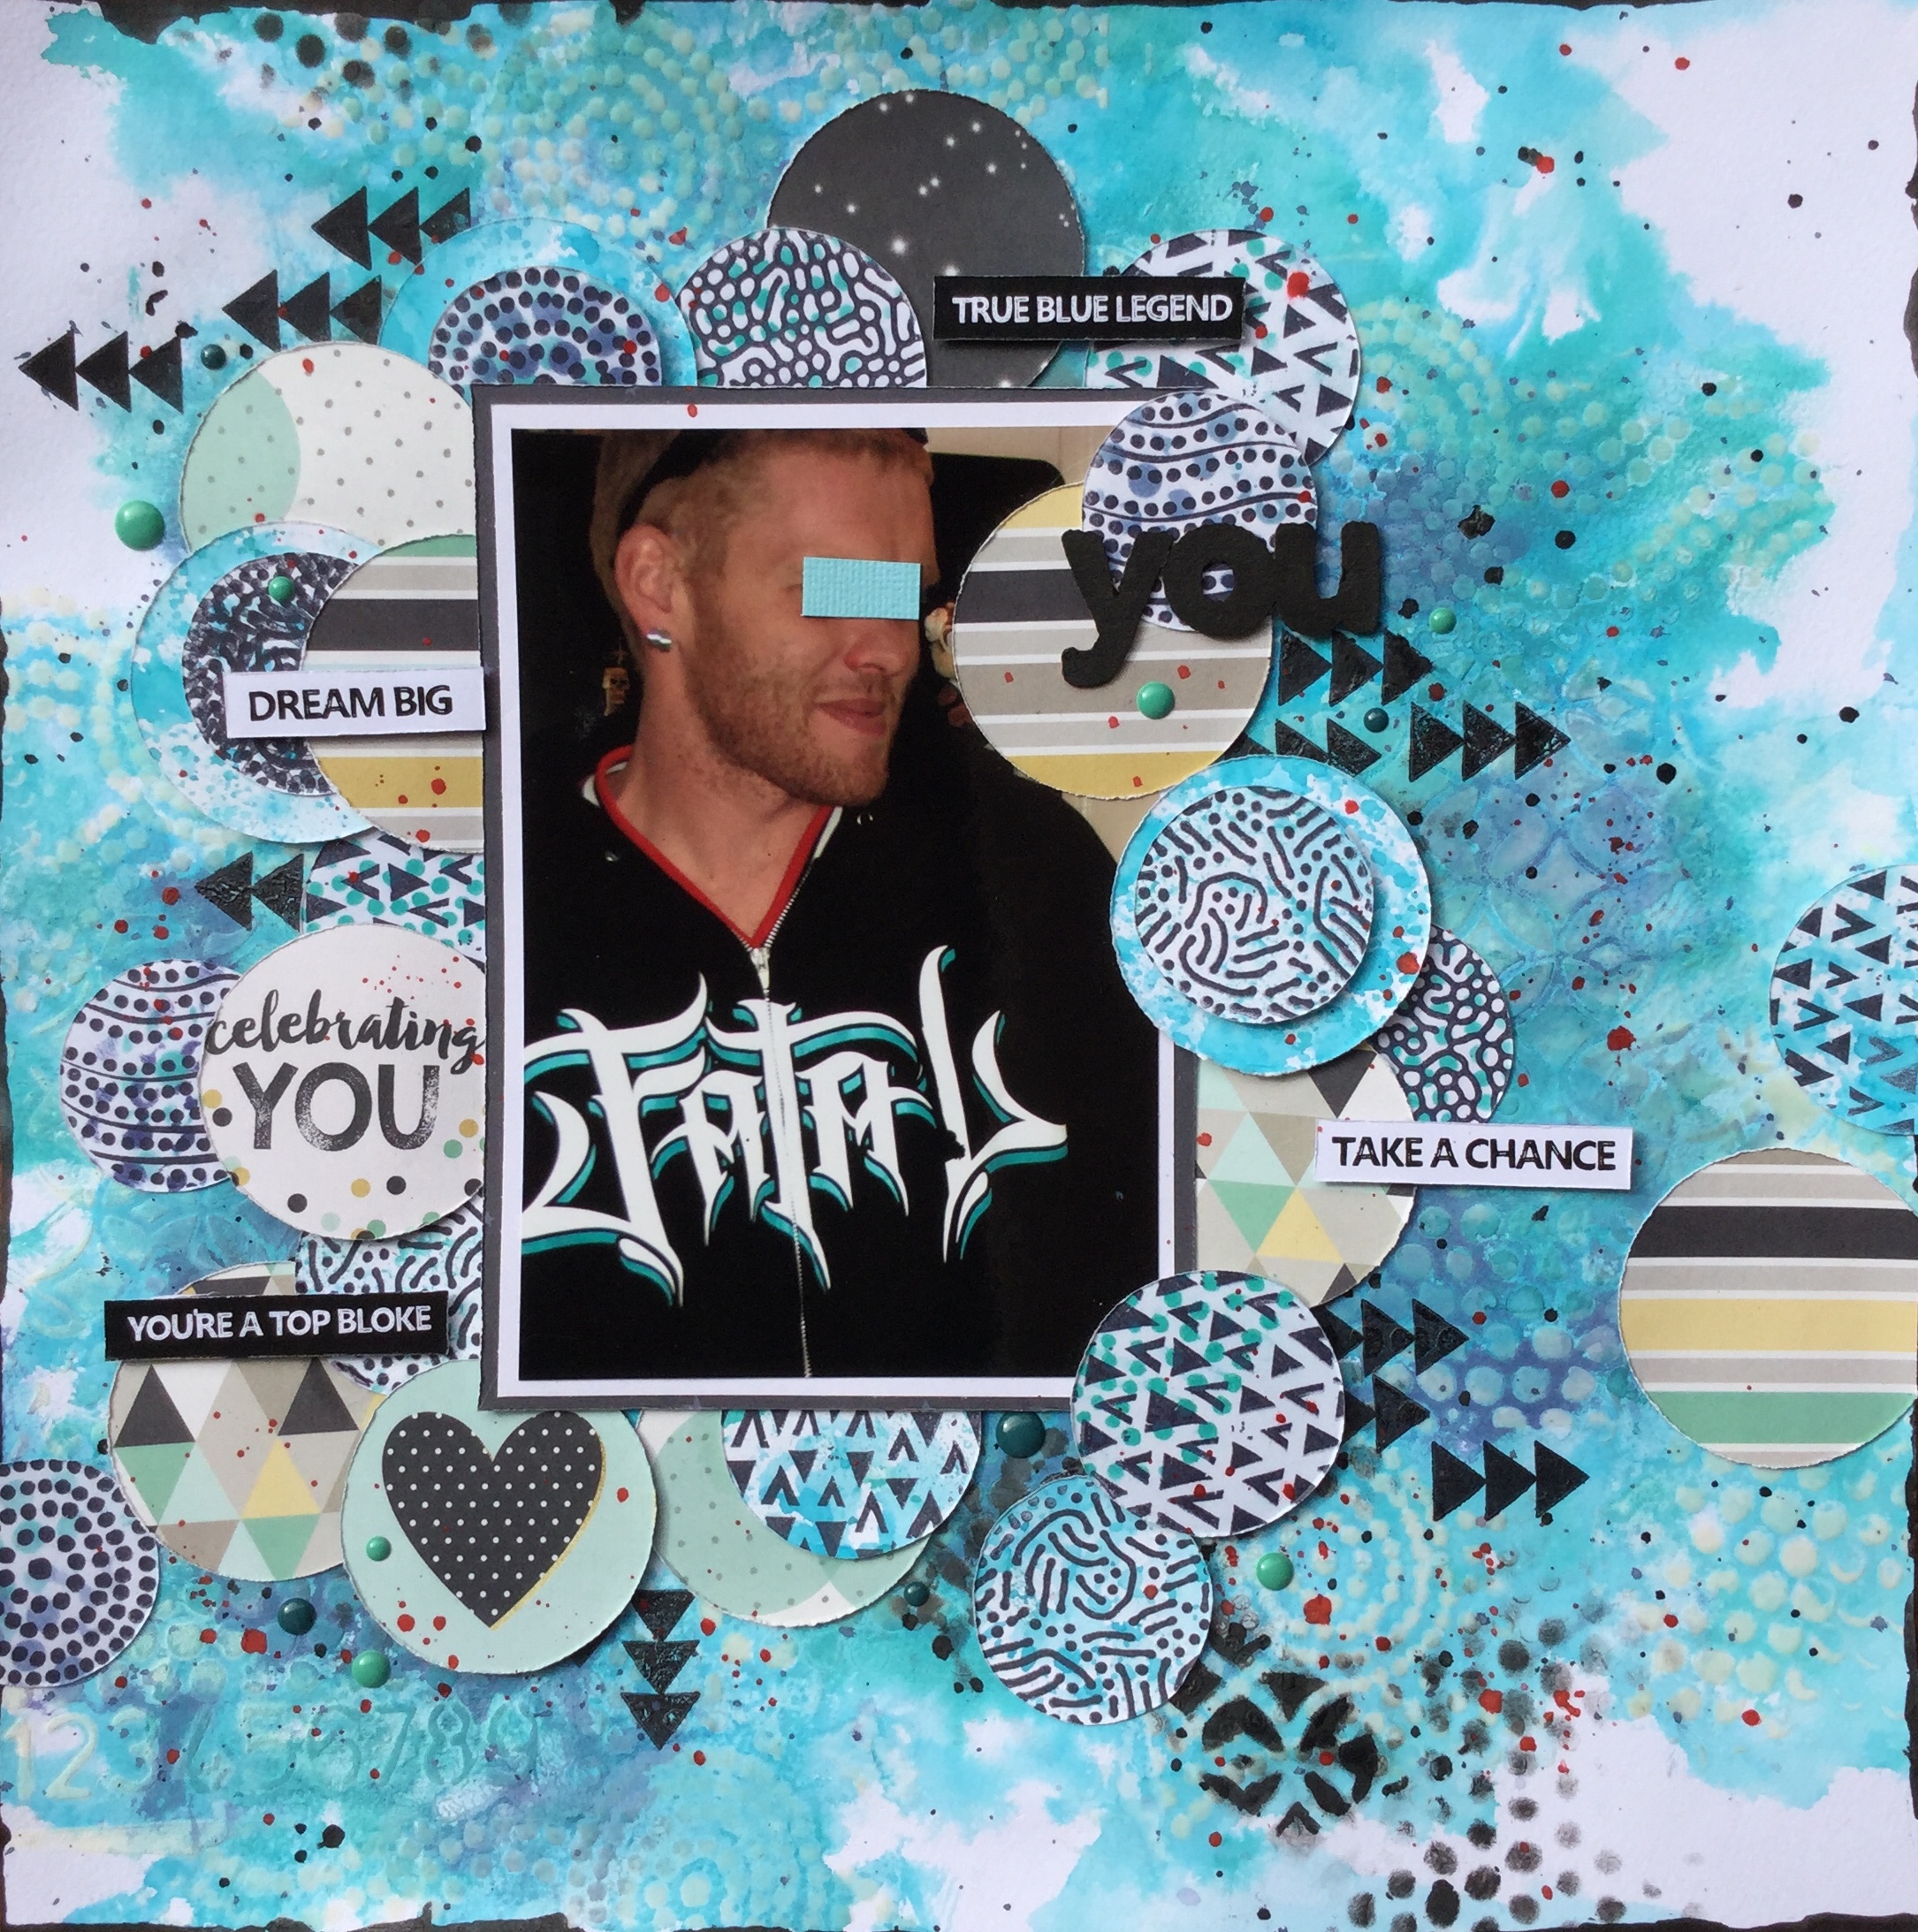
 though the papers are quite masculine and I am using a photo of my teenage son, I couldn’t stop myself from adding some sparkle and shine to the layout. The Zodiac paper features the night sky and astrology motifs and I wanted to highlight this in my design. I used a variety of sequins in crystal, navy, aqua and green to decorate and enhance the layout. Then, I splattered on some watercolour paint in white, green, dark blue and brown.
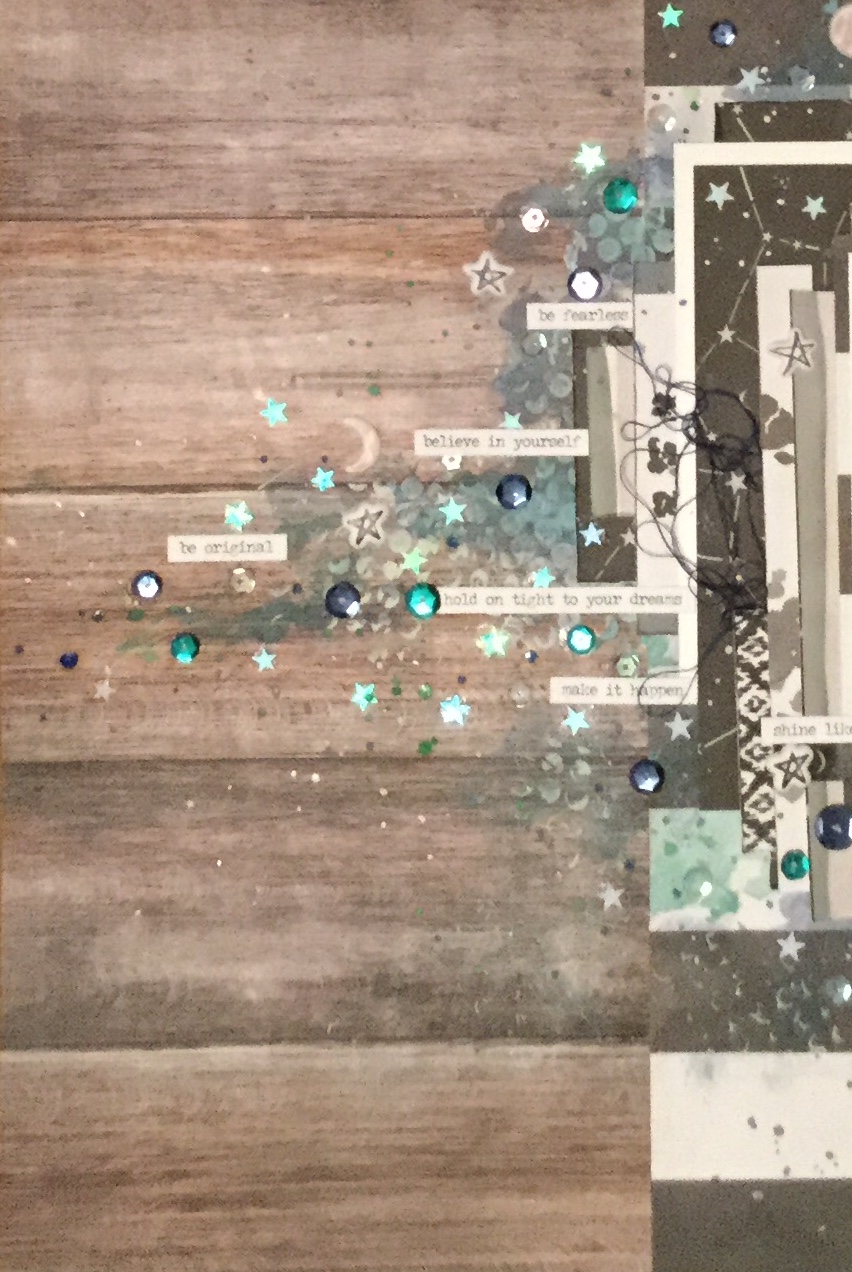


 my kit. The only patterned paper I had included which was light blue had aeroplanes on it, so I decided to create my own background on cardstock using my new


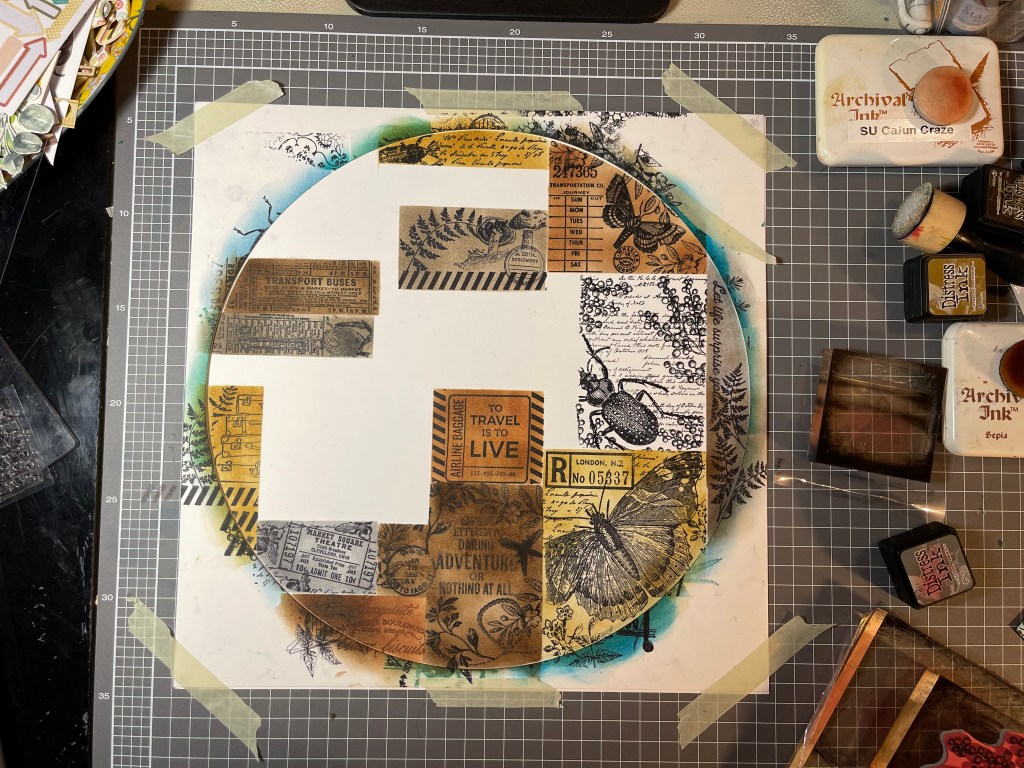
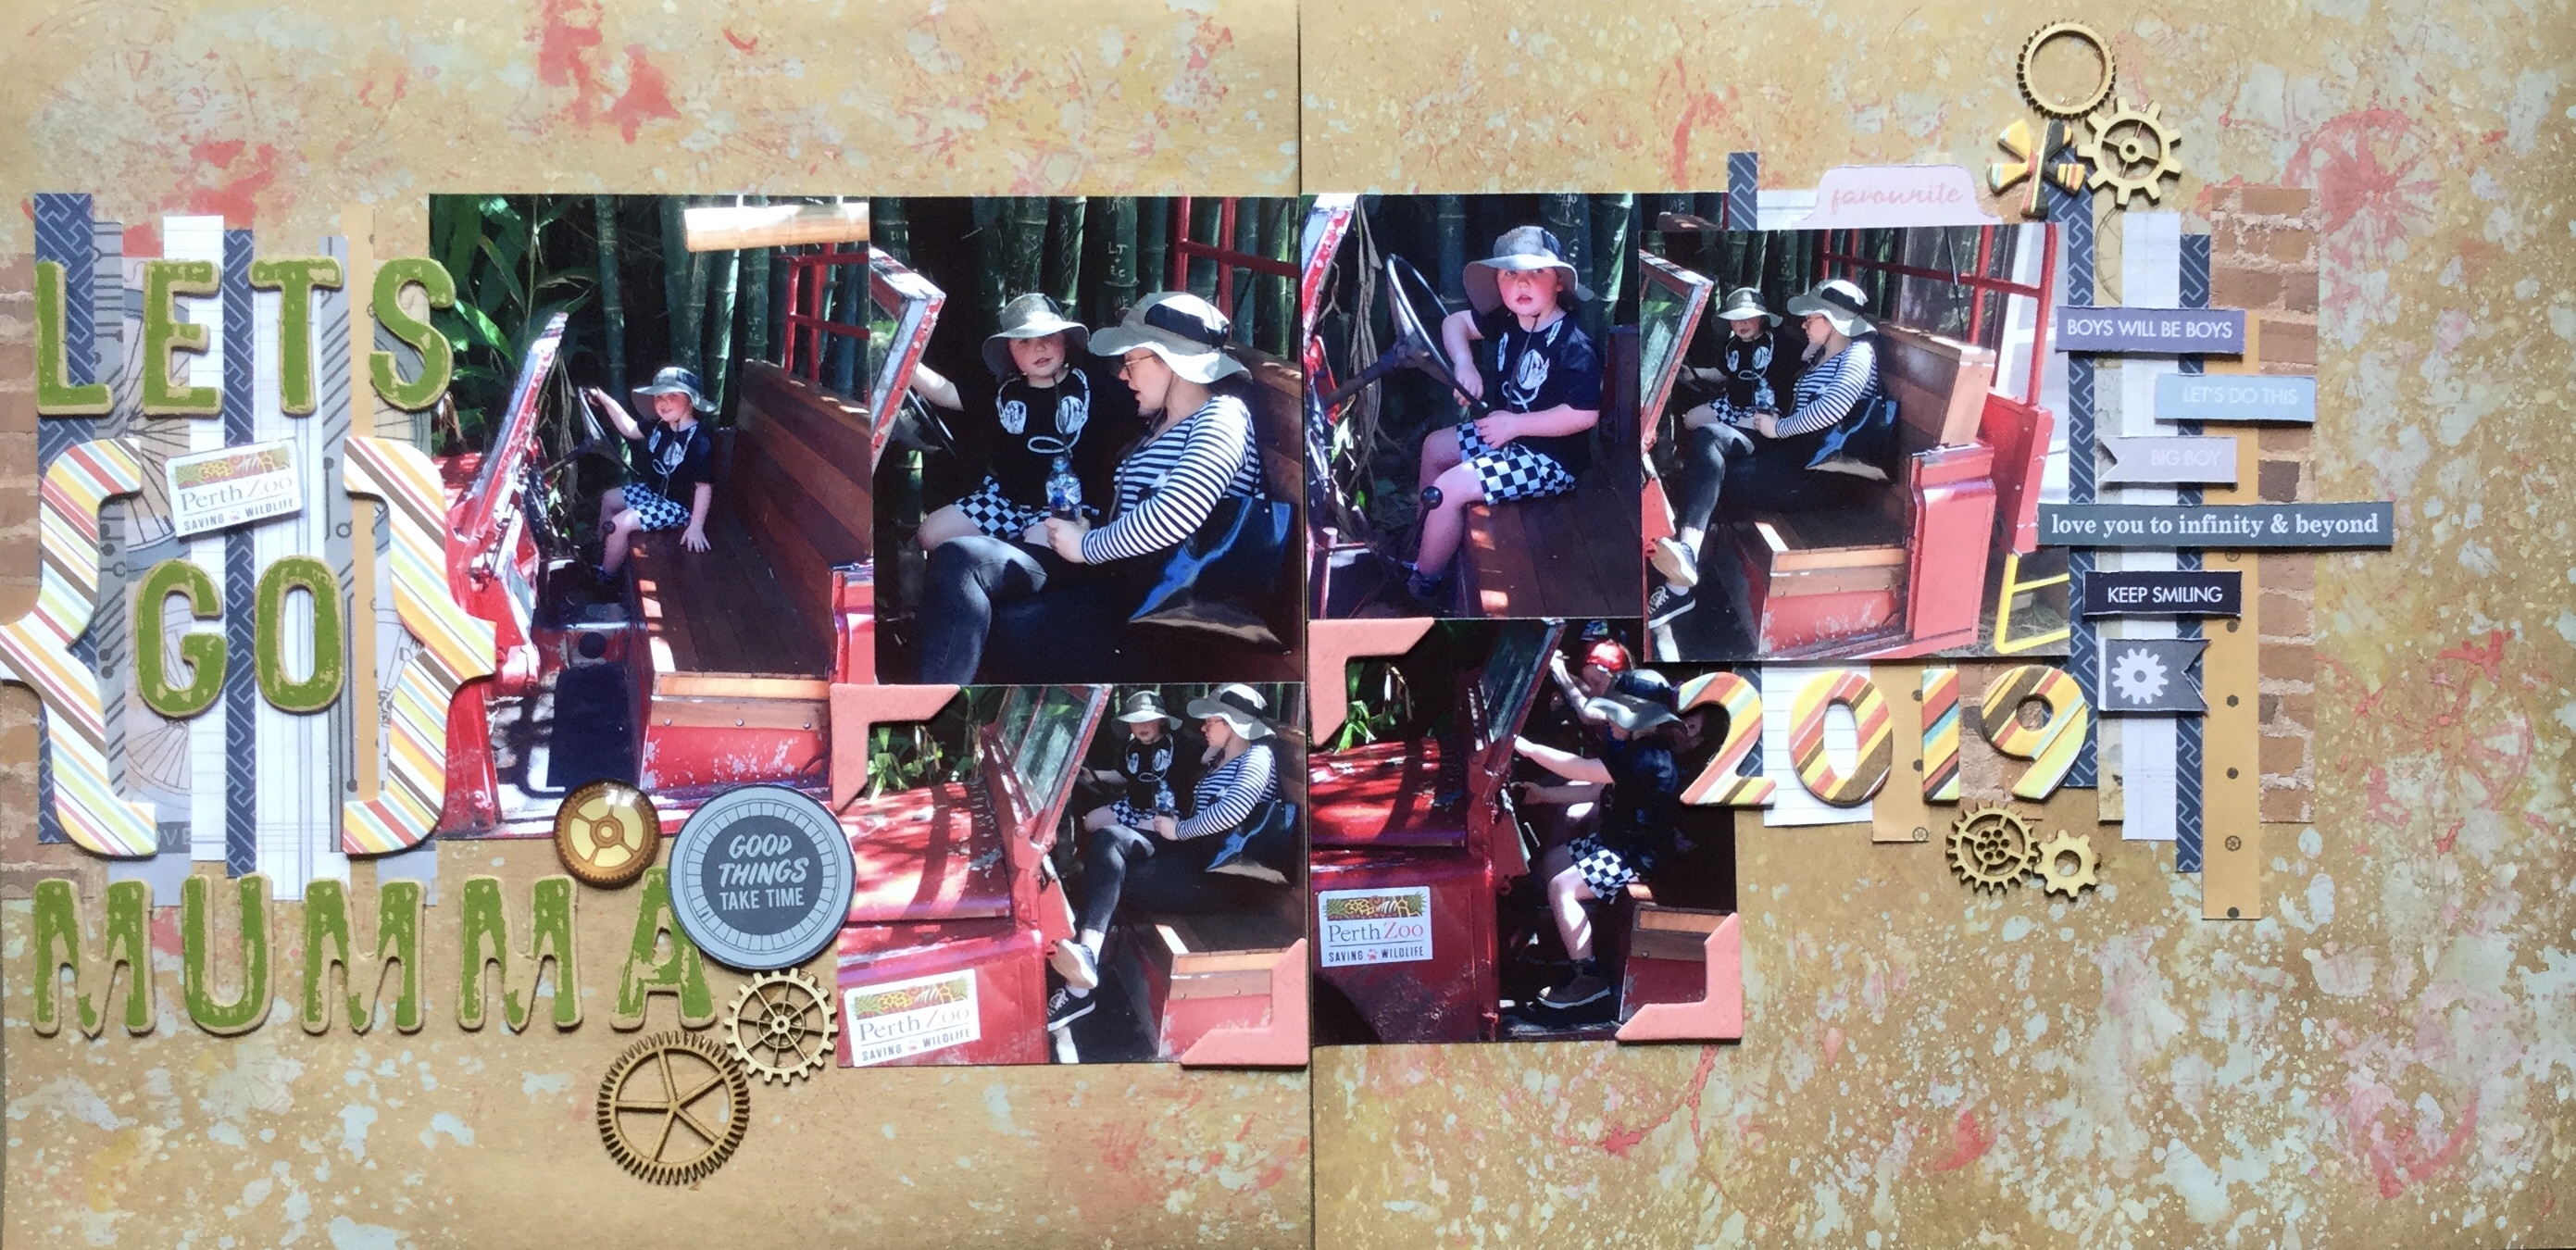
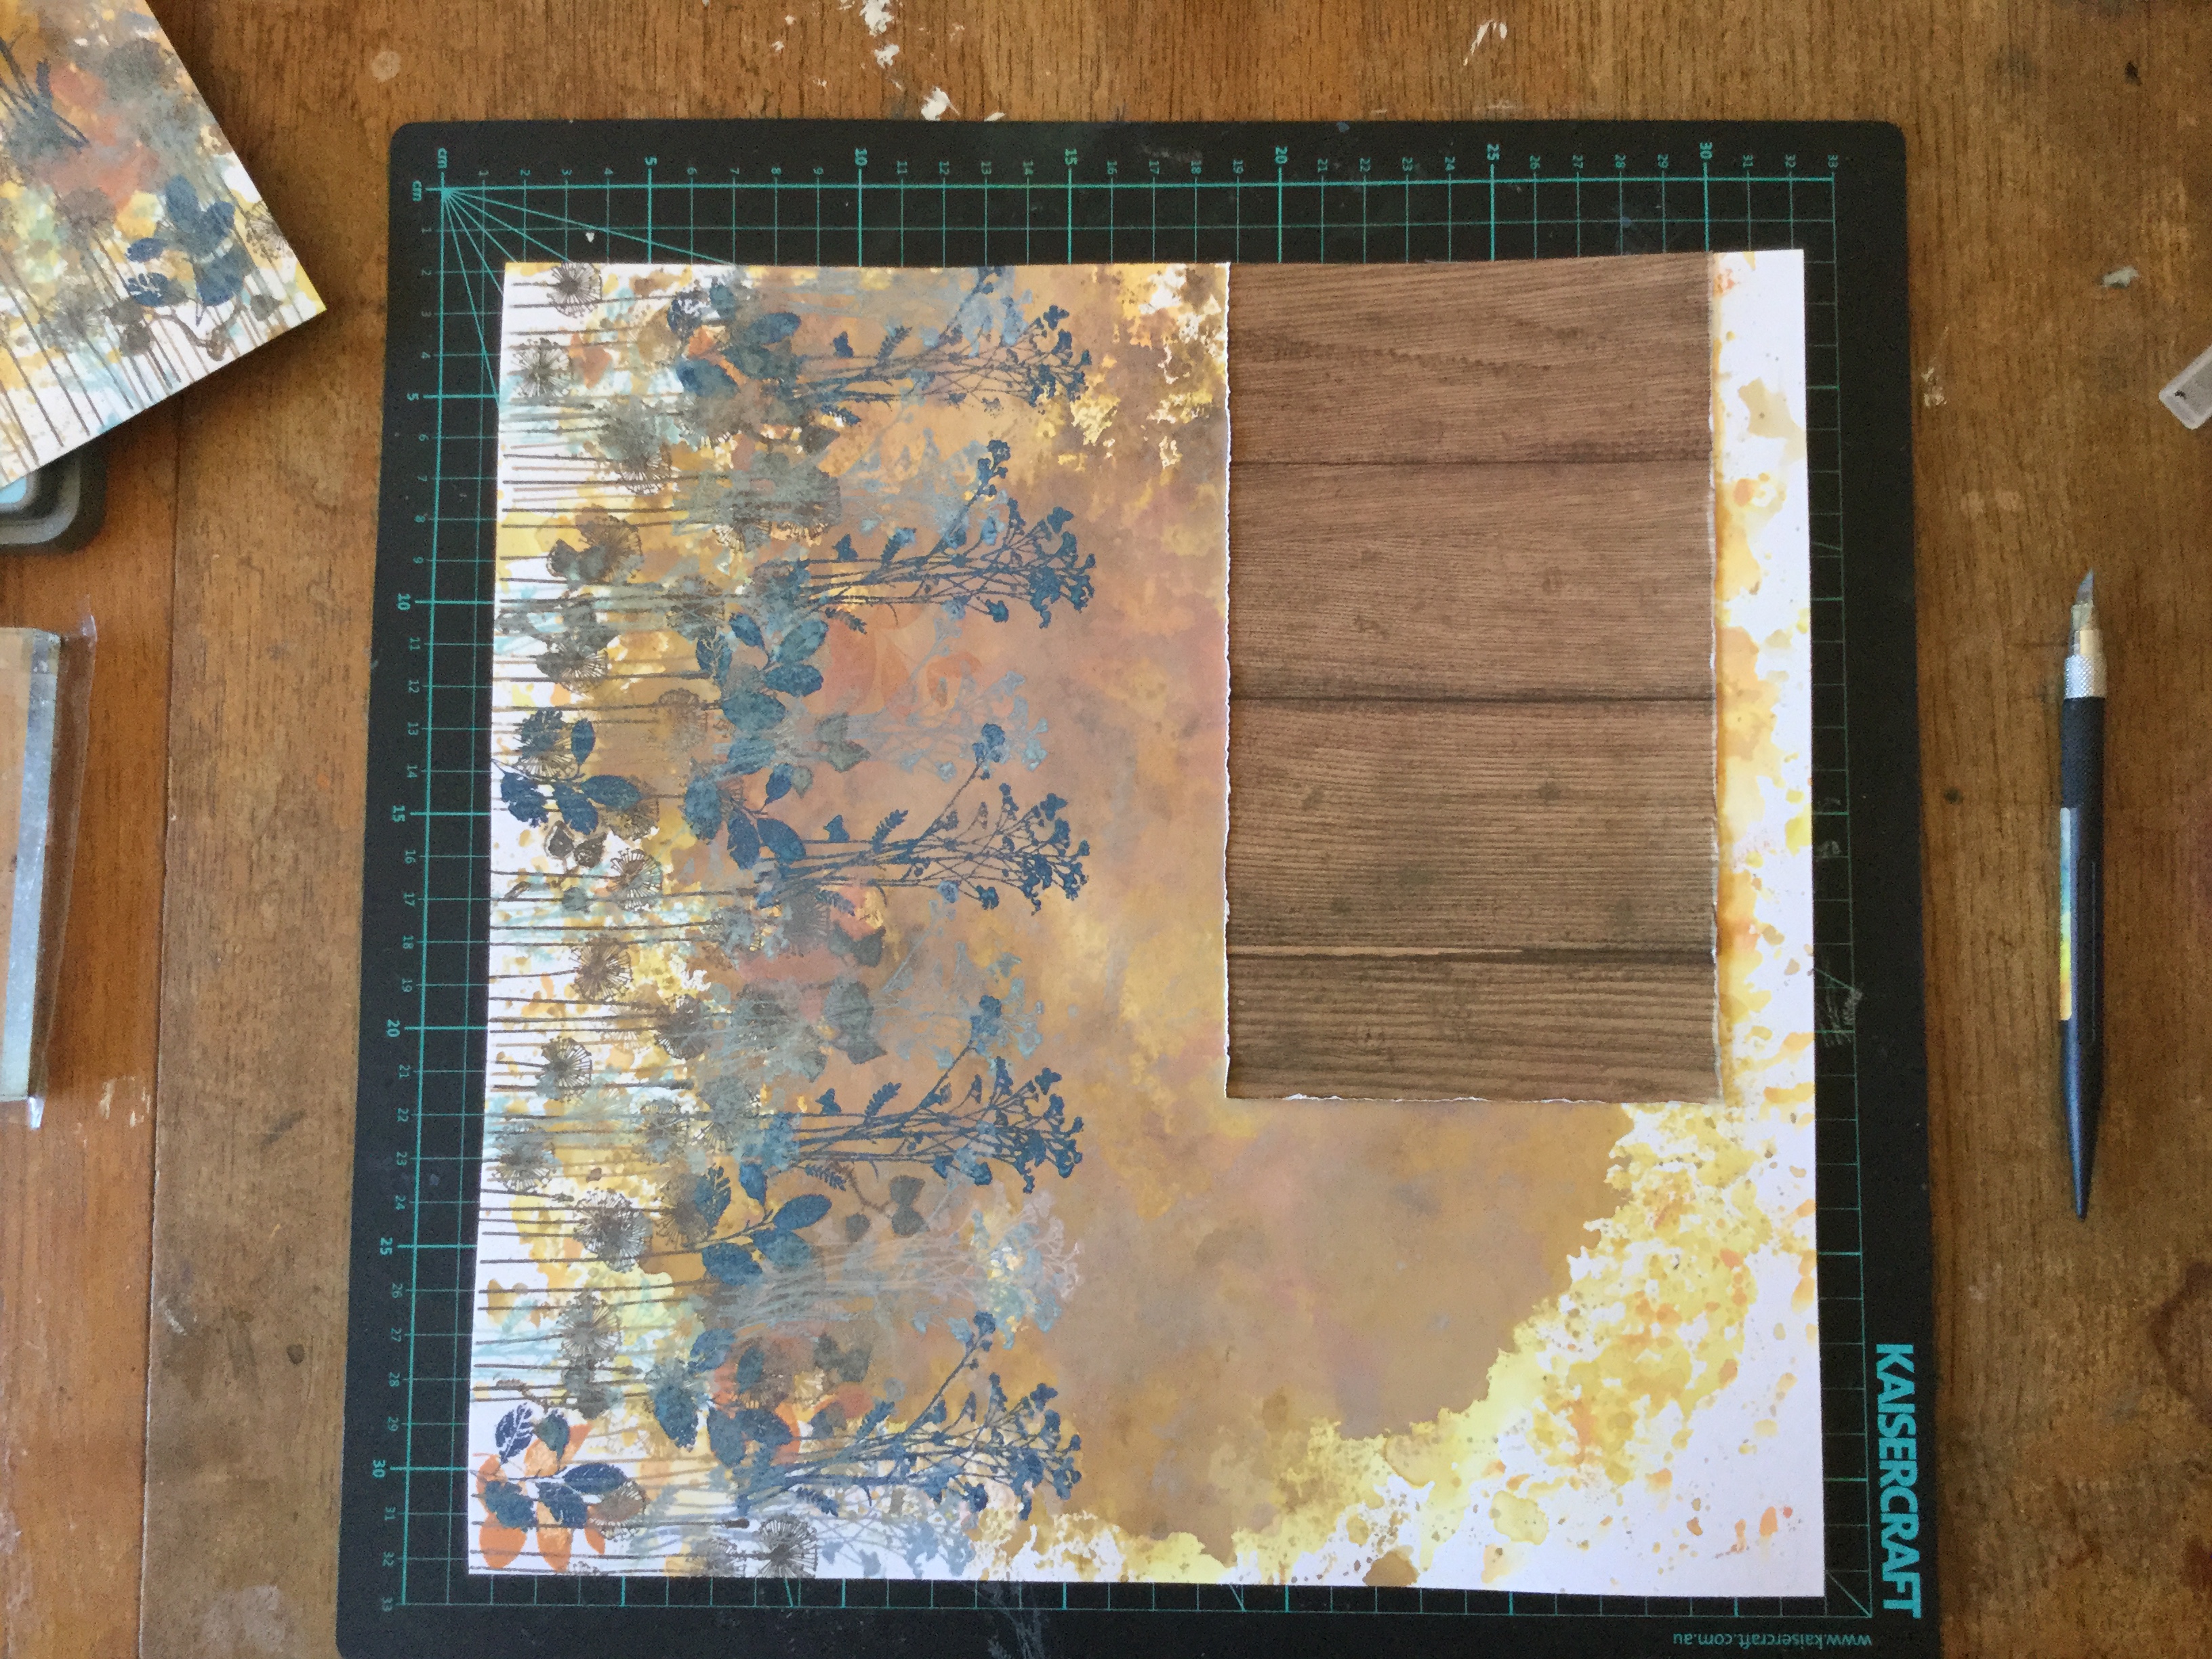 looking at my photos I wanted to emphasise the sense of going down into the earth. I decided to cut around the stamped foliage with a scalpel and slip some of the photos behind the cuts. Dah, Dah… walking down into the cave.


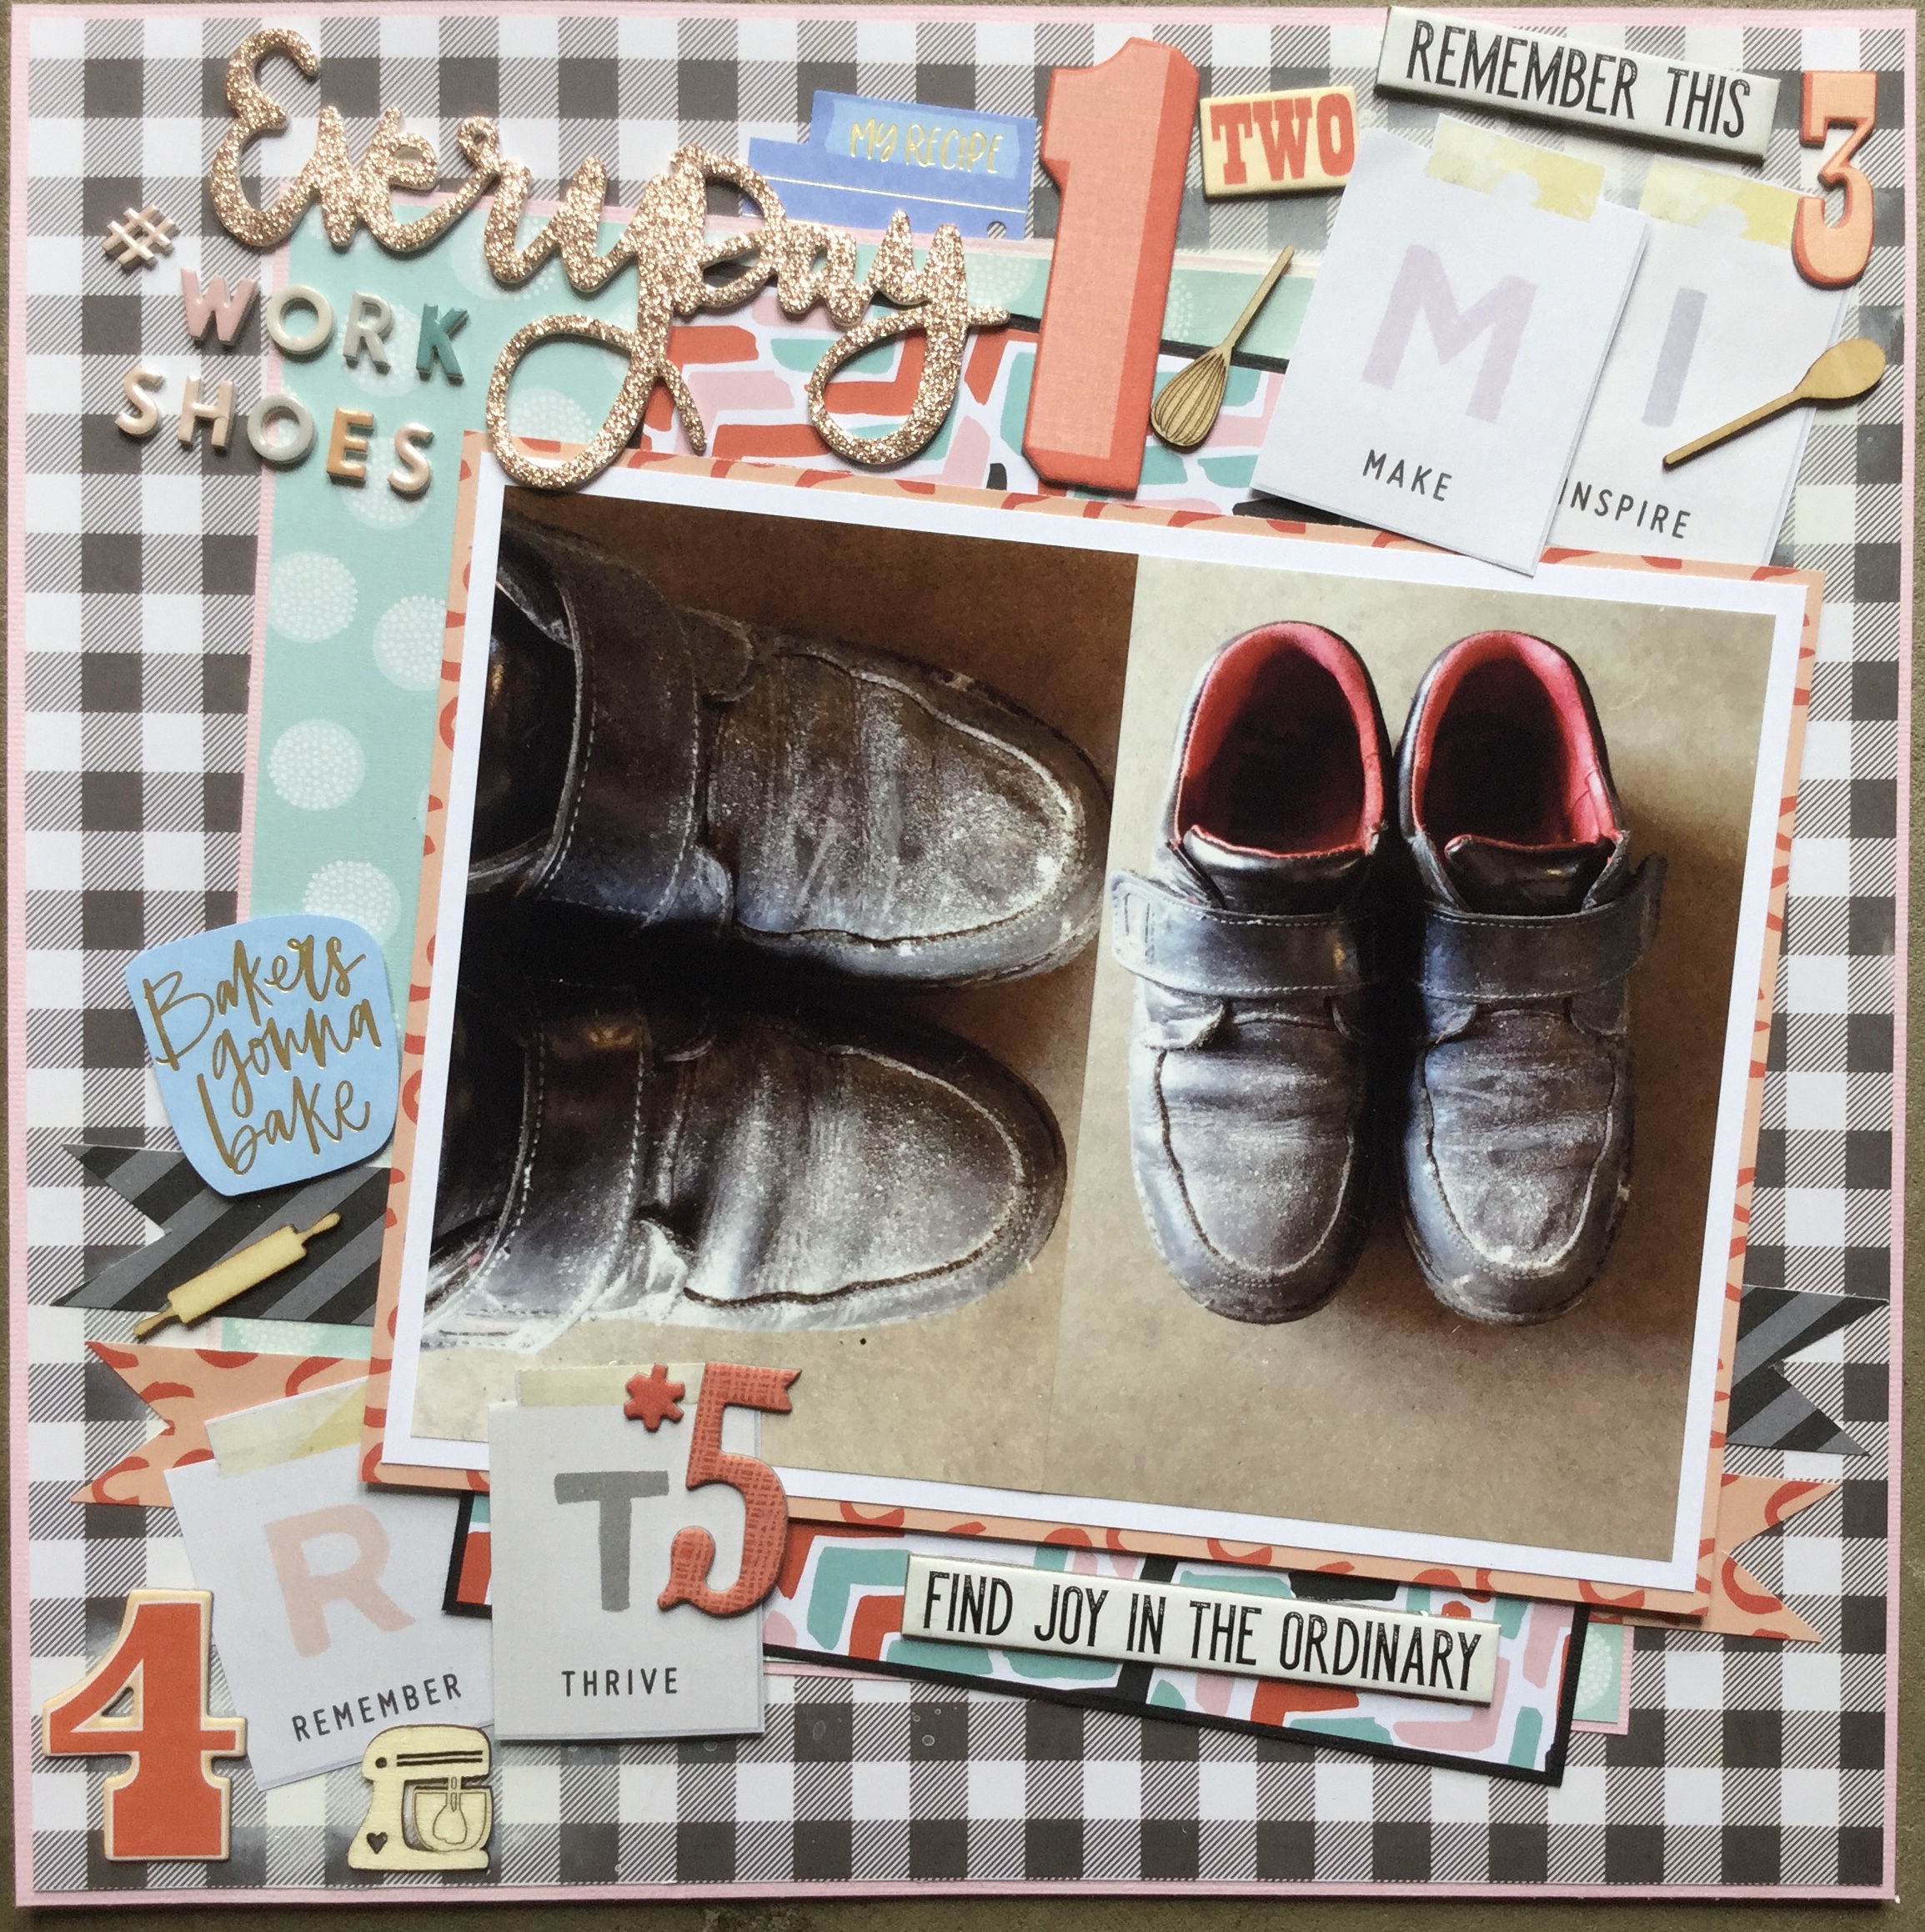
 posing for the photo, so the quality is not great. It is a little blurry but does capture his cheekiness. Let me just say that the playdough man is magnificent, a work of art! Well, I may be biased, it does have all the important elements of a human which is the goal when you are four. It was the playdough figure which triggered my idea for the forged paper. The playdough feet are rough circles, much like the black and white circle paper featured in the Felicity Jane ‘Hannah’ kit.


 decided to substitute this with a strip of polka dot paper trimmed down to create a scalloped edge. I attached this to the edge of the woodgrain background.


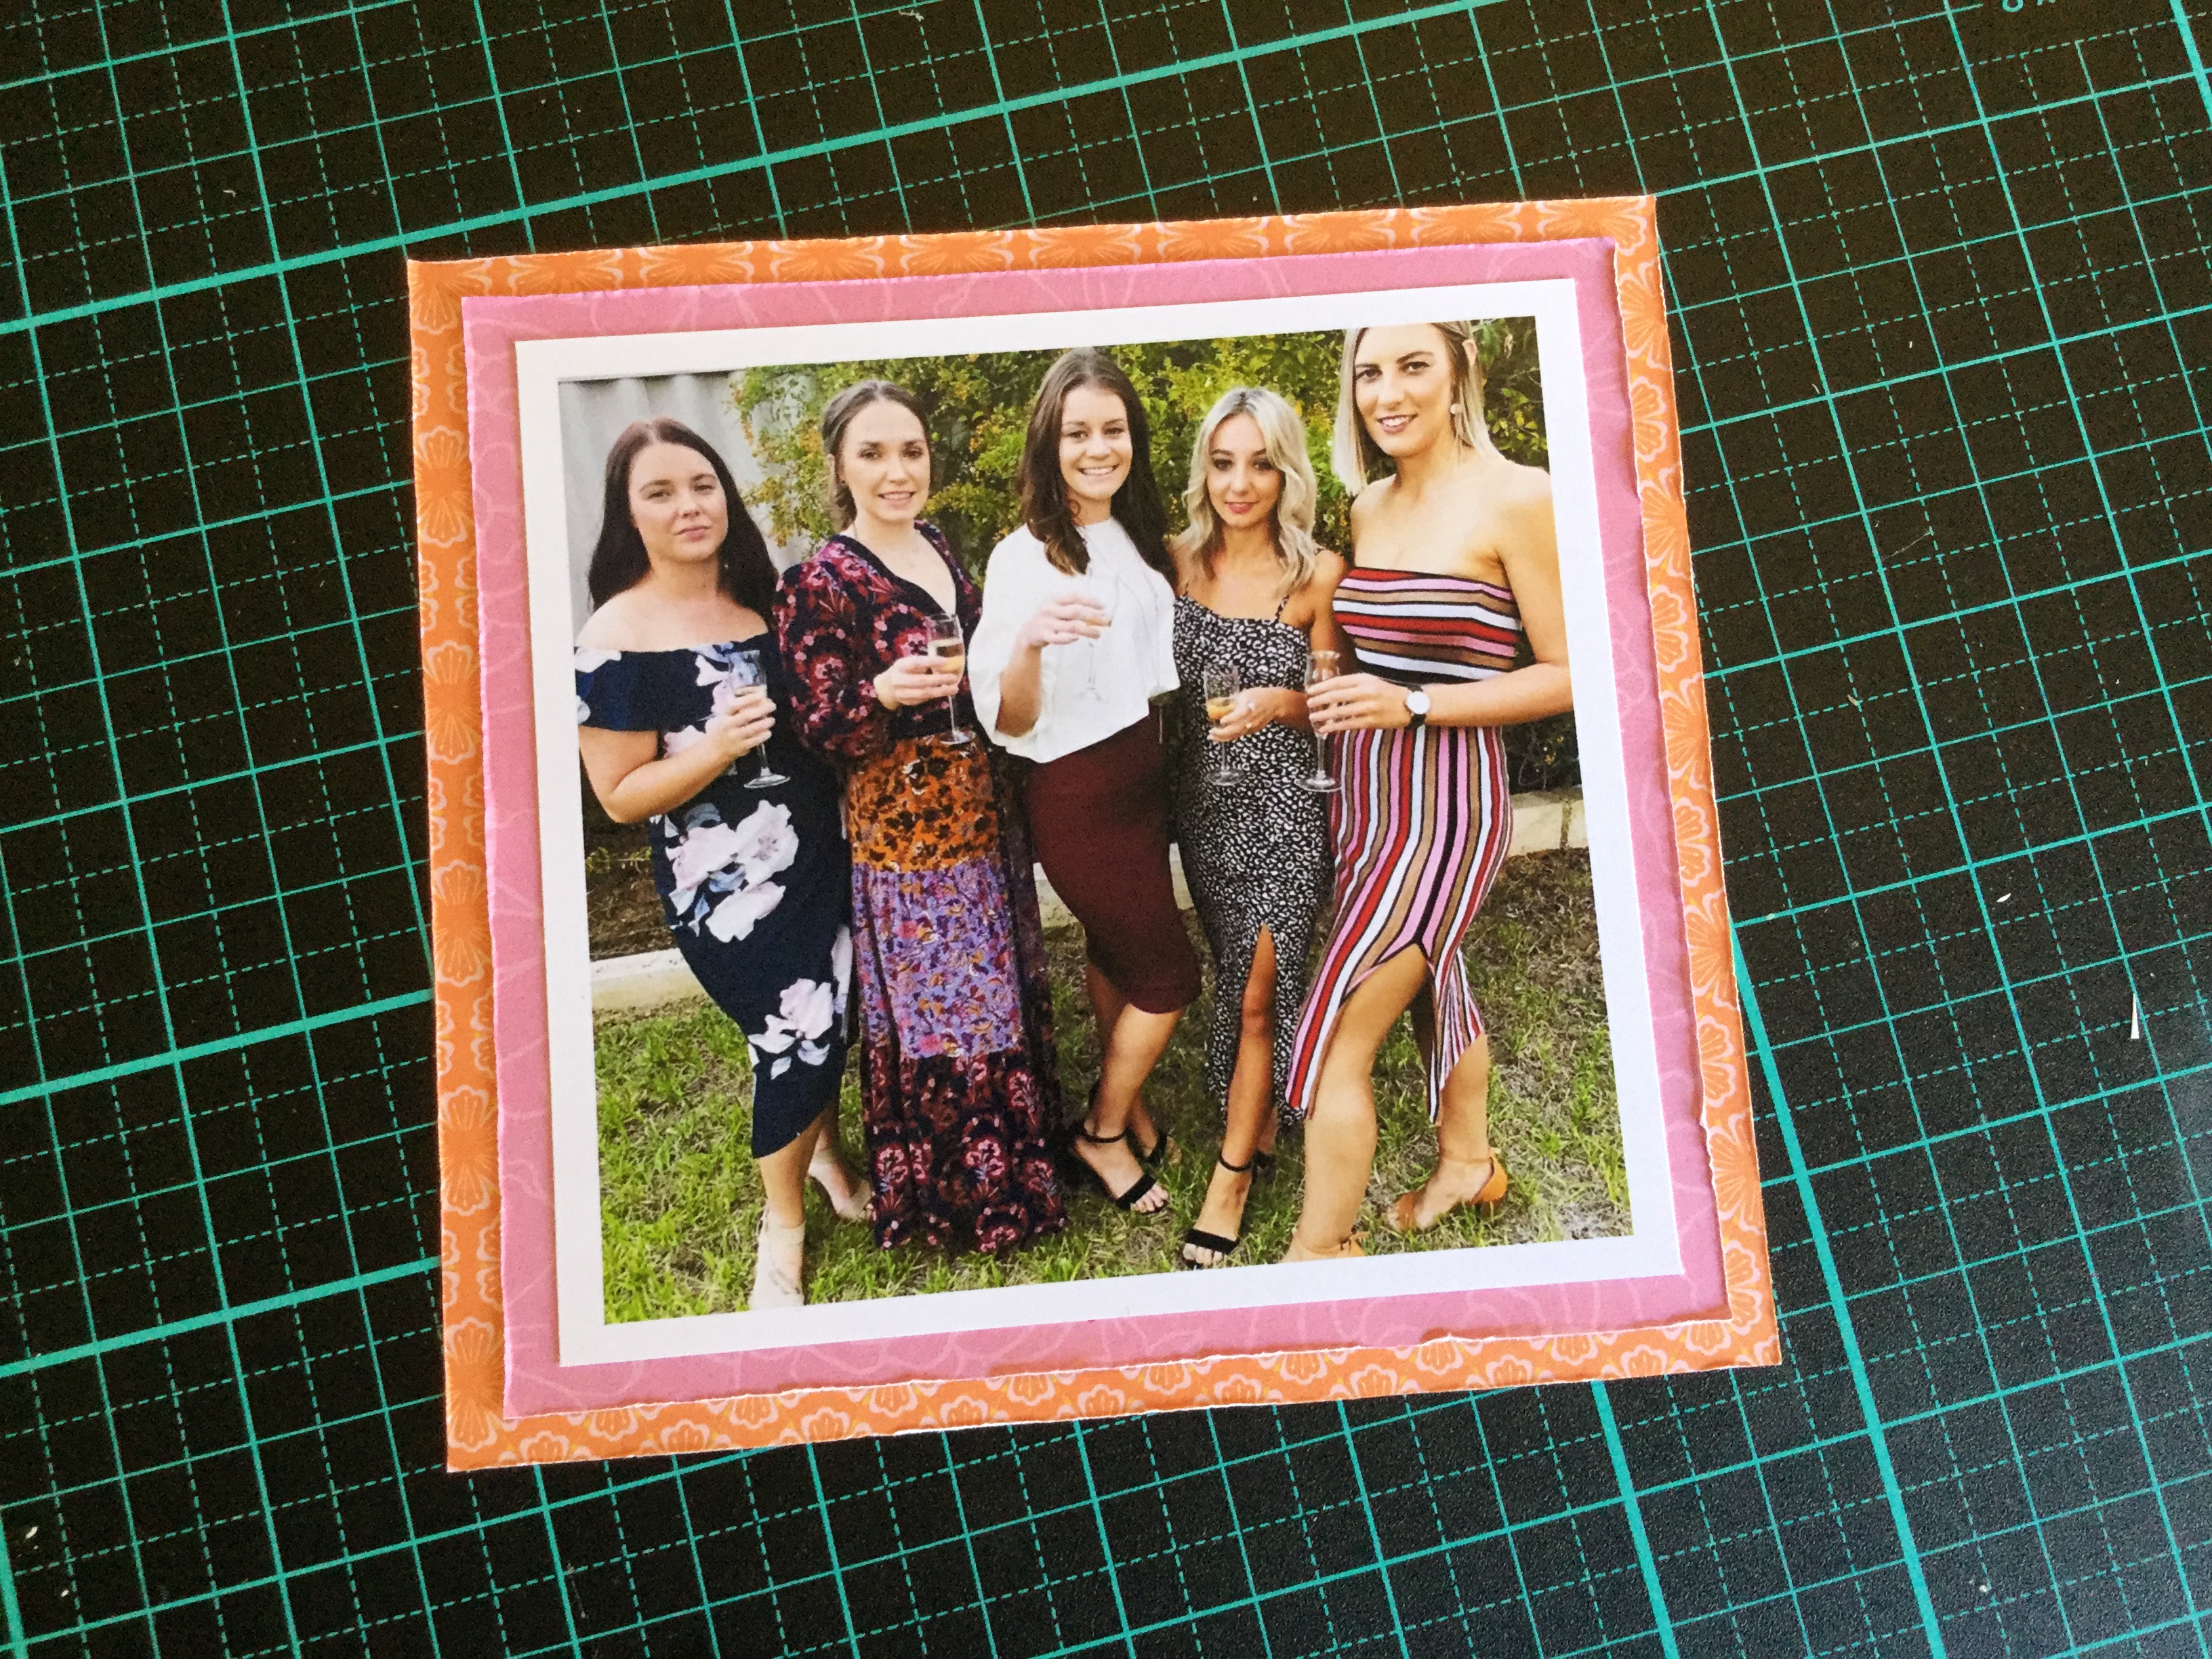
 So, first up, I went with a photo of my daughter and her friends having a night out. The photo has several of the pinks, blues and burgundies found in the Felicity Jane ‘Hannah’ collection.


")

")