Happy New Year to all, hope that you all had a lovely time celebrating with family and friends. My New Year celebrations were spent with my girlfriends who help me get through every year with love, laughter and support. None of them are scrapbookers and they don’t really get it, but they are artists and we try to spend arty times together throughout the year. 2019, was a little lacking on our normal arty events with us all dealing with busy lives. I hope to make more effort this year in keeping our creative catch-ups happening with a few arty outings throughout the year.
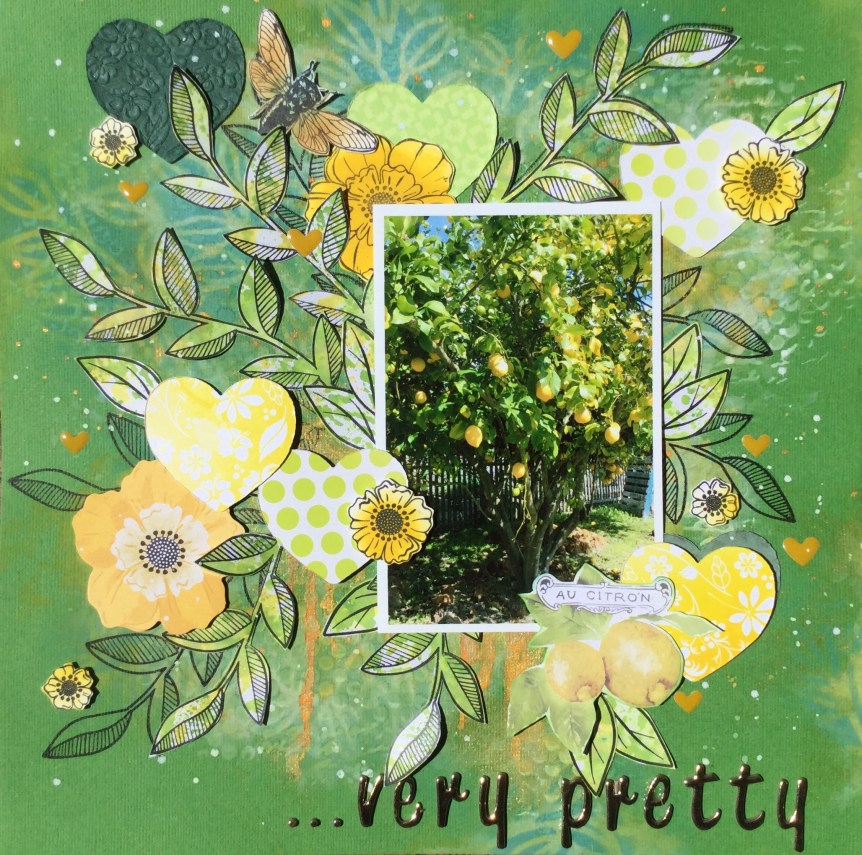
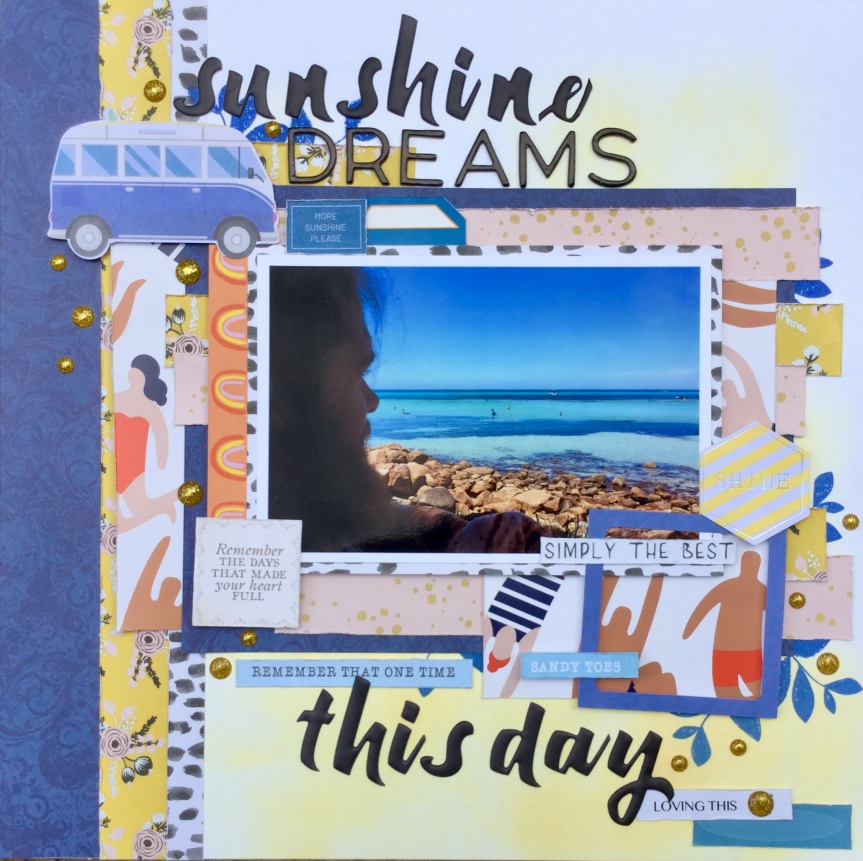
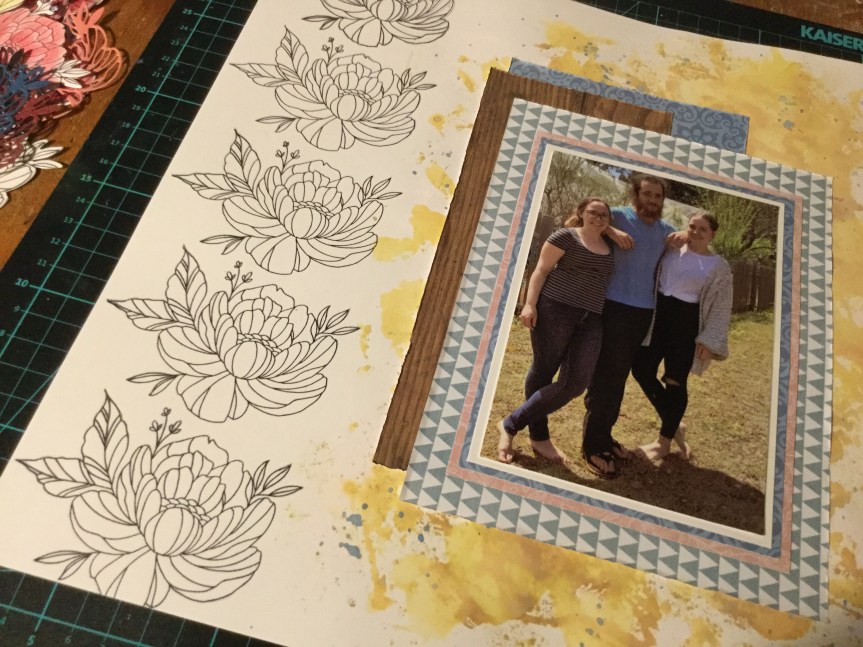
Anyhow, to kick off my 2020 scrapping, I chose to do a scraplift. The problem I have is  that I don’t know who created the original layout, I tried Google image search and had no luck…they linked it to artificial flowers! I wonder why? Haha. So, if you know whose layout this is please let me know, I would like to credit them? What I loved about this layout was the negative space and the layering on both sides of the layout.
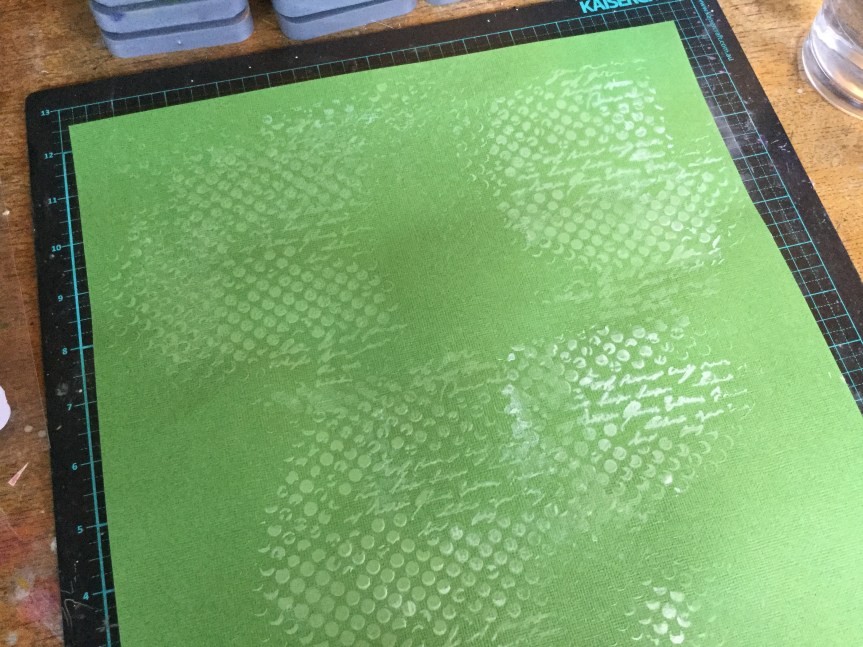
My attempt started with building up some background using gesso and a stencil. The main reason I did this was that I didn’t really have a whole heap of embellishments to use with my photos, plus it gave me time to get messy and really play. I wanted to use some new supplies from Santa, the papers, plus use up some neglected products, the ribbon and frames.


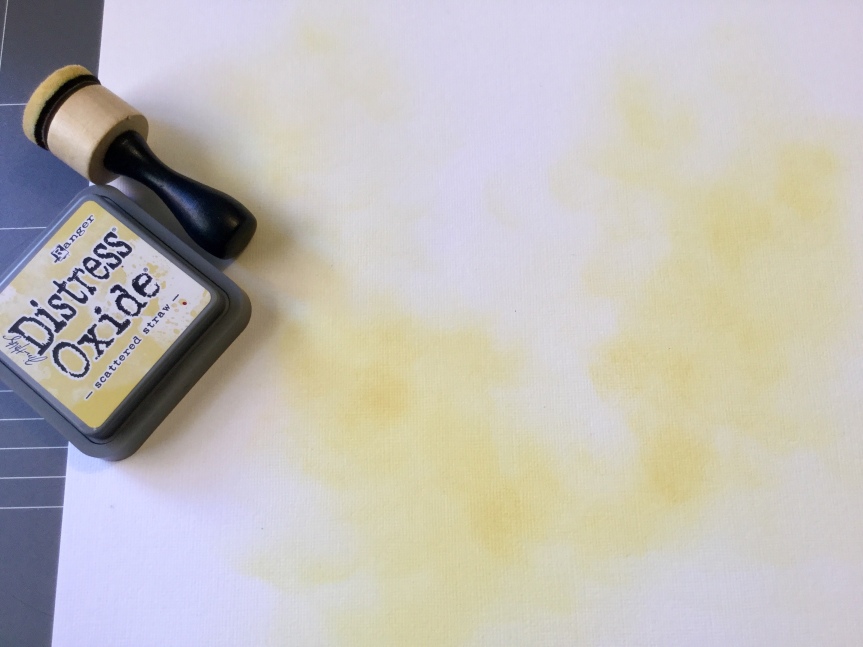
I blended out the gesso edges, rubbing it with my fingers. Then, I sponged on some oxide distress ink, as the white gesso was a bit too stark.


Next, I mounted and built up the layers behind the photos and used the same papers to begin the corner embellishment cluster.


I then, layered up my embellishments with some found old Sizzix cut die cuts, wood veneers and die-cut alphas for the title. The last touch was adding some Nuvo Crystal Drops to create enamel dots. I’m slowly getting better at applying the Nuvo drops, though some are trickier than others due to how thick the mix is.


The finished layout is pleasing but I do need to add some journaling about why we have to do this for every new tree planted, one word…kangaroos! They devastate pretty much anything new, if they can reach it they will eat it and the tree guards can not be removed until the tree is well established.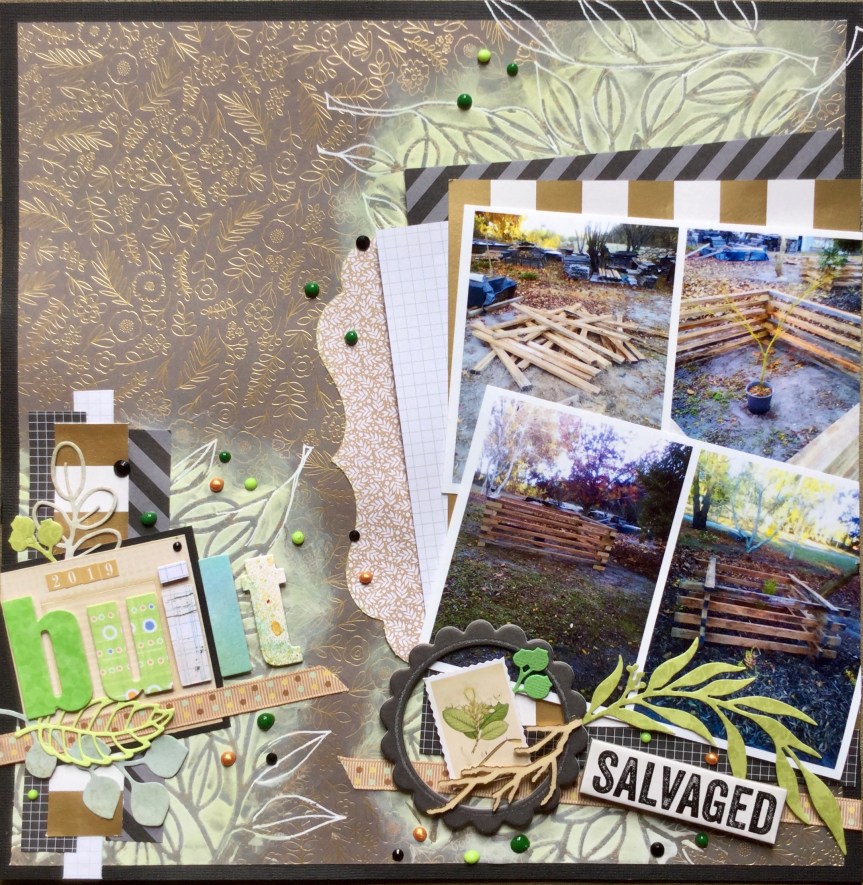
The second layout for 2020 is about my husband’s shoes, not a topic that most people would scrap. The reason I wanted to capture this memory is that he is finishing up his baking career, he did his last shift two days ago. No more flour-dusted shoes and night shift, it will be a change for us all having him home in the evenings and not having him arrive home while I am drinking my morning cup of tea.

The papers I used were from Santa, a mix pulled from several paper pads, including this gorgeous alpha sheet from Maggie Holmes’s Bloom collection. I fussy cut this sheet to use as embellishments and selected four of the alpha cards for this layout.


I smeared some white gesso onto two opposite corners on my background to try and get a floury texture and sprinkled on some white ink for spots of flour. In the end, most of this got covered by embellishments and is hard to see in the finished layout photo.


Then, I went to town mounting and layering papers, adding the photos, embellishments and titles. I quite like how it turned out and think it just needs a thin journal strip at the base outlining the story.

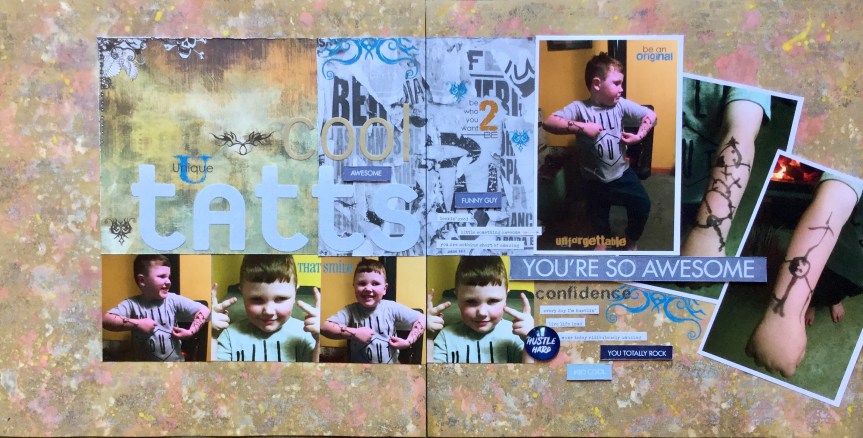
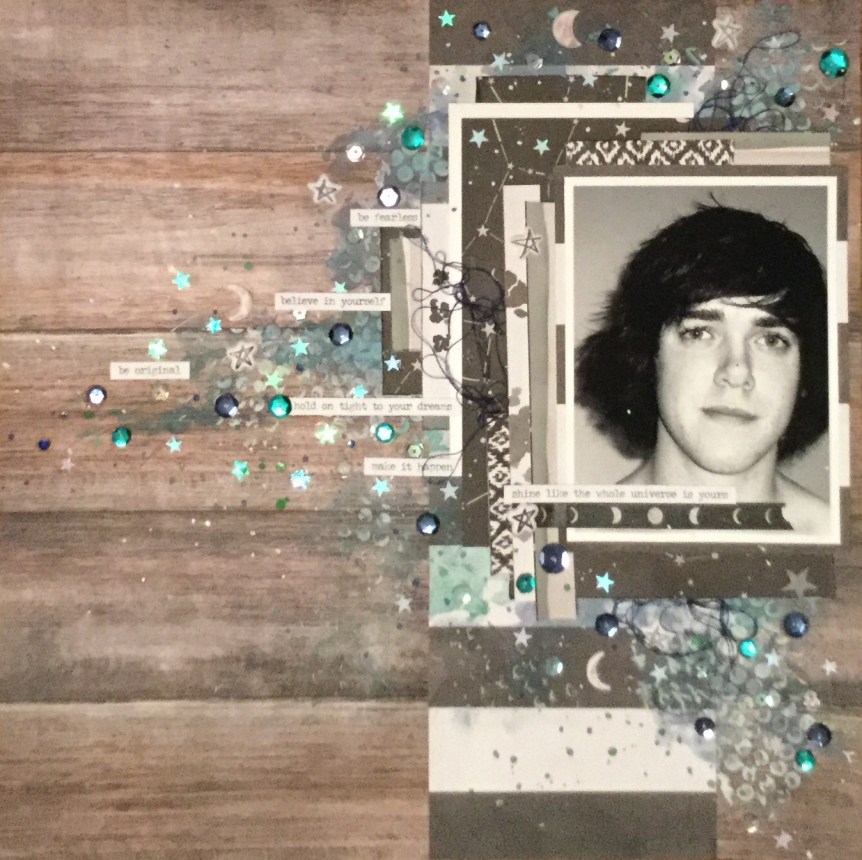
The last two layouts I completed are of my grandson, I tried to add some bling to both and use up some sequins. The top layout is made with a Vicki Boutin, mixed media, printed cardstock. Yep, Santa thought that I needed some time off from creating my own mixed media backgrounds and bought me the paper pad. I couldn’t resist adding a touch of colour and stencilled around the edges using a Uniquely Creative stencil and some TH distress inks. Both layouts have some Maggie Holmes and Shimelle papers/embellishments, and the bottom layout has some more Nuvo drops (don’t look too closely, some of the dots are not round…haha).


I hope you all are getting some time to scrap and have a fabulous crafty year. For some of our Australian friends and crafters, life is tough at the moment with the extreme fires burning across our country. Many have lost homes and loved ones, if you can support them in some way, please do? It may be just in prayers, offering accommodation, food and supplies, or donating cash to one of the many collection funds which have been set up across Australia and the World. Every little bit will help in this intense time of need. Thank you to all our emergency services and volunteers across the country who are working at full capacity, and to the USA firefighters who are coming to help us out. Let us all hope that rain will arrive soon and help quench the flames, it is really the only thing that will stop this firestorm.
Happy scrapping everyone 🙂
Please leave a comment below or share with other creatives, remember you need to open the post by clicking on the title to access the comment box if you are on the home page.


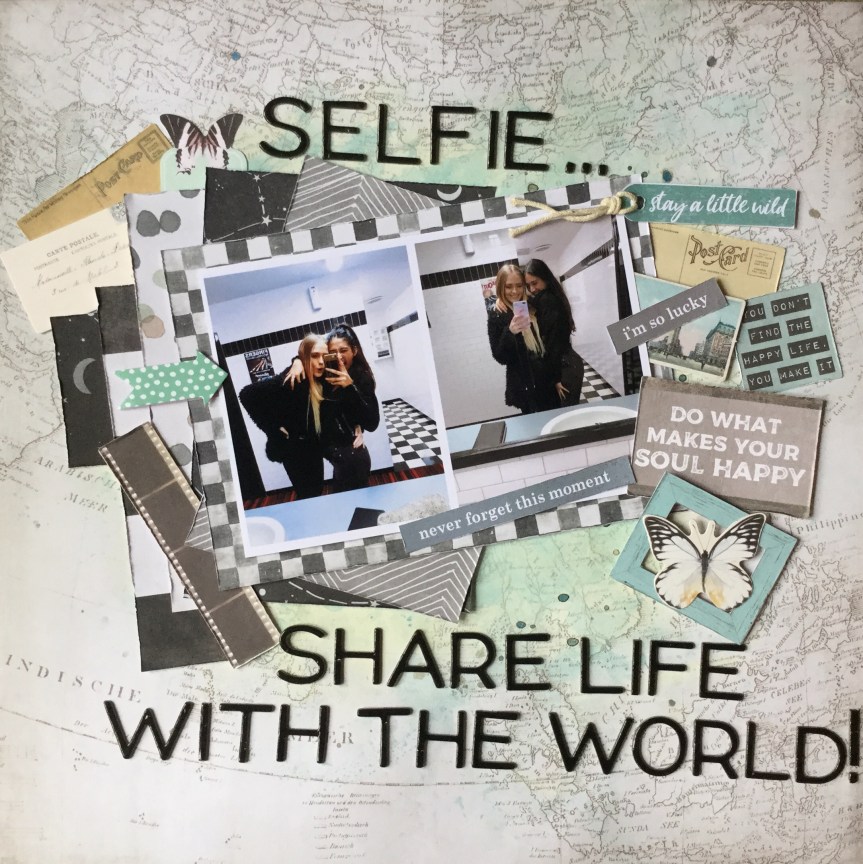
 loved. The colours were perfect for my photo. There was a slight hint of blue in the background of the photo and some lovely creams and golds from my daughters, hair, skin and jewellery. I used three different Tim Holtz oxide inks to grunge up the background using the plastic bag technique, a very simple technique using just ink and water to create amazing layers of colour.


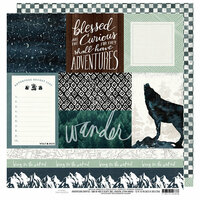
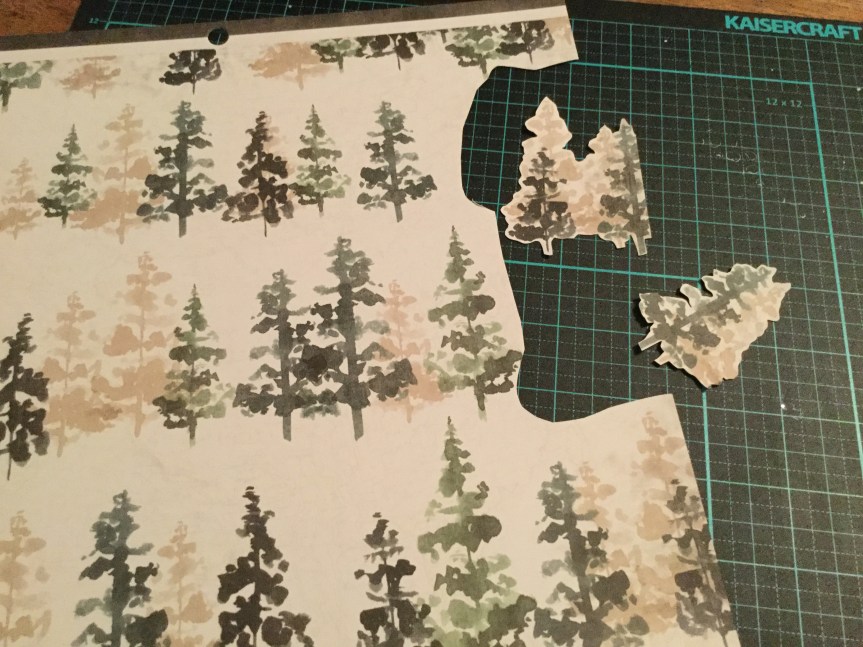
 you have had sitting around for a few years, untouched! I did not have any untouched paper pads, only brand new ones (birthday/Mother’s Day gifts) which is why I decided to use this paper pad. I am doing well, getting through the pad with 14 papers left out of 36. The ones left are mostly pine trees, wolves and bear papers, given that I live in a country with no wolves and bears it is a challenge.


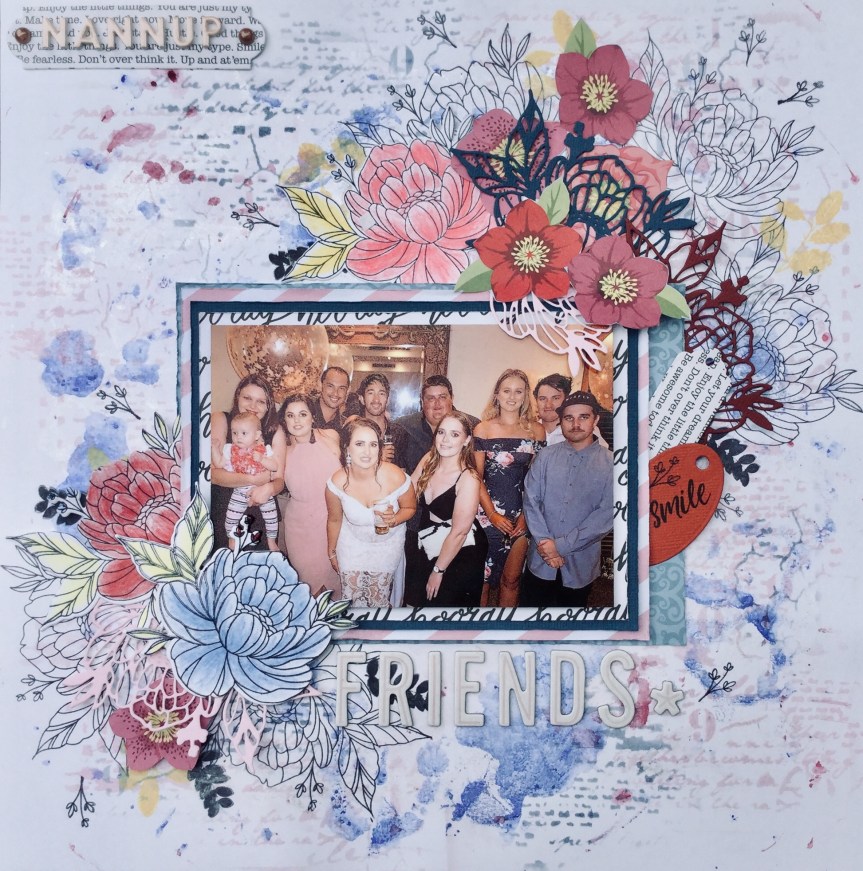
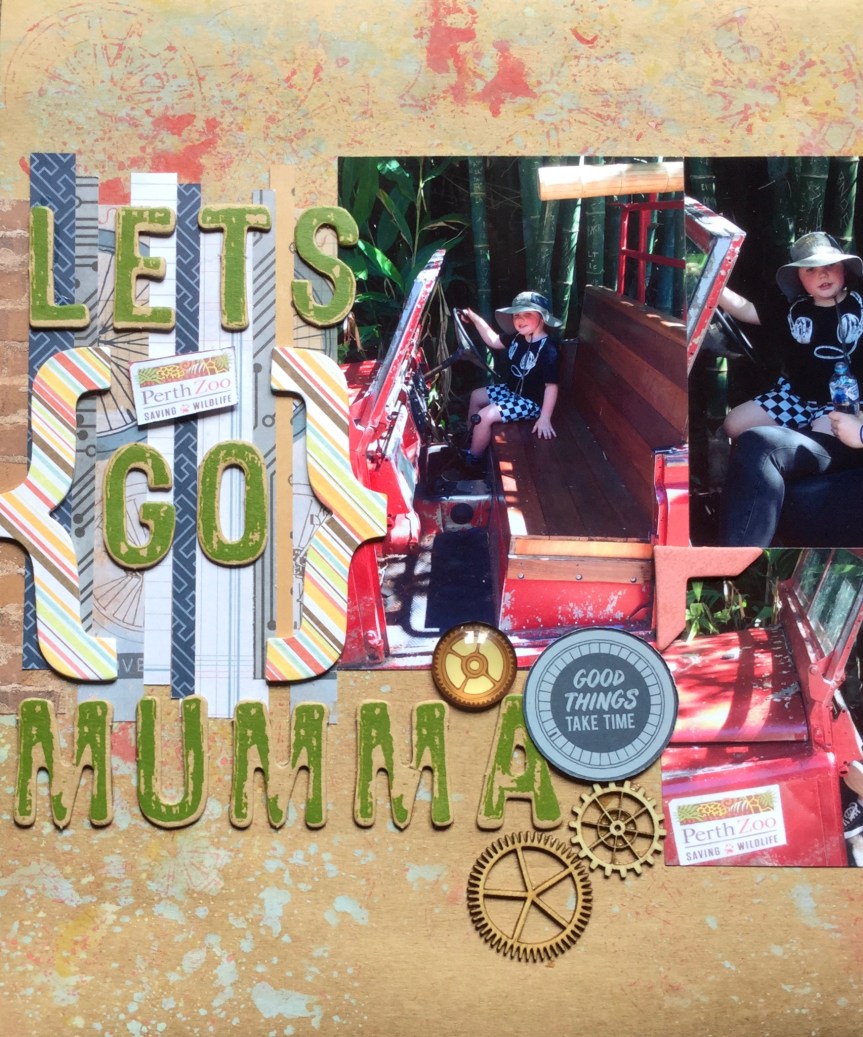
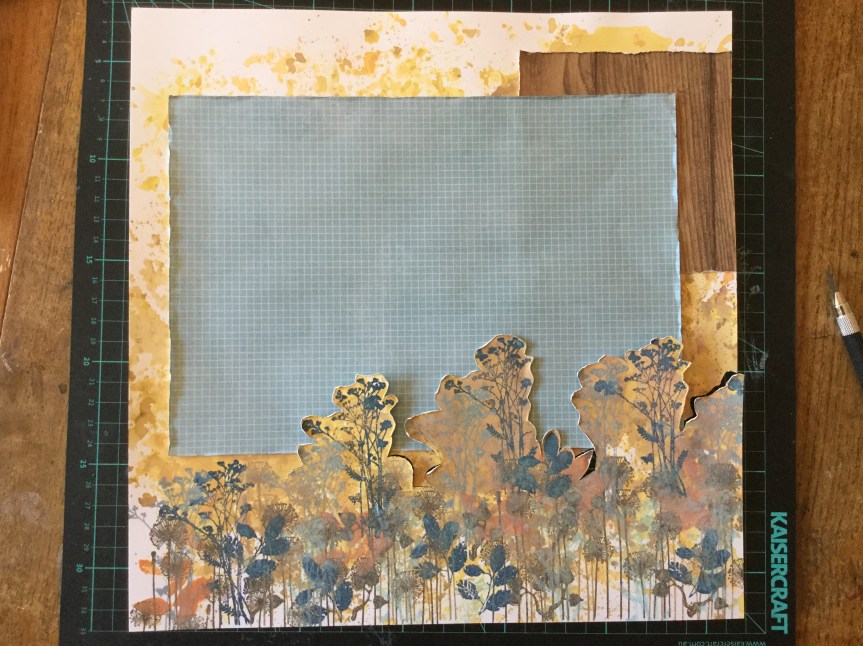
 and added some colour across the page using the plastic bag smooshing technique. The Tim Holtz ‘Tumbled Glass’ oxide ink created a soft blue surface to work on, I then splattered some watercolour paint across the page in browns and blue.


 in the collection and finally come up with an idea when I came across some photos of my grandson eating some dessert.


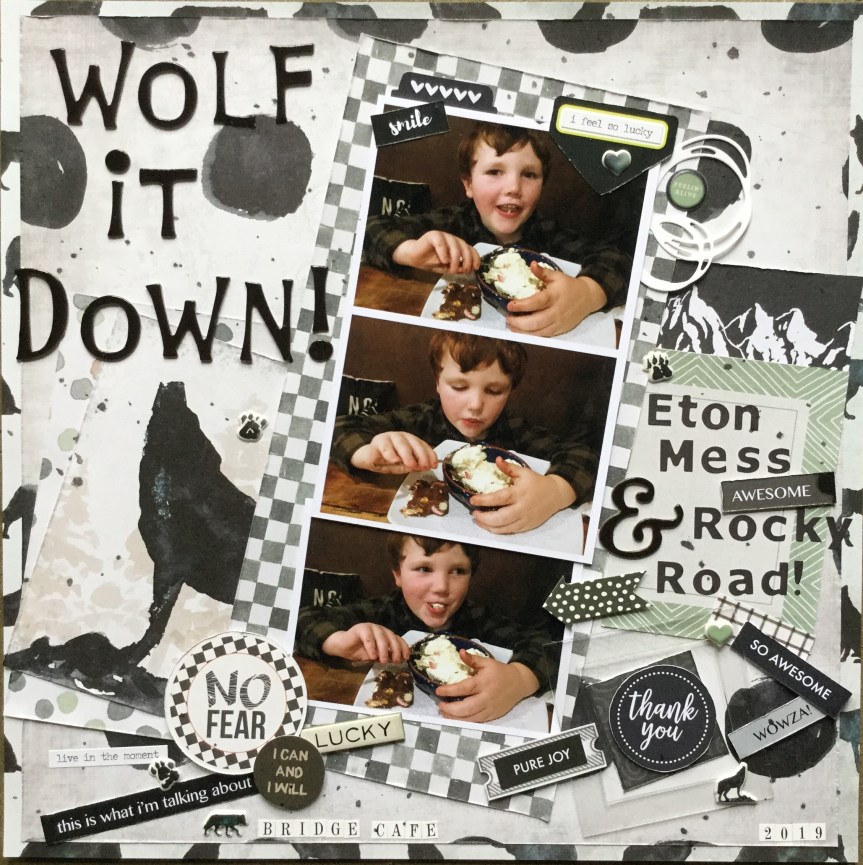


 have used was originally a photo of all four of my children together which I have scrapped several times, so they each have one. This time I cropped the photo down to try and just get my youngest son in the image, as I don’t have many teen photos of him to use in layouts. The problem I encountered, as you can see, is that part of my eldest daughter was still in the image. As gorgeous as she is, she had to go for this layout! Here’s how I erased my daughter from the image by hand, the old fashioned way and then, put the layout together.


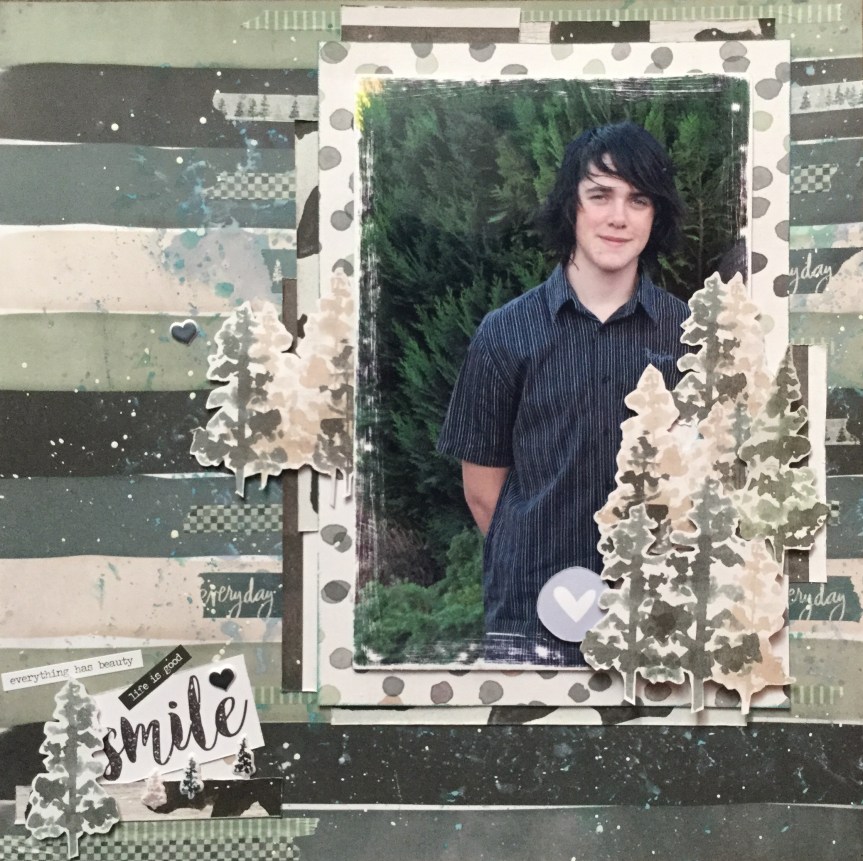


 being able to create layouts about my sons, daughters, grandson and Christmas. The lovely outdoor pine forest, mountains and starry nights would work well for our traditional, annual, Christmas tree hunt. The other papers, a mix of contemporary and cultural patterns in black, white and shades of greens, and the wood grain can be used for recording many special events or moments.


 though the papers are quite masculine and I am using a photo of my teenage son, I couldn’t stop myself from adding some sparkle and shine to the layout. The Zodiac paper features the night sky and astrology motifs and I wanted to highlight this in my design. I used a variety of sequins in crystal, navy, aqua and green to decorate and enhance the layout. Then, I splattered on some watercolour paint in white, green, dark blue and brown.


 to rub over the surface of each piece, this adds a little sheen to the printed cardstock. Next, you fix them together with glue and thin foam tape for a little dimension.


 wanted to use up more of


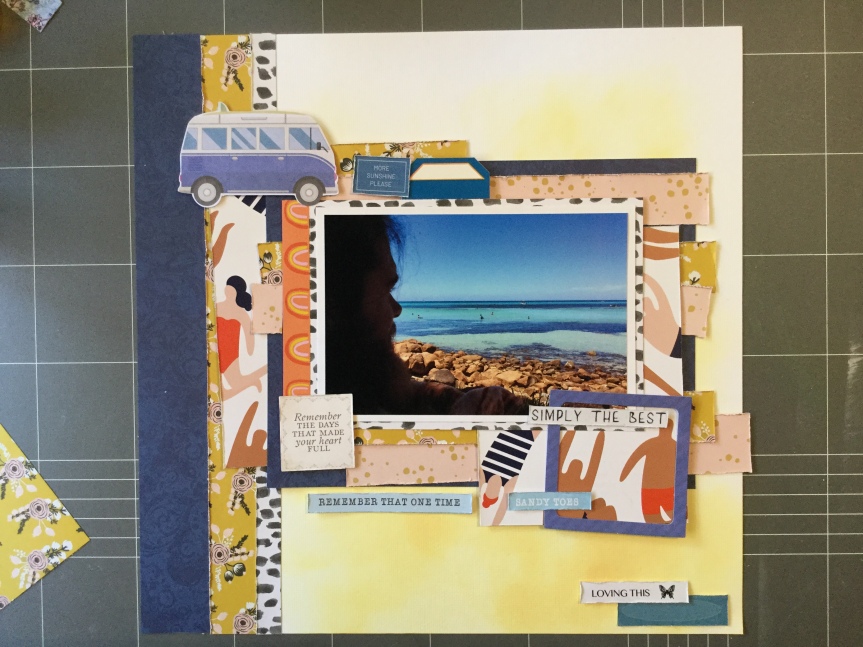


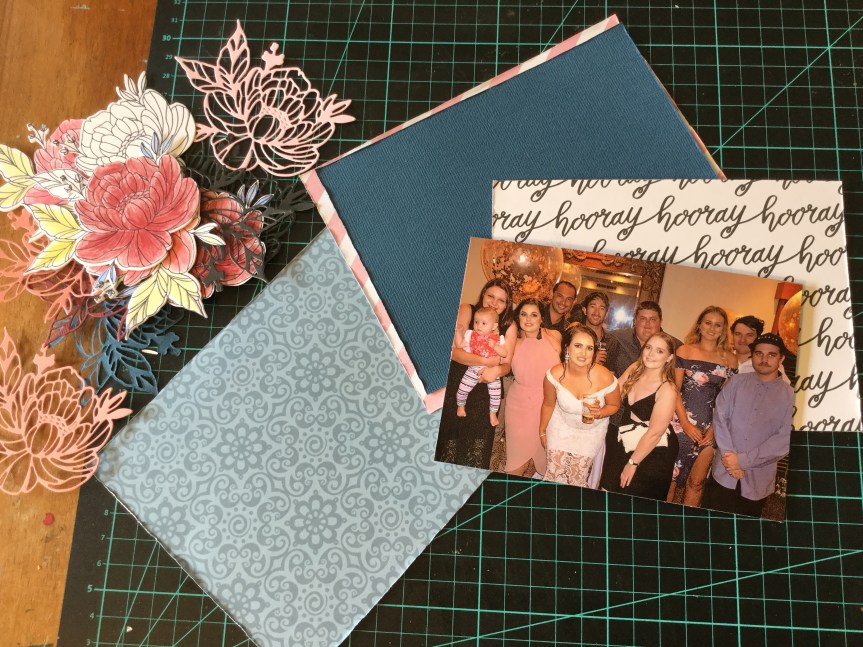
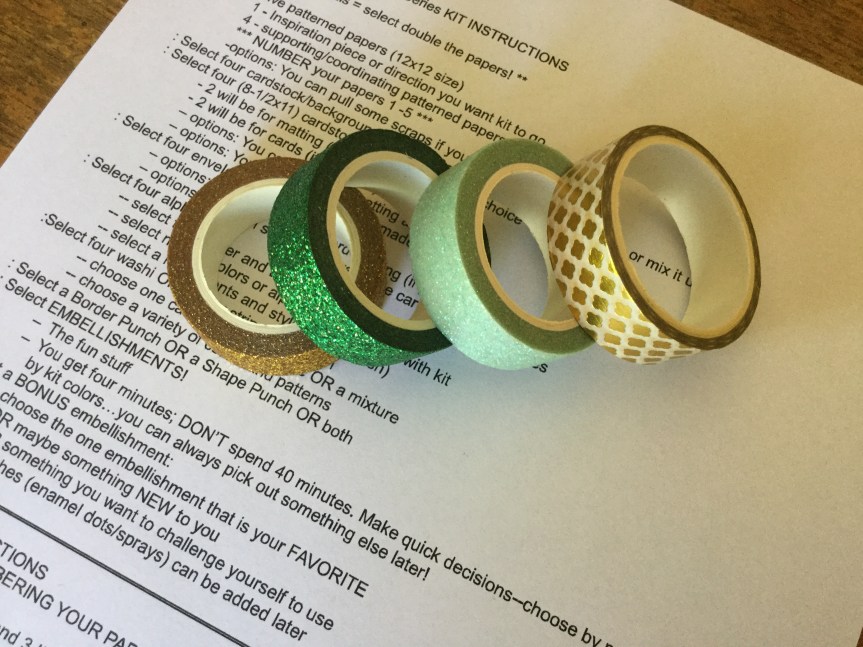
 channel. She is a wealth of knowledge and so generous with her time and skills. For a while, Janet has been making a series of videos called 4 for 4. The idea is that you use a set amount of papers (5), cut into a specified size, and then add in some alphas and embellishments to create 4 layouts and some cards. Janet talks you through the whole process step by step, through her videos. This month, I decided to give it a go. I hadn’t tried it out before, but have used similar systems to create mini albums (6×6 and 8×8) in the past. Using a system like this can really speed up your productivity and get a whole heap of layouts completed and into albums.


")


 Scraps


 in your layout and my order of
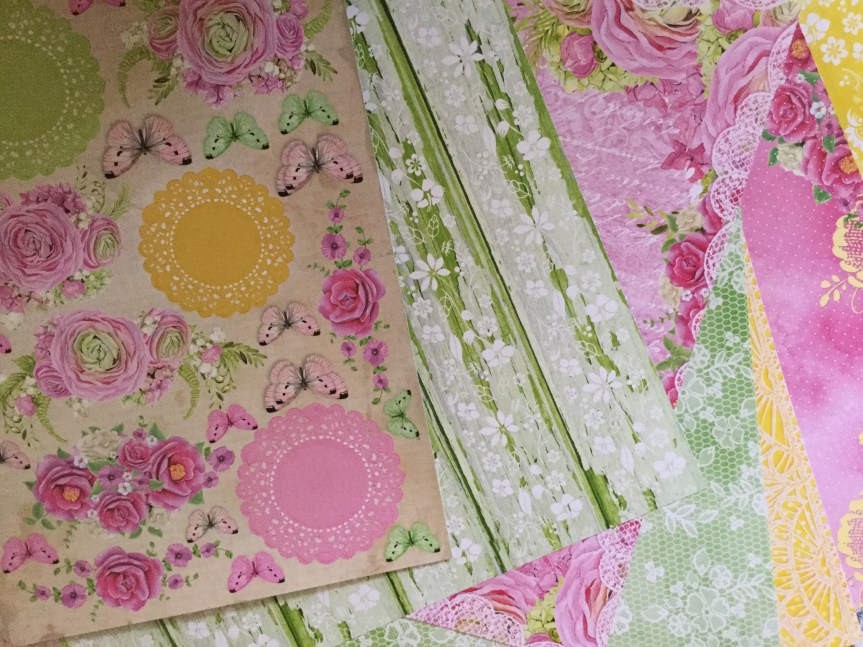


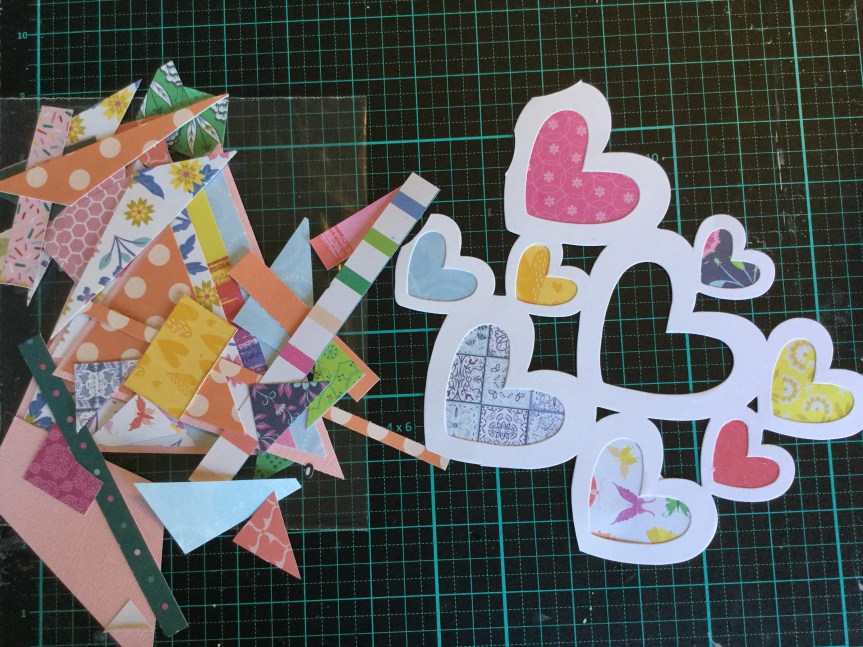
 4 x 6 rectangles which I used for frames and pieces to mat the photo. The two 4 x 6 left were used to cut embellishments with my Sizzix Bigshot. I used a mix of dies, many were from the Uniquely Creative and the KaiserCraft range. I decided that I needed a few more greens and some white to balance the layout, so found some scrap papers and cardstock to cut a few more diecuts. You can see that I incorporated some traditional design styles and some contemporary designs. I used the geometric die because of the pattern on my daughters top. The top was handknitted by my mother, which I had completely forgotten about until I started working on the layout. She knitted many clothes for my children, a pastime which she has had to give up due to arthritis.


 looking at my photos I wanted to emphasise the sense of going down into the earth. I decided to cut around the stamped foliage with a scalpel and slip some of the photos behind the cuts. Dah, Dah… walking down into the cave.


 (well…often) got reminded to start off with light pressure. I struggled somewhat with this, being a girl who loves strong bright colours, I found it challenging to hold back! Then, we moved on to observation drawing, our subject being onions! Yes, who knew that onions could be so interesting and prove quite challenging.


 encouraged to get creative and work on some final pieces which incorporated all our new knowledge and skills. It was a lot of fun, I used my mixed media obsession and splashed around a lot of ink and colour. Once again, many of us shared our knowledge and skills, and in the process taught each other different techniques, where to buy supplies at the best price, and we made some great friendships.

")


 posing for the photo, so the quality is not great. It is a little blurry but does capture his cheekiness. Let me just say that the playdough man is magnificent, a work of art! Well, I may be biased, it does have all the important elements of a human which is the goal when you are four. It was the playdough figure which triggered my idea for the forged paper. The playdough feet are rough circles, much like the black and white circle paper featured in the Felicity Jane ‘Hannah’ kit.


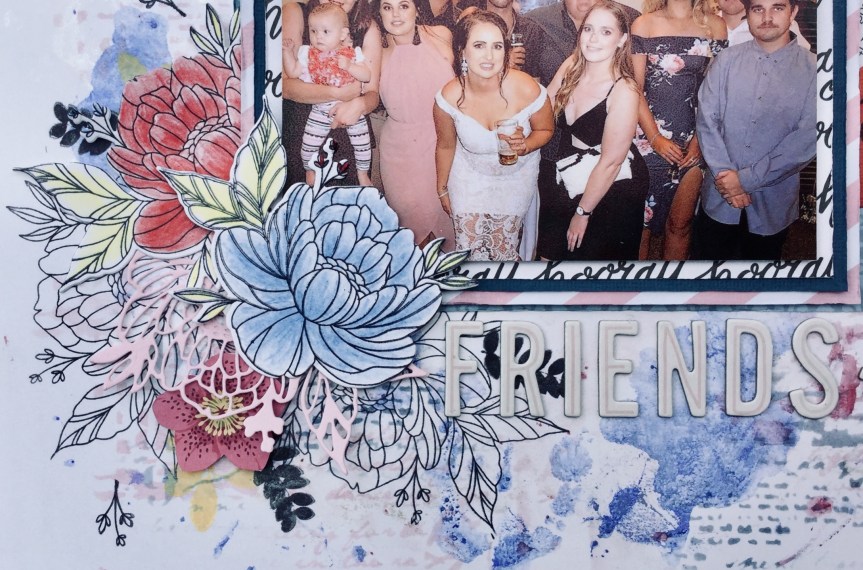
 decided to substitute this with a strip of polka dot paper trimmed down to create a scalloped edge. I attached this to the edge of the woodgrain background.


 So, first up, I went with a photo of my daughter and her friends having a night out. The photo has several of the pinks, blues and burgundies found in the Felicity Jane ‘Hannah’ collection.


")

")